
| Version 5 (modified by , 12 years ago) (diff) |
|---|
Tutorial of using OnTimeMeasure with Emulab Java UI
Yingxiao Xu, Prasad Calyam
January 31, 2012
Software License: 'GENI Project License (GPL)'
This is a step-by-step installation and hands-on tutorial of using OnTimeMeasure with Emulab Java UI
1. Pre-requisites
You must have an account setup on one of the emulab aggregates. If you have not account, you can access www.emulab.net and clicking on the "Request Account" button to apply for an account. Please note that it may take a while for approval of your account in emulab.
You browser must be Java enabled. If not, please download and install it in http://java.com/en/download/index.jsp
2. Login
Login by visiting - http://www.emulab.net/ with web-browser and click login button.

Enter email address and password, then click login.
3. Create Slice
Click the Experimentation/Begin an Experiment after login, you will get UI below.

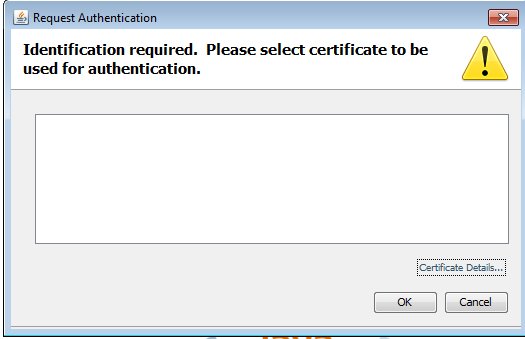
Click "New GUI editor" link, if the following dialog appears, click "OK" button.

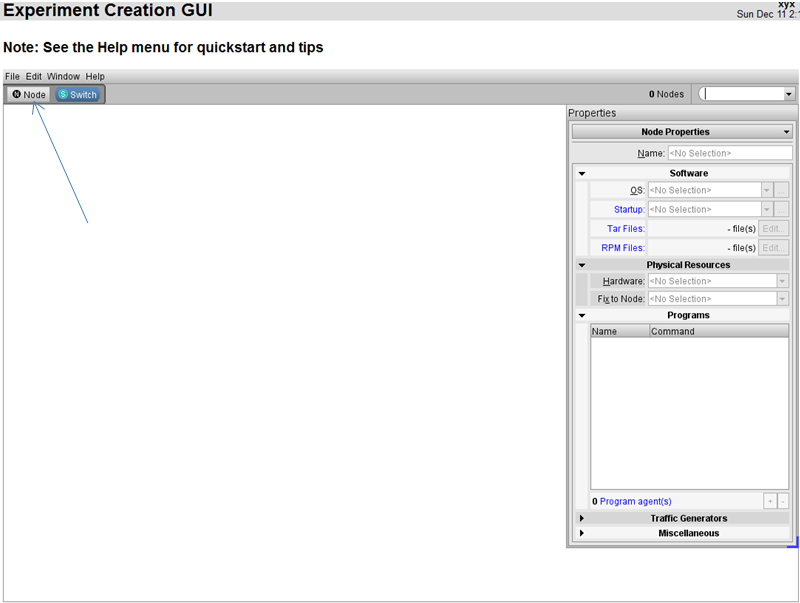
you will get UI to create slice.

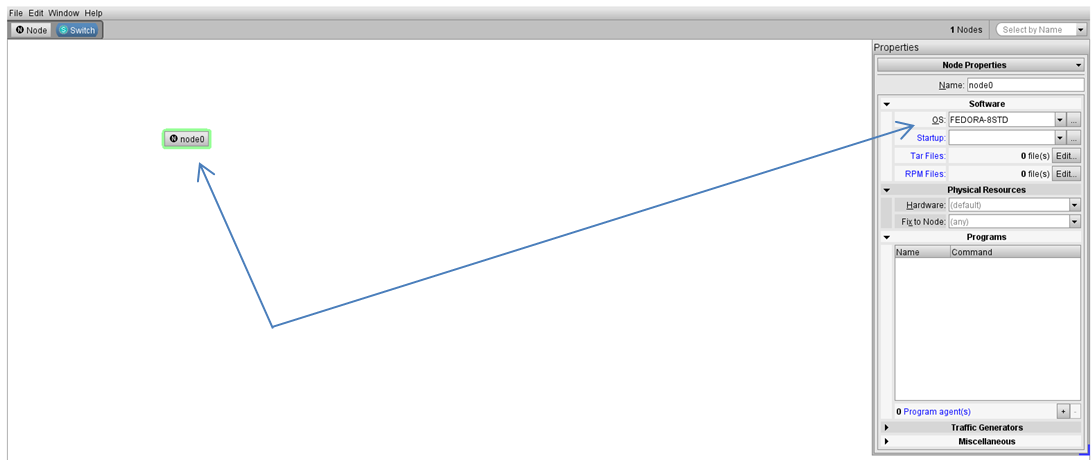
Drag the Node button to the panel. Set Name of the node, Input FEDORA8-STD as OS.

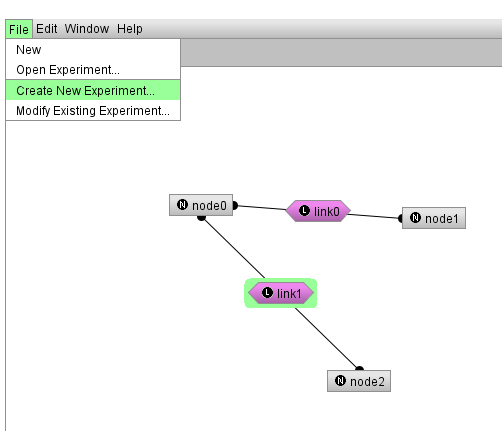
Repeat the operation to create at least 3 nodes. Move the mouse beside the node till a wire appears. Drag to other nodes to create links

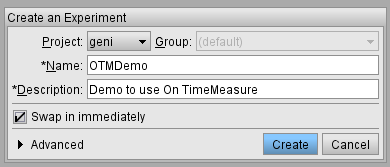
When all nodes and links are created , choose File/Create New Experiment menu.

In the dialog, give a name and description of the test slice. Select”Swap in immediately”

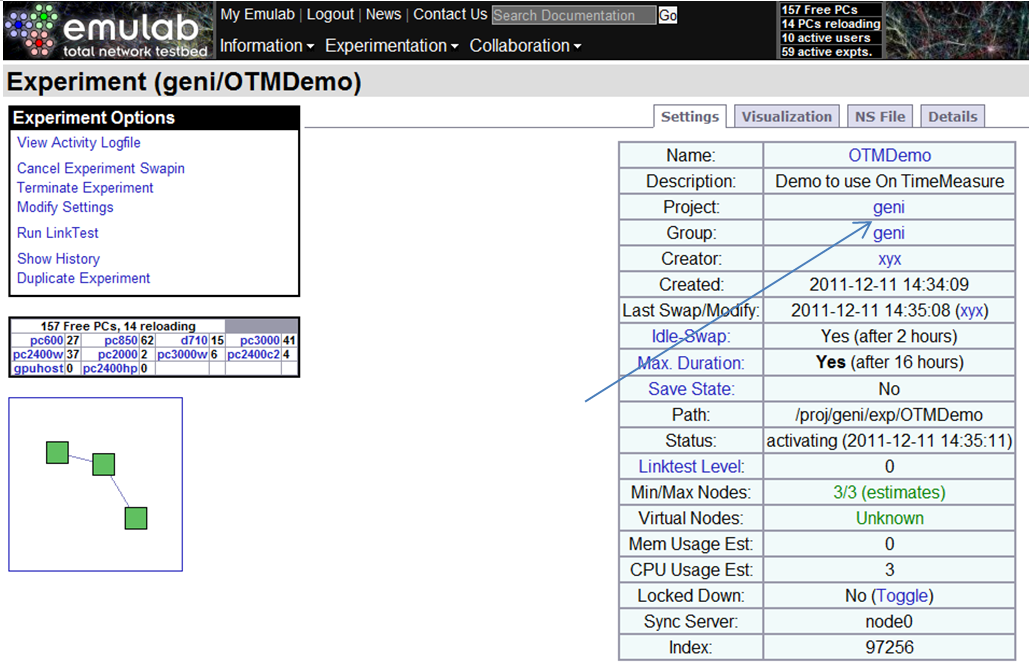
A summary will appear after the creation finished.

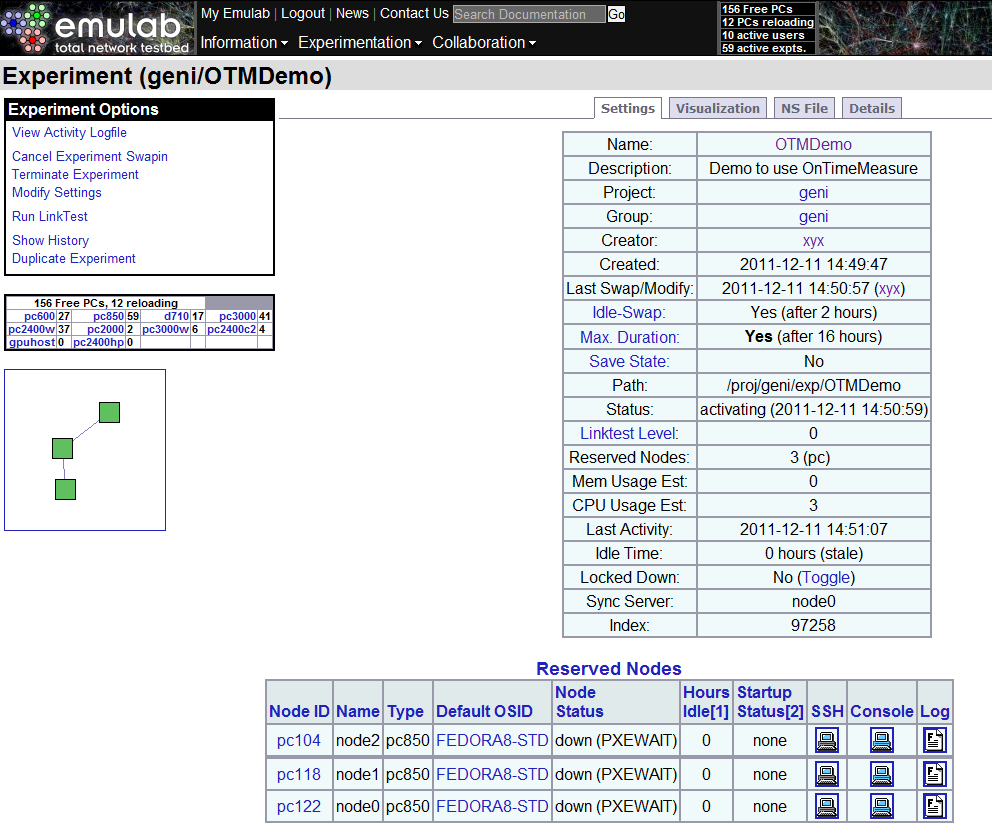
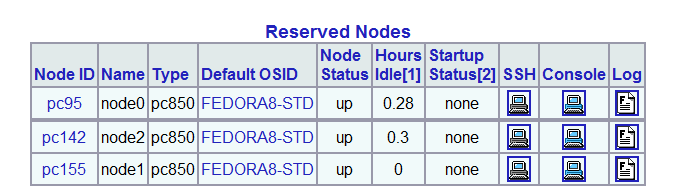
Click the link of the Name, you will get status of reserved node.

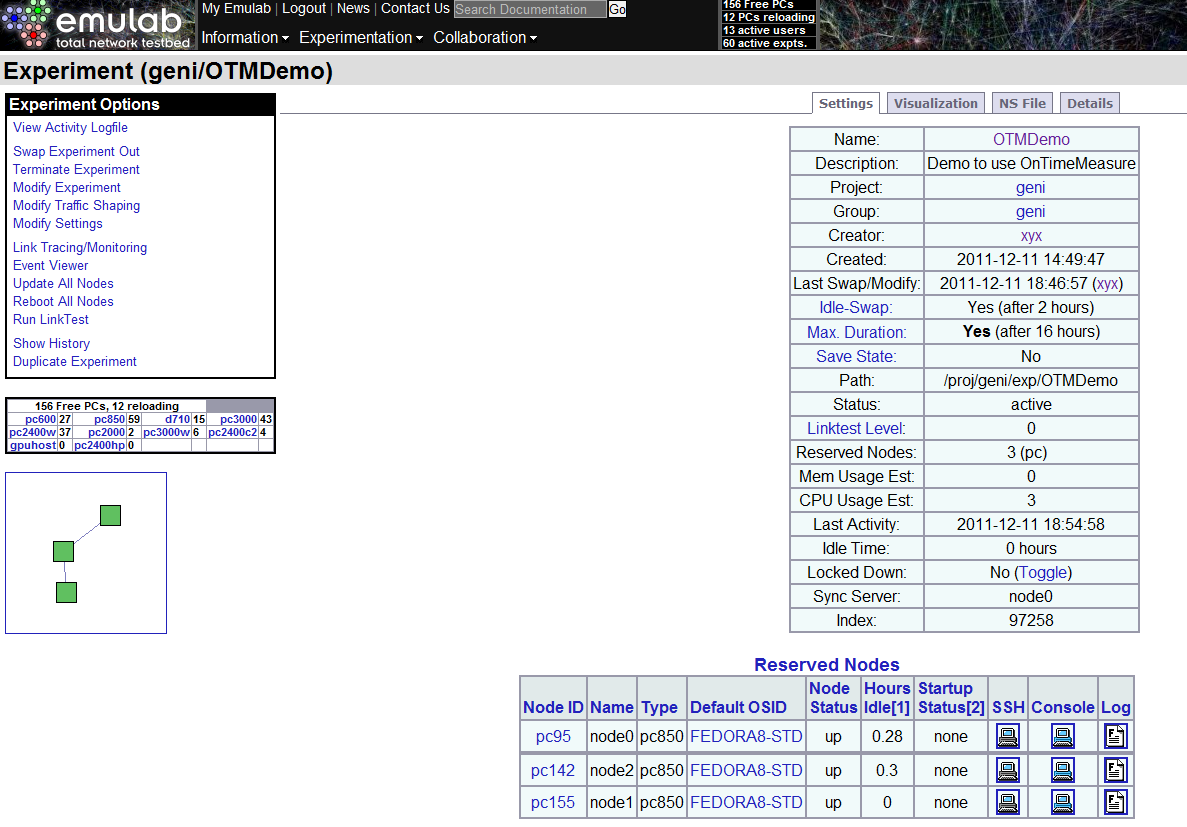
Wait till status of all nodes become "up".(It may needs several minutes to half minutes)

4. Install OnTimeMeasure RootBeacon
Select a node as Root Beacon ( i.e. node 0 with domain name pc95.emulab.net)
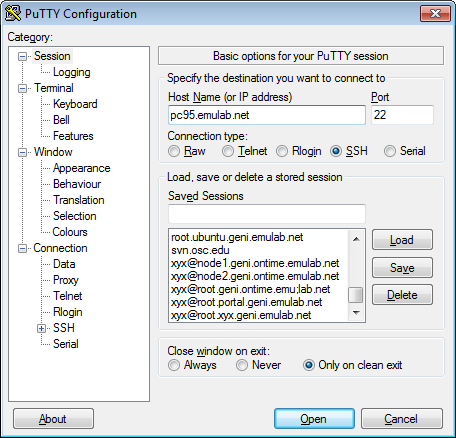
Login to with SSH by enter pc95.emulab.net in the following UI, and click "open" button.

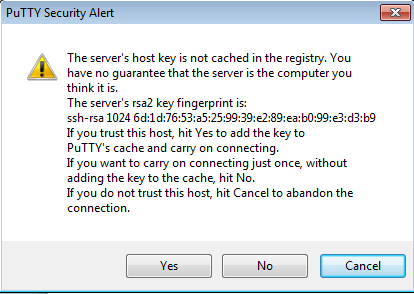
When first login, there would be an alert. Click "Yes" button.

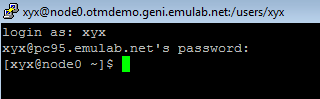
Enter user name and password if it prompt.

Make a temple folder and get into the temp folder. Enter the following command to install the software.
wget http://ontime.oar.net/download/OnTimeMeasure_latest.php
tar xzf *.gz
tar xzf RootBeacon.tar.gz
cd RootBeacon/InstallScript
./ontime_software_install.sh
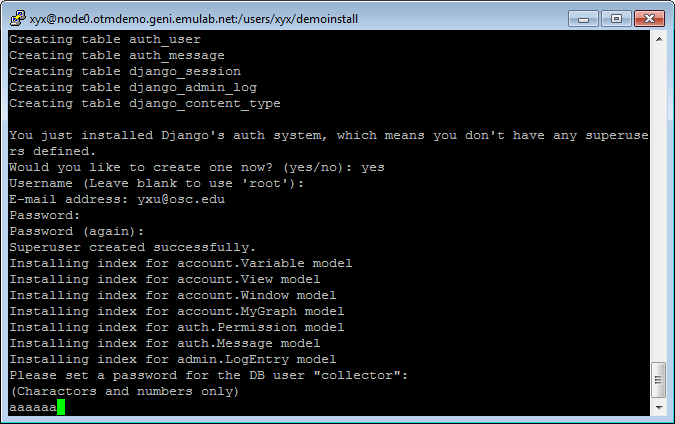
Enter yes, root, email and password when prompt the following:

Set slice password for the following.

The Root IP address will be displayed when the installation finished. Write down the Root IP address(i.e. 155.98.36.95)

5. Install OnTimeMeasure NodeBeacons
Login to with SSH by enter pc142.emulab.net in the following UI, and click "open" button.
Get into the demoinstall folder created in the last step.
Enter the following command to install NodeBeacon:
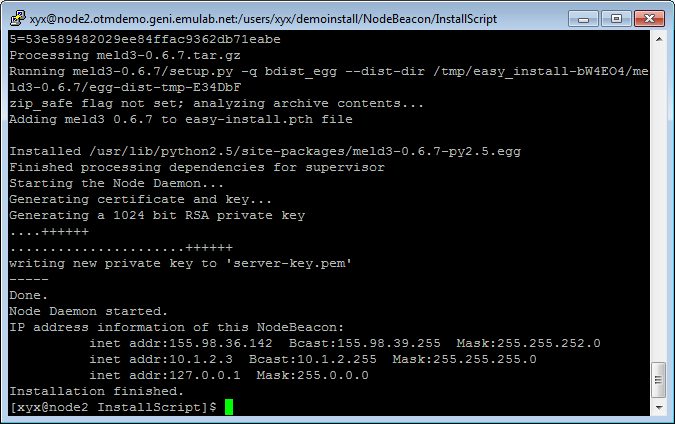
tar xzf NodeBeacon.tar.gz
cd NodeBeacon/InstallScript
./ontime_software_install.sh
The IP address will be displayed when the installation finished.
Write down the Node 1 IP address(i.e. 155.98.36.155)

Repeat the installation for each nodes (i.e. pc155.emulab.net) by enter the following command in each Node.
cd NodeBeacon/InstallScript
./ontime_software_install.sh
The IP address will be displayed when the installation finished. Write down the IP address of each node(i.e. node2 155.98.36.142)

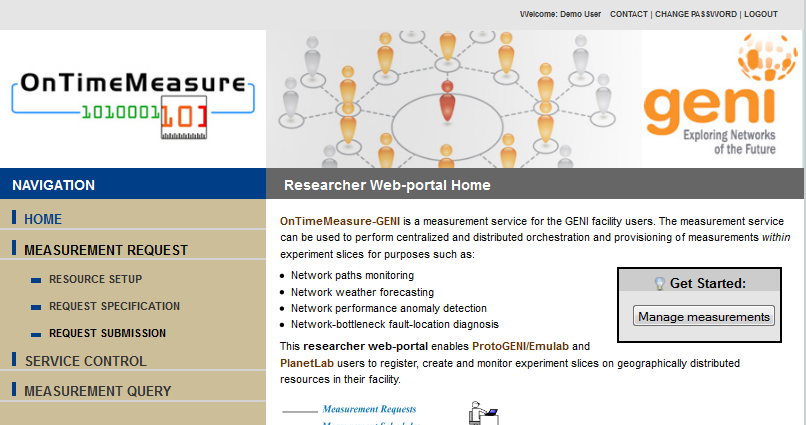
6. Configure, Control, Query OnTimeMeasure using Web-portal
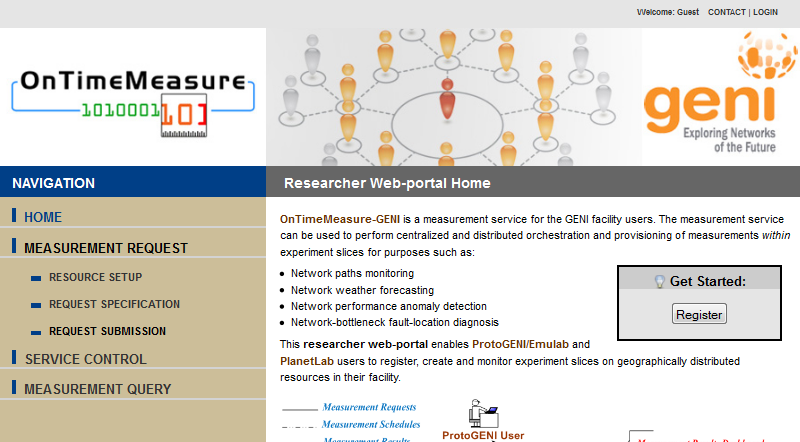
Visit - http://ontime.oar.net/ Click Register

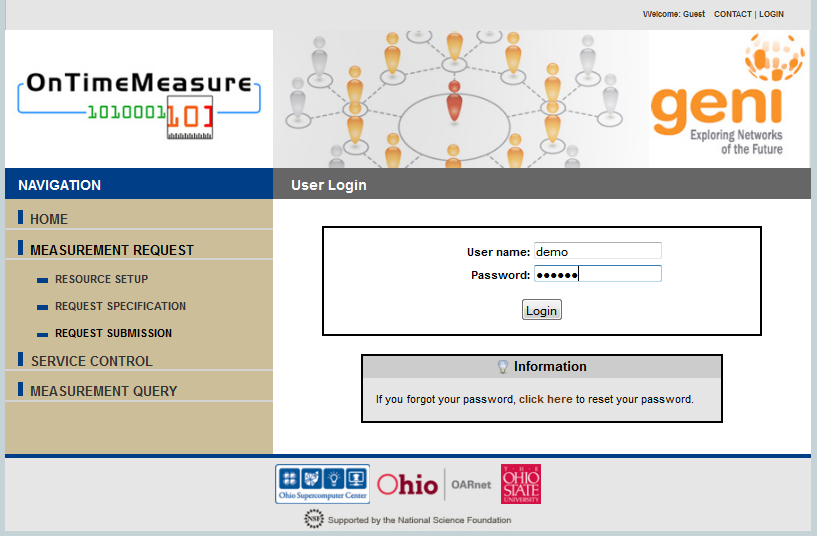
Input all the information and wait confirm email of administrator. Click login in the portal. Enter the user name and password you registered.

Click the Login Button, then click the "Manage measurements" button.

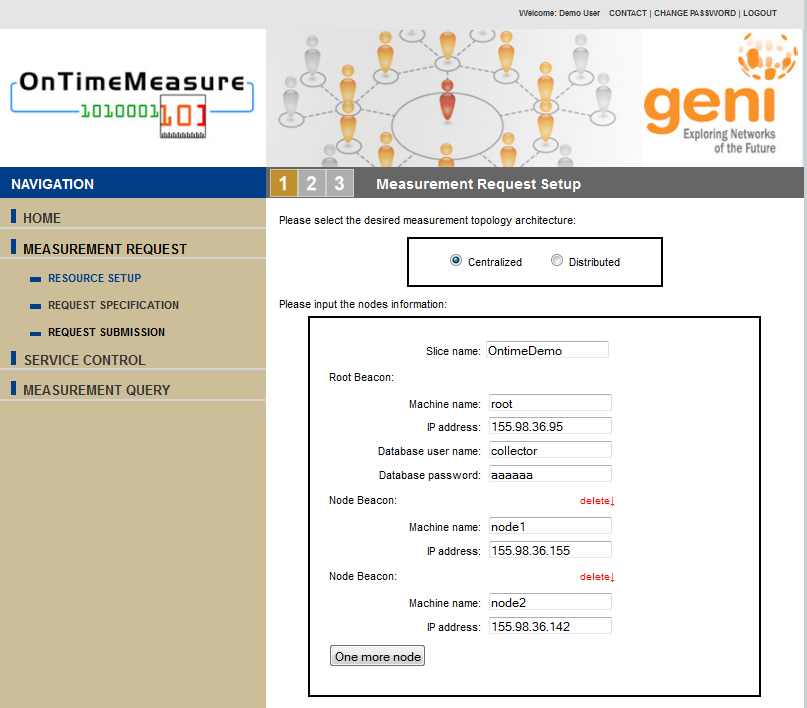
Int the Resource SETUP page, enter the information, then click the "Specify Request" button.

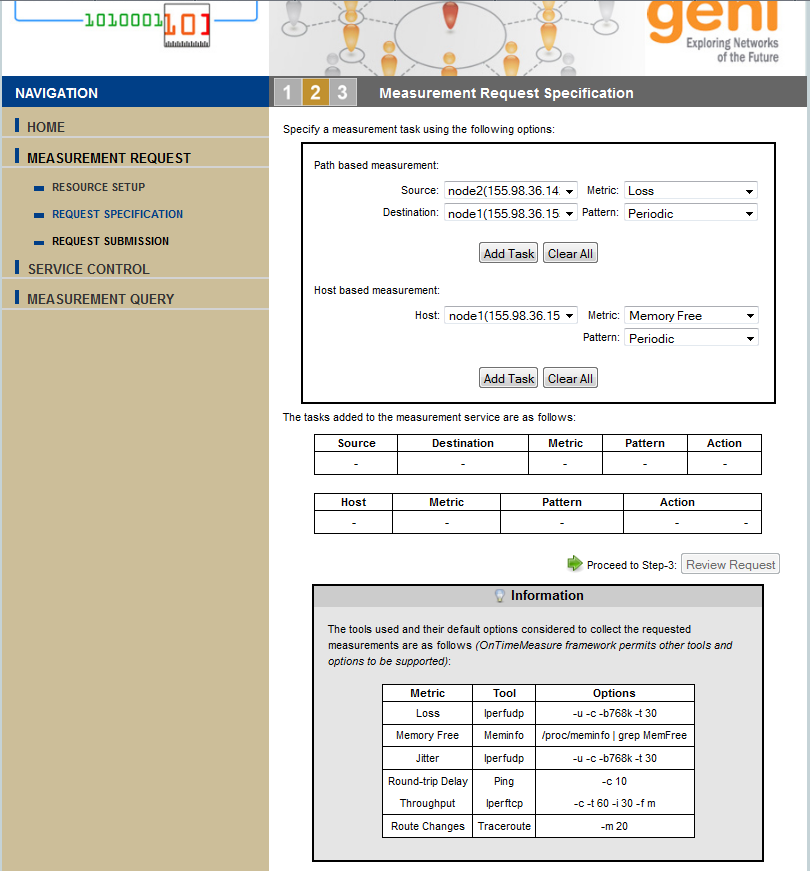
The page will jump to Measurement Request Specification page.

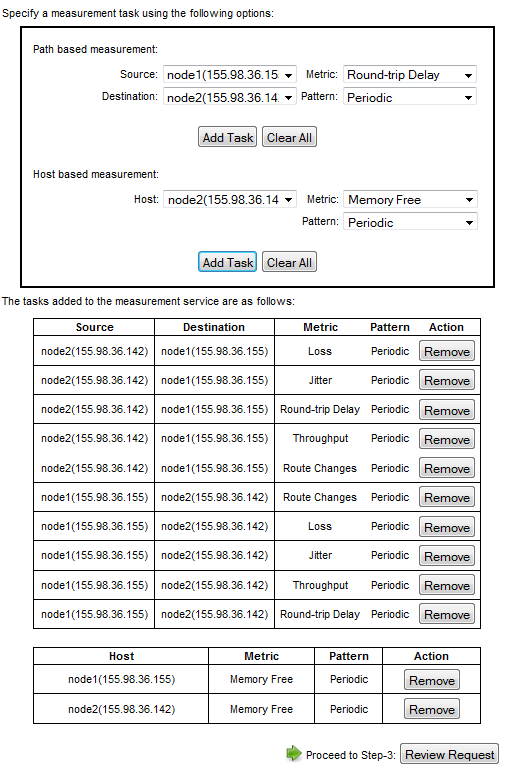
Add the measurement task

Click "Review Request" button

Click the "Submit Request" button.

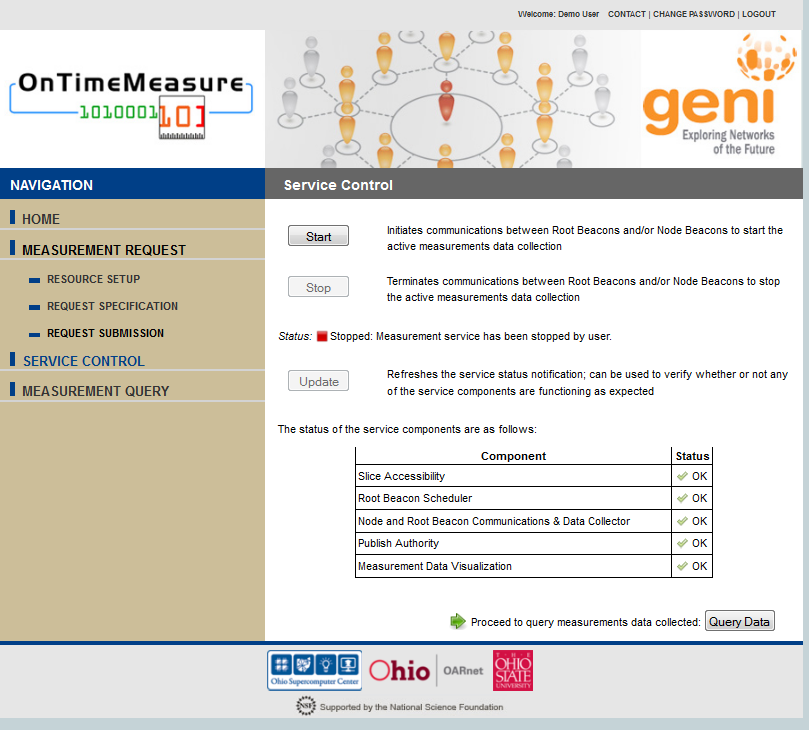
Click the "Start" Button to start the measurement

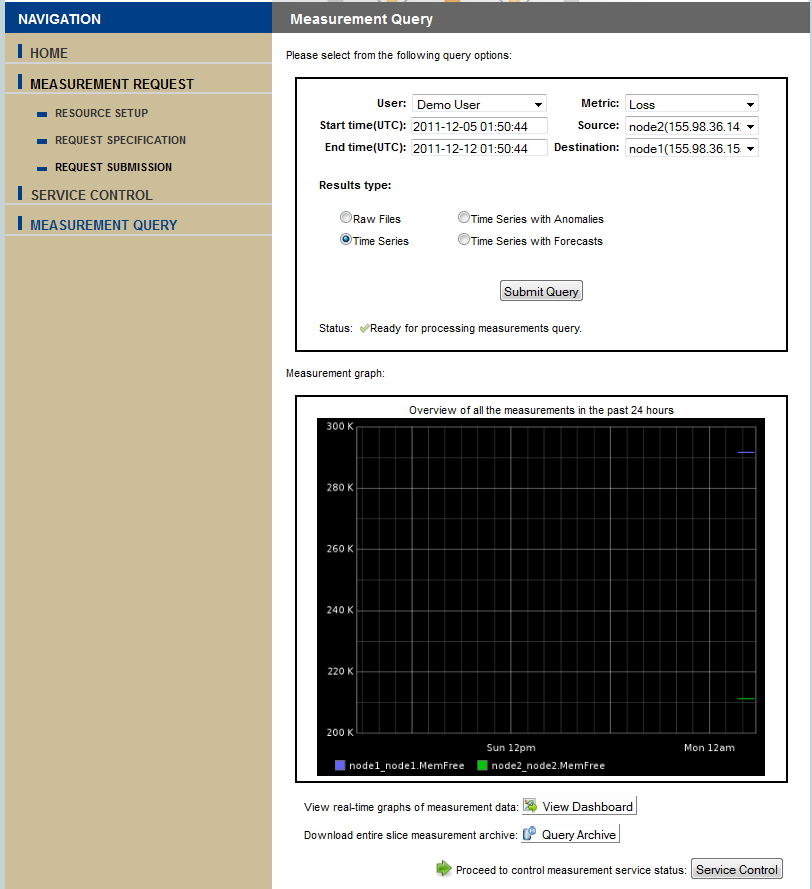
Click the Query Data button to query data

Attachments (30)
- image001.png (274.3 KB) - added by 12 years ago.
- image002.png (118.7 KB) - added by 12 years ago.
- image003.png (13.6 KB) - added by 12 years ago.
- image004.png (62.7 KB) - added by 12 years ago.
- image005.png (53.9 KB) - added by 12 years ago.
- image006.png (11.1 KB) - added by 12 years ago.
- image007.png (16.4 KB) - added by 12 years ago.
- image008.png (9.4 KB) - added by 12 years ago.
- image009.png (303.1 KB) - added by 12 years ago.
- image010.png (137.3 KB) - added by 12 years ago.
- image011.png (159.6 KB) - added by 12 years ago.
- image012.png (18.3 KB) - added by 12 years ago.
- image013.png (30.9 KB) - added by 12 years ago.
- image014.png (16.4 KB) - added by 12 years ago.
- image015.png (5.1 KB) - added by 12 years ago.
- image016.png (27.1 KB) - added by 12 years ago.
- image017.png (28.2 KB) - added by 12 years ago.
- image018.png (28.2 KB) - added by 12 years ago.
- image019.png (32.4 KB) - added by 12 years ago.
- image020.png (32.7 KB) - added by 12 years ago.
- image021.png (131.7 KB) - added by 12 years ago.
- image022.png (135.8 KB) - added by 12 years ago.
- image023.png (128.0 KB) - added by 12 years ago.
- image024.png (129.3 KB) - added by 12 years ago.
- image025.png (106.7 KB) - added by 12 years ago.
- image026.png (51.7 KB) - added by 12 years ago.
- image028.png (156.5 KB) - added by 12 years ago.
- image029.png (25.4 KB) - added by 12 years ago.
- image030.png (61.1 KB) - added by 12 years ago.
- image027.png (109.6 KB) - added by 12 years ago.