
| Version 6 (modified by , 9 years ago) (diff) |
|---|
Creating Inter-aggregate Links
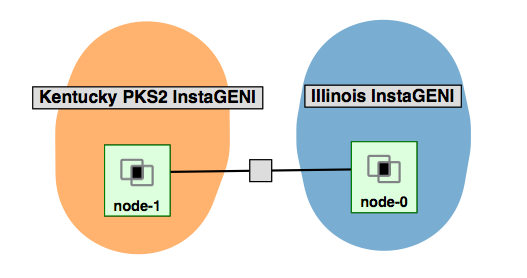
Overview:In this experiment you will learn how to set up static routing with the route command. We will use the following network topology for this experiment:
|
|
Prerequisites:For this tutorial you need :
|
Tools:All the tools will already be installed on your nodes. For your reference we are going to use: |
|
Where to get help:
|
 |
1. Verify your Environment Setup:
This exercise assumes you have already setup your account at the GENI Portal. In particular ensure that:- You can login to the GENI Portal
- You are a member of a GENI Project (there is at least one project listed under the ''Projects'' tab)
- You have setup your ssh keys (there is at least one key listed under the ''Profile->SSH Keys'' tab)
2. Setup the Topology:
- Login to the GENI Portal
- Create a new slice with the name of your choice.
- Click the Add Resources button on the Slice page.
- Drag two VMs (the black icons) onto the canvas.
- Draw a link between them.
- Drag a second site onto the canvas.
- Drag one of the existing VMs to the second site.
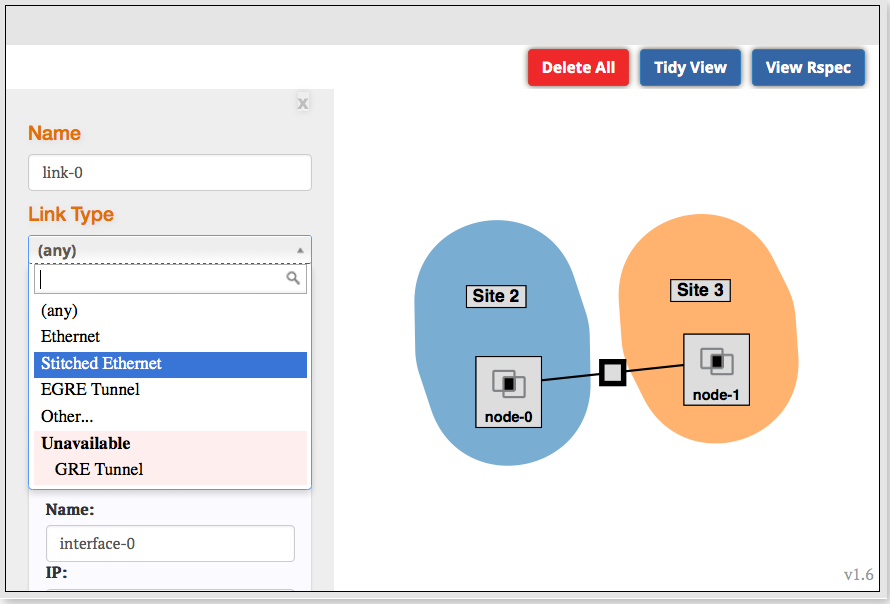
- Click on the unlabeled box in the middle of the link. Selected "Stitched Ethernet" as the link type.
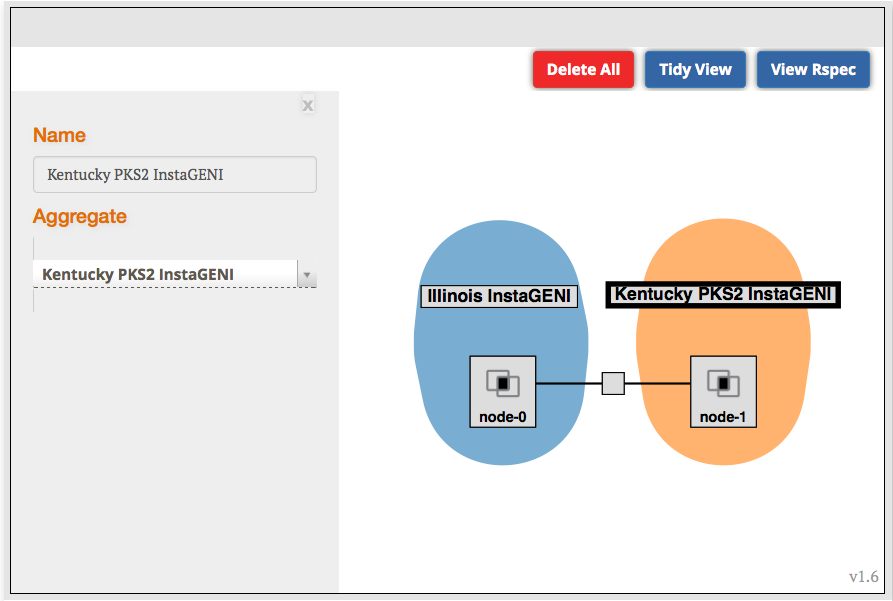
- Bind each site to an aggregate. (If you are doing this as part of a tutorial, use the aggregates specified on your worksheet.)
- Click the Auto-IP button (it's below the Jacks pane).
- Click Reserve Resources.
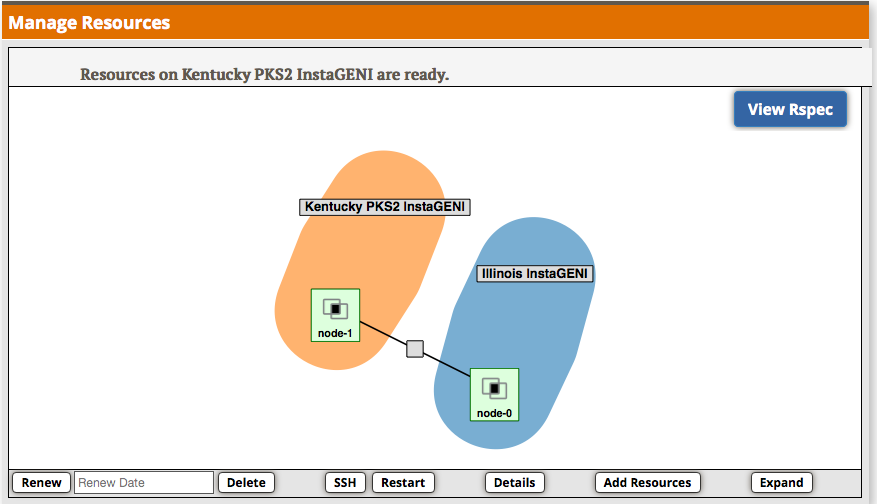
- After the nodes are reserved, return to the slice page and wait for the nodes to be ready.
 |
3. Test Connectivity
- Log into one of the nodes and ping the other node.
 |
4. Cleanup
After you are done with the exercise, delete your resources:- Click on a blank part of the canvas, then press the Delete button. When prompted, confirm you want to delete all of the resources in the slice.
Attachments (5)
- SetLinkType.png (70.8 KB) - added by 9 years ago.
- BoundStitched.png (61.9 KB) - added by 9 years ago.
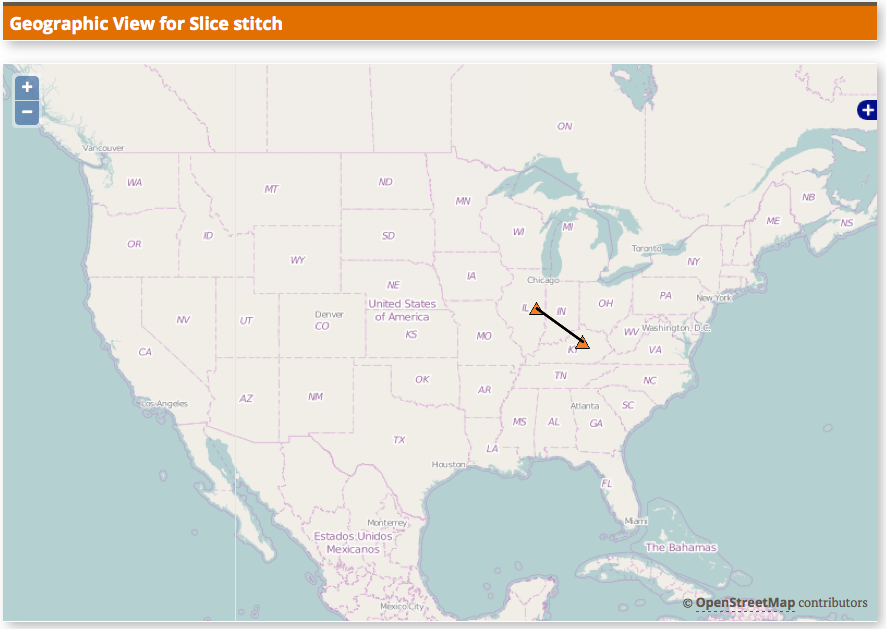
- GeoView.png (239.4 KB) - added by 9 years ago.
- SlicePgWithManifest.png (58.7 KB) - added by 9 years ago.
- Topology.png (26.0 KB) - added by 9 years ago.
Download all attachments as: .zip