
| Version 1 (modified by , 12 years ago) (diff) |
|---|
OnTimeMeasure Early Integration Efforts with Instrumentation Tools
Prasad Calyam, Rohit Patali, Yingxiao Xu
January 15, 2012
Software License: 'GENI Project License (GPL)'
For questions regarding this document, please contact - Rohit Patali rpatali@oar.net
1. Overview
OnTimeMeasure can provide measurement service that can be used to perform centralized and distributed orchestration and provisioning of active measurements within experiment slices for purposes such as:
- Network paths monitoring
- Network weather forecasting
- Network performance anomaly detection
- Network-bottleneck fault-location diagnosis
For more details regarding OnTimeMeasure please visit OnTimeMeasure Wiki.
Instrumentation Tools can provide passive measurement services within your experimental slices for purposes such as:
- CPU and Memory Utilization
- ARP Cache, TCP streams, UDP listeners, Process list, Installed kernel modules, Routing table
- IC, ICMP, TCP, UDP, Link-specific Unicast, Total network traffic
For details regarding Instrumentation Tools please visit Instrumentation Tools Wiki
This document describes our early efforts of integrating OnTimeMeasure with Instrumentation Tools.
2. Integration Steps :
Follows http://protogeni.net/tutorial.html and http://protogeni.net/flack to get slice with INSTOOLS installed.
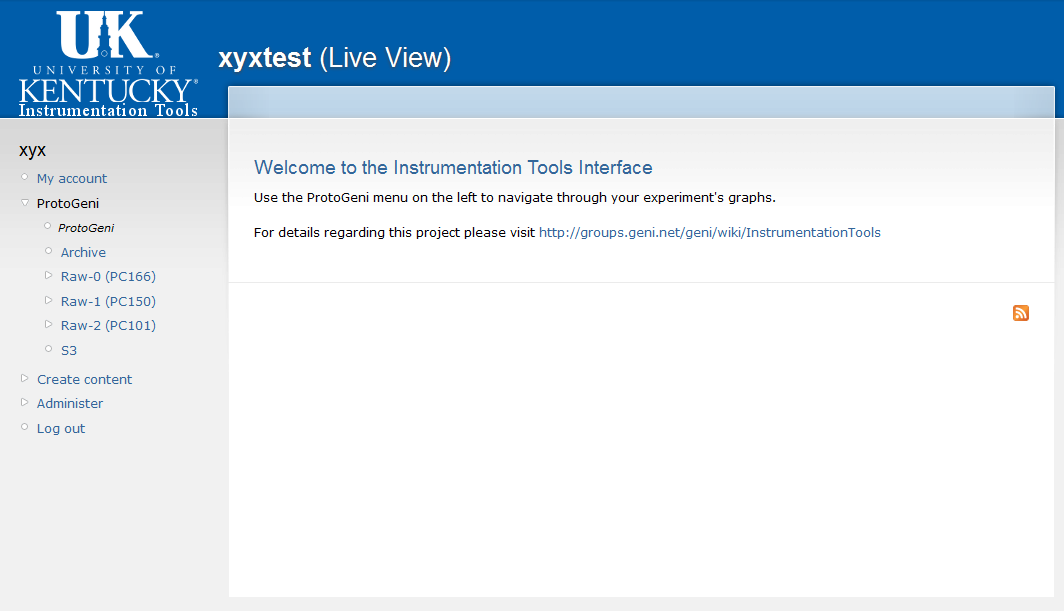
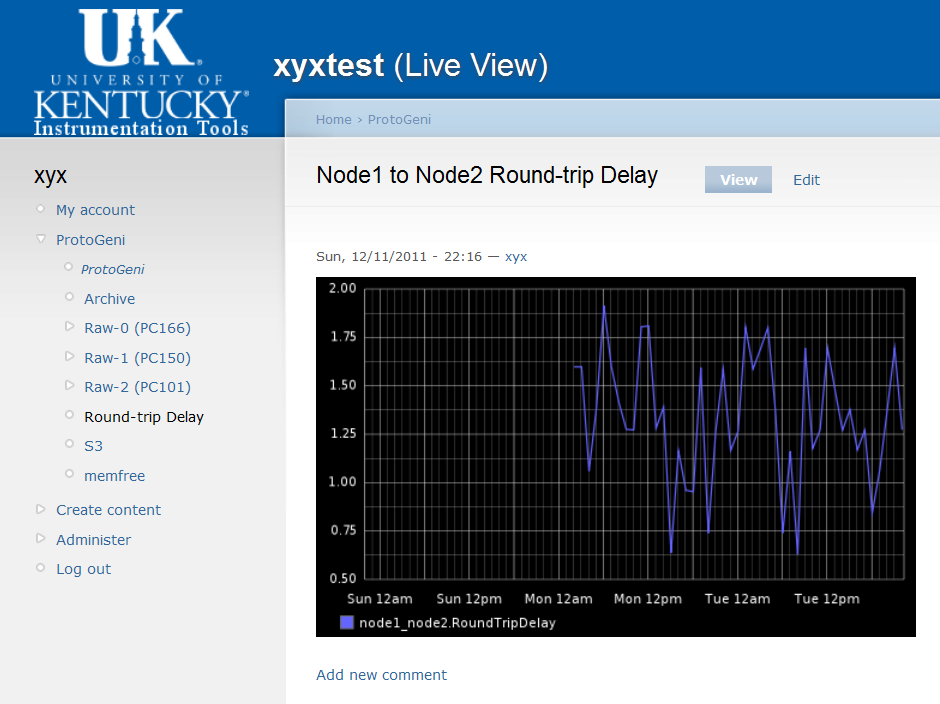
Access the Live View in browser with UI below.

2.2 Slice Configuration and OnTimeMeasure Installation
Install OnTimeMeasure as instructed in http://groups.geni.net/geni/wiki/OnTime-Install.
2.3 Modifying Drupal Interface
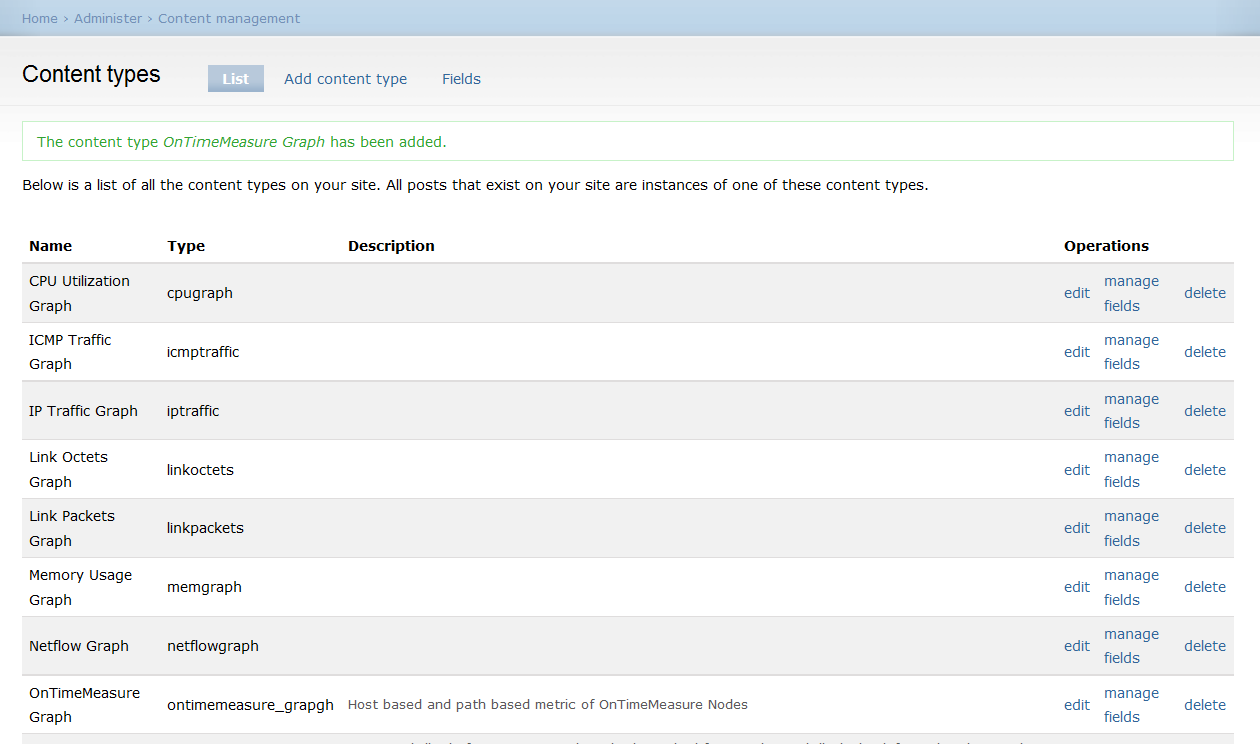
2.3.1 Creating Content Types
We create content types for metrics first which can be reused for different nodes.
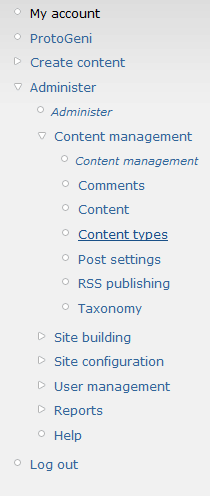
This is done by by selecting: Administer -> Content Management -> Content types.

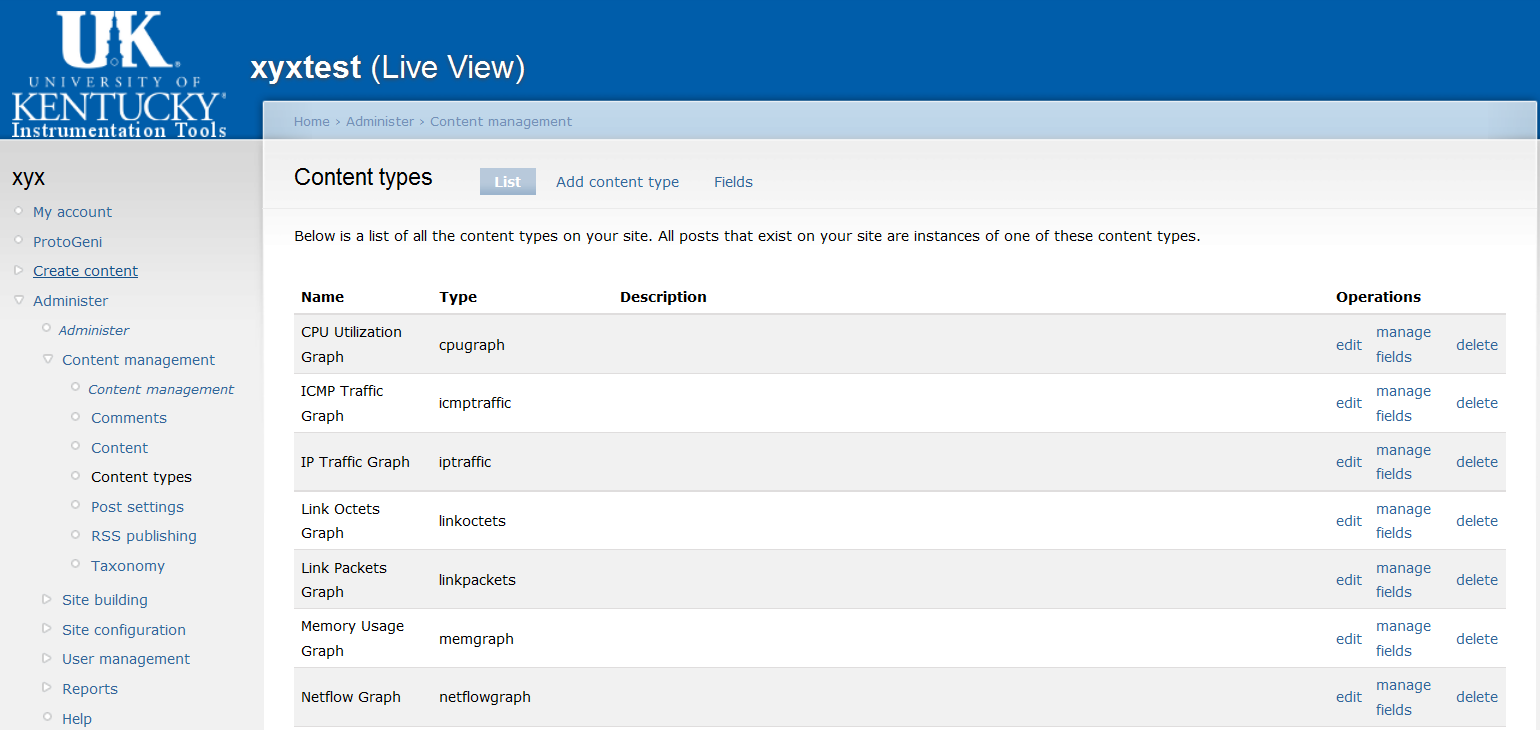
Some existing content types will be listed.

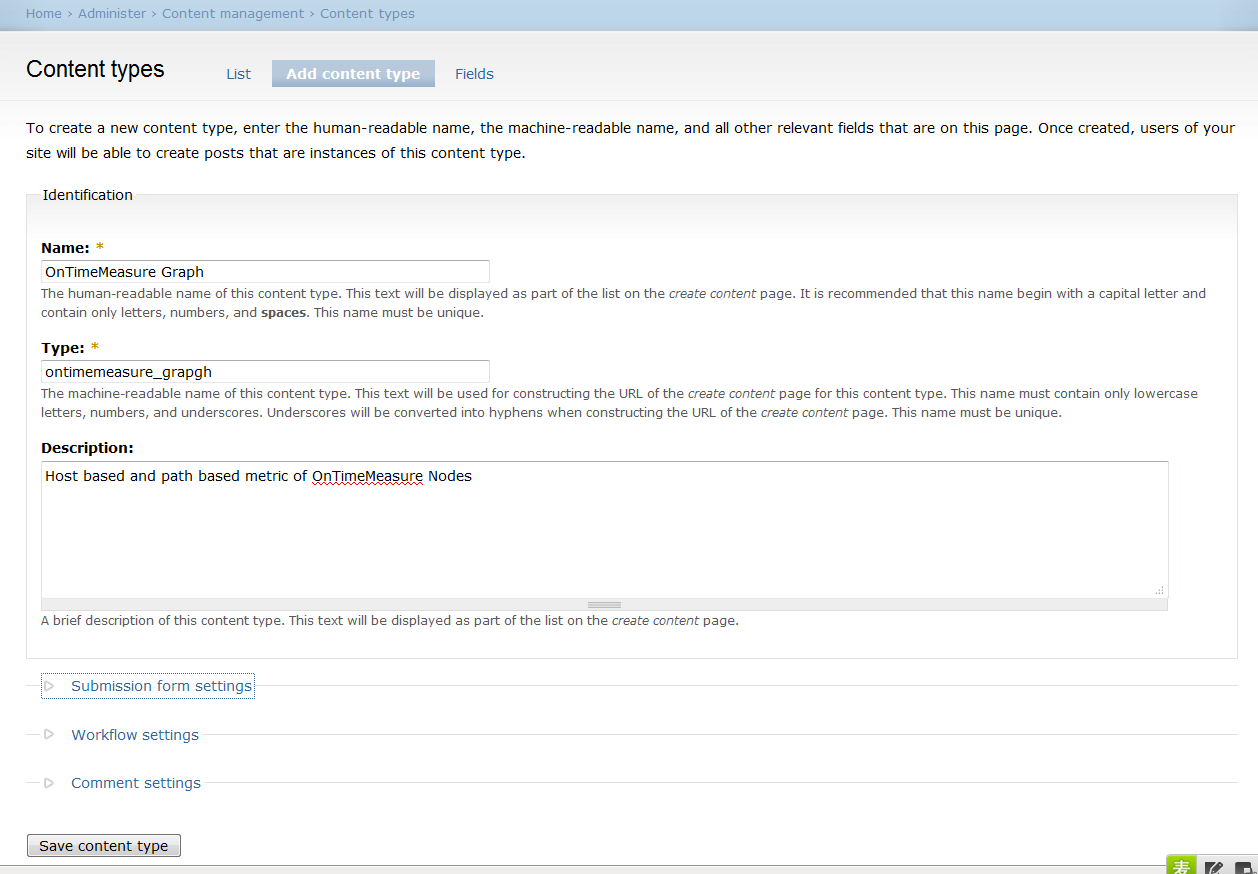
Click the "Add content type" link. A form will appear, fill in the Name (i.e. "OnTimeMeasure Graph"), Type, and Description for the content type. A sample content type creation is show here.

Click the “Save content type” button and a new content type menu item will appear in the page.

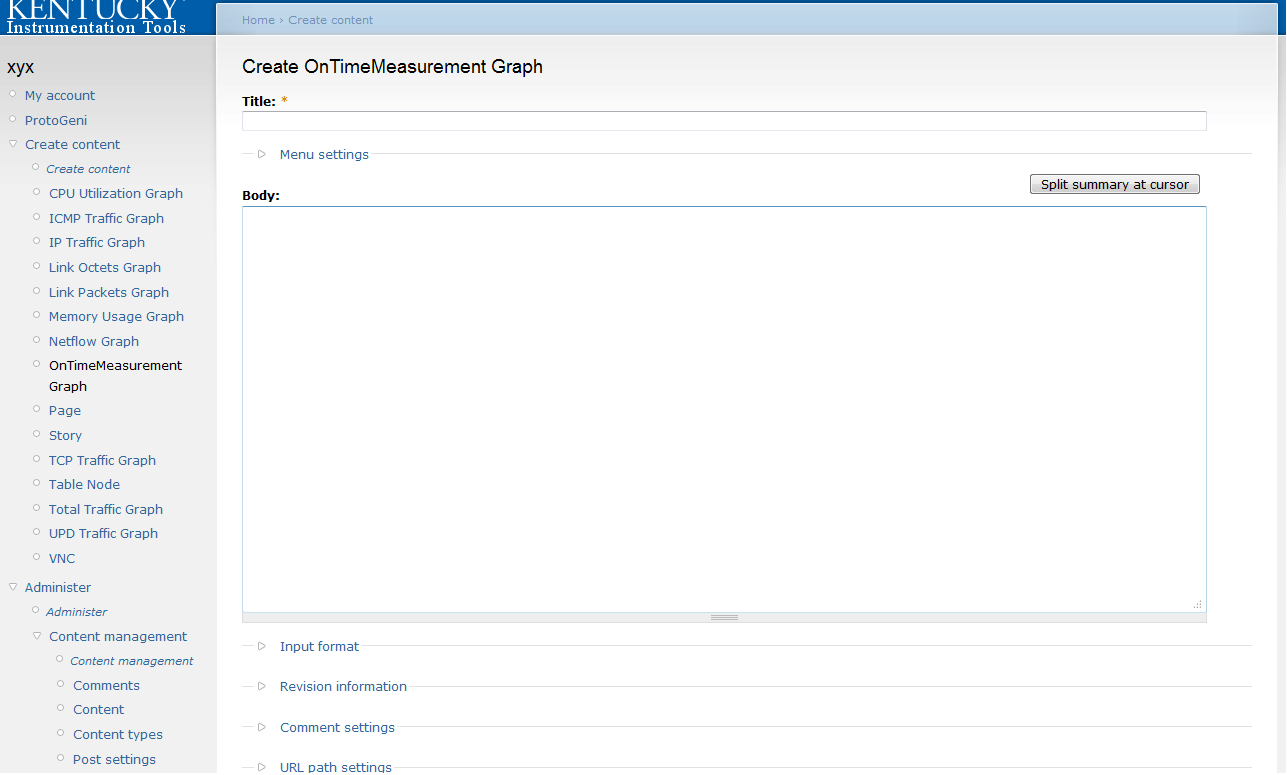
2.3.2 Adding Content
Click the menu "Create content". The name your set in previously step (i.e. "OnTimeMeasure Graph") will appear. Click it.

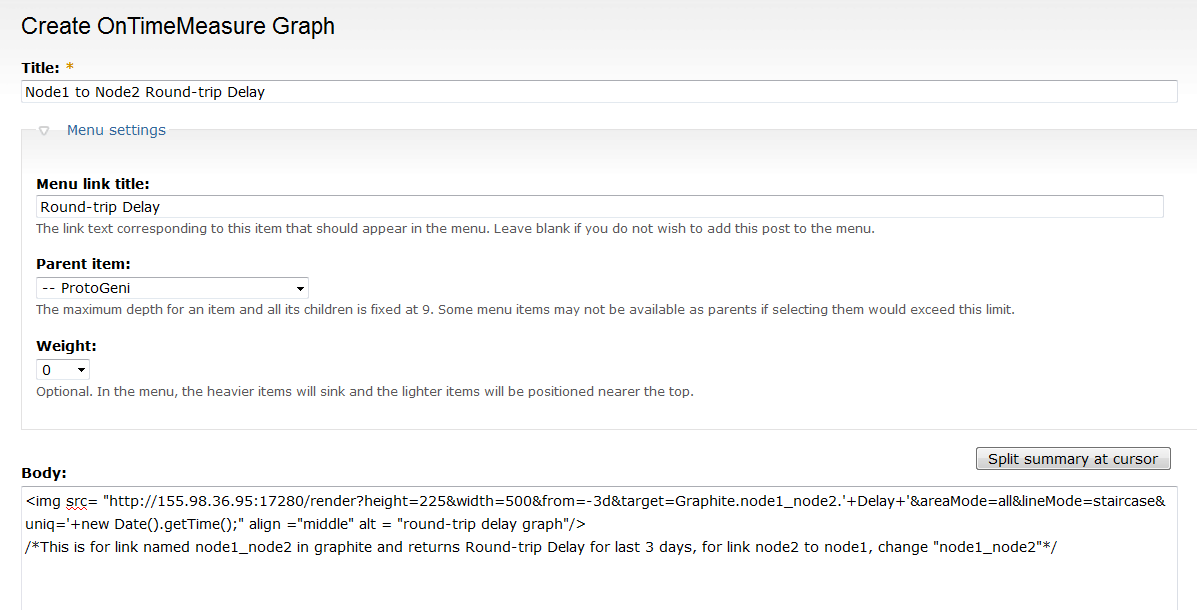
As in figure below, fill the title. Click the Menu link title, choose a parent item(i.e. "ProtoGeni").
In the Body, Enter the following:
<img src= "http://root_machineIP:17280/render?height=300&width=500&&from=-3d&until=now&target=Graphite.node1_node2.RoundTripDelay&uniq='+new Date().getTime();" align ="middle" alt = "round-trip delay graph"/>
<!-- This is for link named node1_node2 in graphite and returns Round-trip Delay for last 3 days, for link node2 to node1, change "node1_node2" -->
Note: Change the root_machineIP to IP address of your RootBeacon.

Choose full HTML for Input format

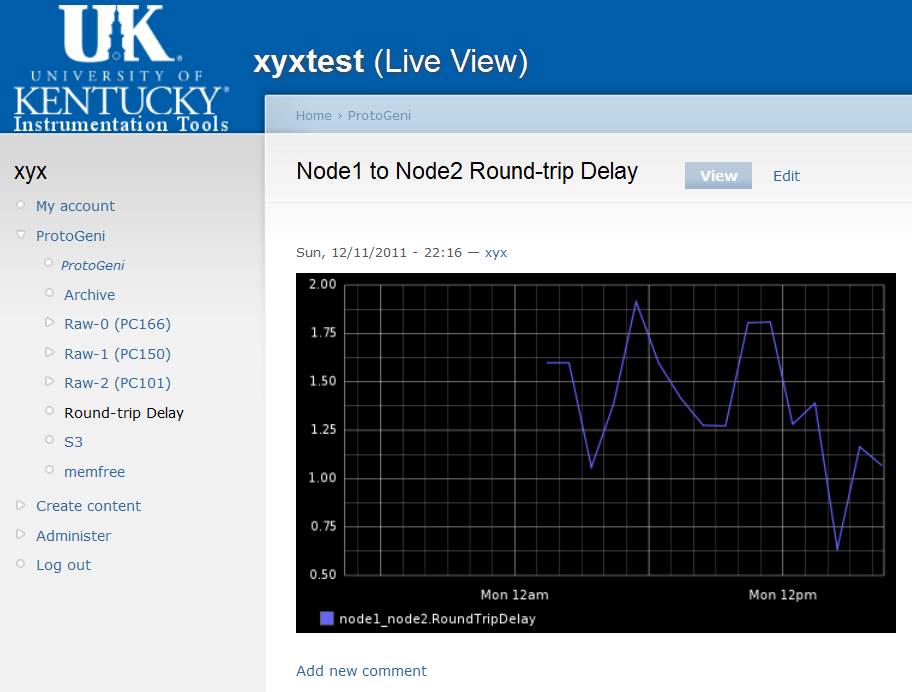
Click Save button.
Newly created menu with the name set in the "Menu link title" will appear under the item set in the "Parent item".

Attachments (10)
- image001.png (54.1 KB) - added by 12 years ago.
- image002.png (14.2 KB) - added by 12 years ago.
- image003.png (104.3 KB) - added by 12 years ago.
- image004.png (59.5 KB) - added by 12 years ago.
- image005.png (53.6 KB) - added by 12 years ago.
- image006.png (61.1 KB) - added by 12 years ago.
- image007.png (40.9 KB) - added by 12 years ago.
- image008.png (21.5 KB) - added by 12 years ago.
- image009.png (99.3 KB) - added by 12 years ago.
- image010.png (123.5 KB) - added by 12 years ago.
Download all attachments as: .zip