
| Version 13 (modified by , 8 years ago) (diff) |
|---|
File Upload Module
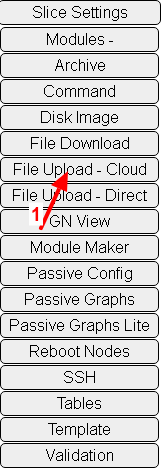 |
- Click on the File upload-Cloud button from the list of buttons in the top left of the page.
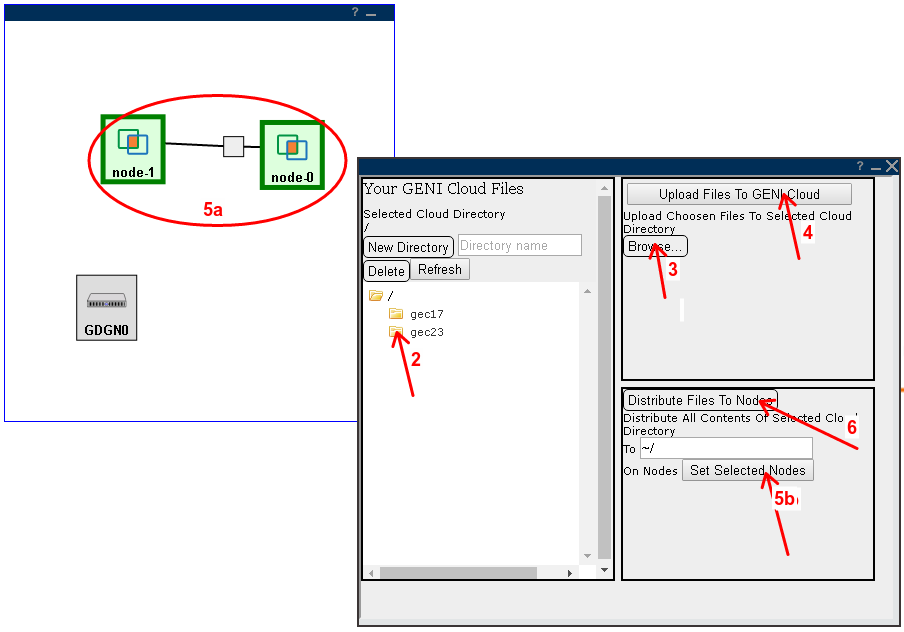
- In the small window that shows ups, Click on the folder Directory listing and select the folder you want the files uploaded to. This is a temporary location at the GENIDesktop where we store the uploaded files. (You can create directories and store uploaded files in different directories for later distribution)
- Once you have selected a temporary folder location, Click on the Browse button in the right column and select the files you want to upload.
- Once your files have been selected, Click on the Upload Files to GENI Cloud button. These files should then show up in the left column under the folder you uploaded to.
- Select the node/nodes on which you want to upload your files to from the logical view . Then click on the Set Selected Node button. Make sure you see your selected nodes listed below that button. In the To text box, type in the destination location you want to upload these files to. This location should be a directory that exists on all the nodes in your slice.
- Click on the Distribute button. You should see a progress bar for the upload progress.
Attachments (2)
- 1.png (9.4 KB) - added by 8 years ago.
- 2.png (44.6 KB) - added by 8 years ago.
Download all attachments as: .zip