
| Version 5 (modified by , 11 years ago) (diff) |
|---|
OpenFlow Load Balancer Tutorial

2. Implement VLC DASH Client on ExoGENI VLAN
2.1 Setup OpenFlow Switches
- 2.1.1 Login to VM and get the public IP by executing ifconfig
- 2.1.2 Login to nodes VM, VM-0, VM-1, VM-2 and execute the following script
#!/bin/bash
ovs-vsctl add-br test
ovs-vsctl add-port test eth1
ovs-vsctl add-port test eth2
ovs-vsctl add-port test eth3
ovs-vsctl set-controller test tcp:<IP.OF.CONTROLLER>:6633
ovs-vsctl set-fail-mode test secure
Replace IP.OF.CONTROLLER above with the public IP address of VM.
2.2 Setup the Apache Server and host DASH Video
In this section, you will be able to install the Apache server on ExoGENI node (VM-3) by logging in and executing the following script.
The first 4 lines of this script install and setup the Apache server. The rest of the script downloads a sample DASH video from emmy9.casa.umass.edu and hosts it on the server that you just set up.
#!/bin/bash

apt-get update
apt-get -y install apache2
apt-get -y install apache2-threaded-dev

apache2ctl restart

mkdir /root/DASH_BuckBunny

curl http://emmy9.casa.umass.edu/wget_download.sh -o /root/wget_download.sh

chmod +x /root/wget_download.sh

sh /root/wget_download.sh
2.3 Install VLC Client
The actual VLC Client which requests the video can be set up using this script. For streaming this video from the Apache server and in order to instrumentize and measure the DASH bit-rate using LabWiki we need to execute the following commands.
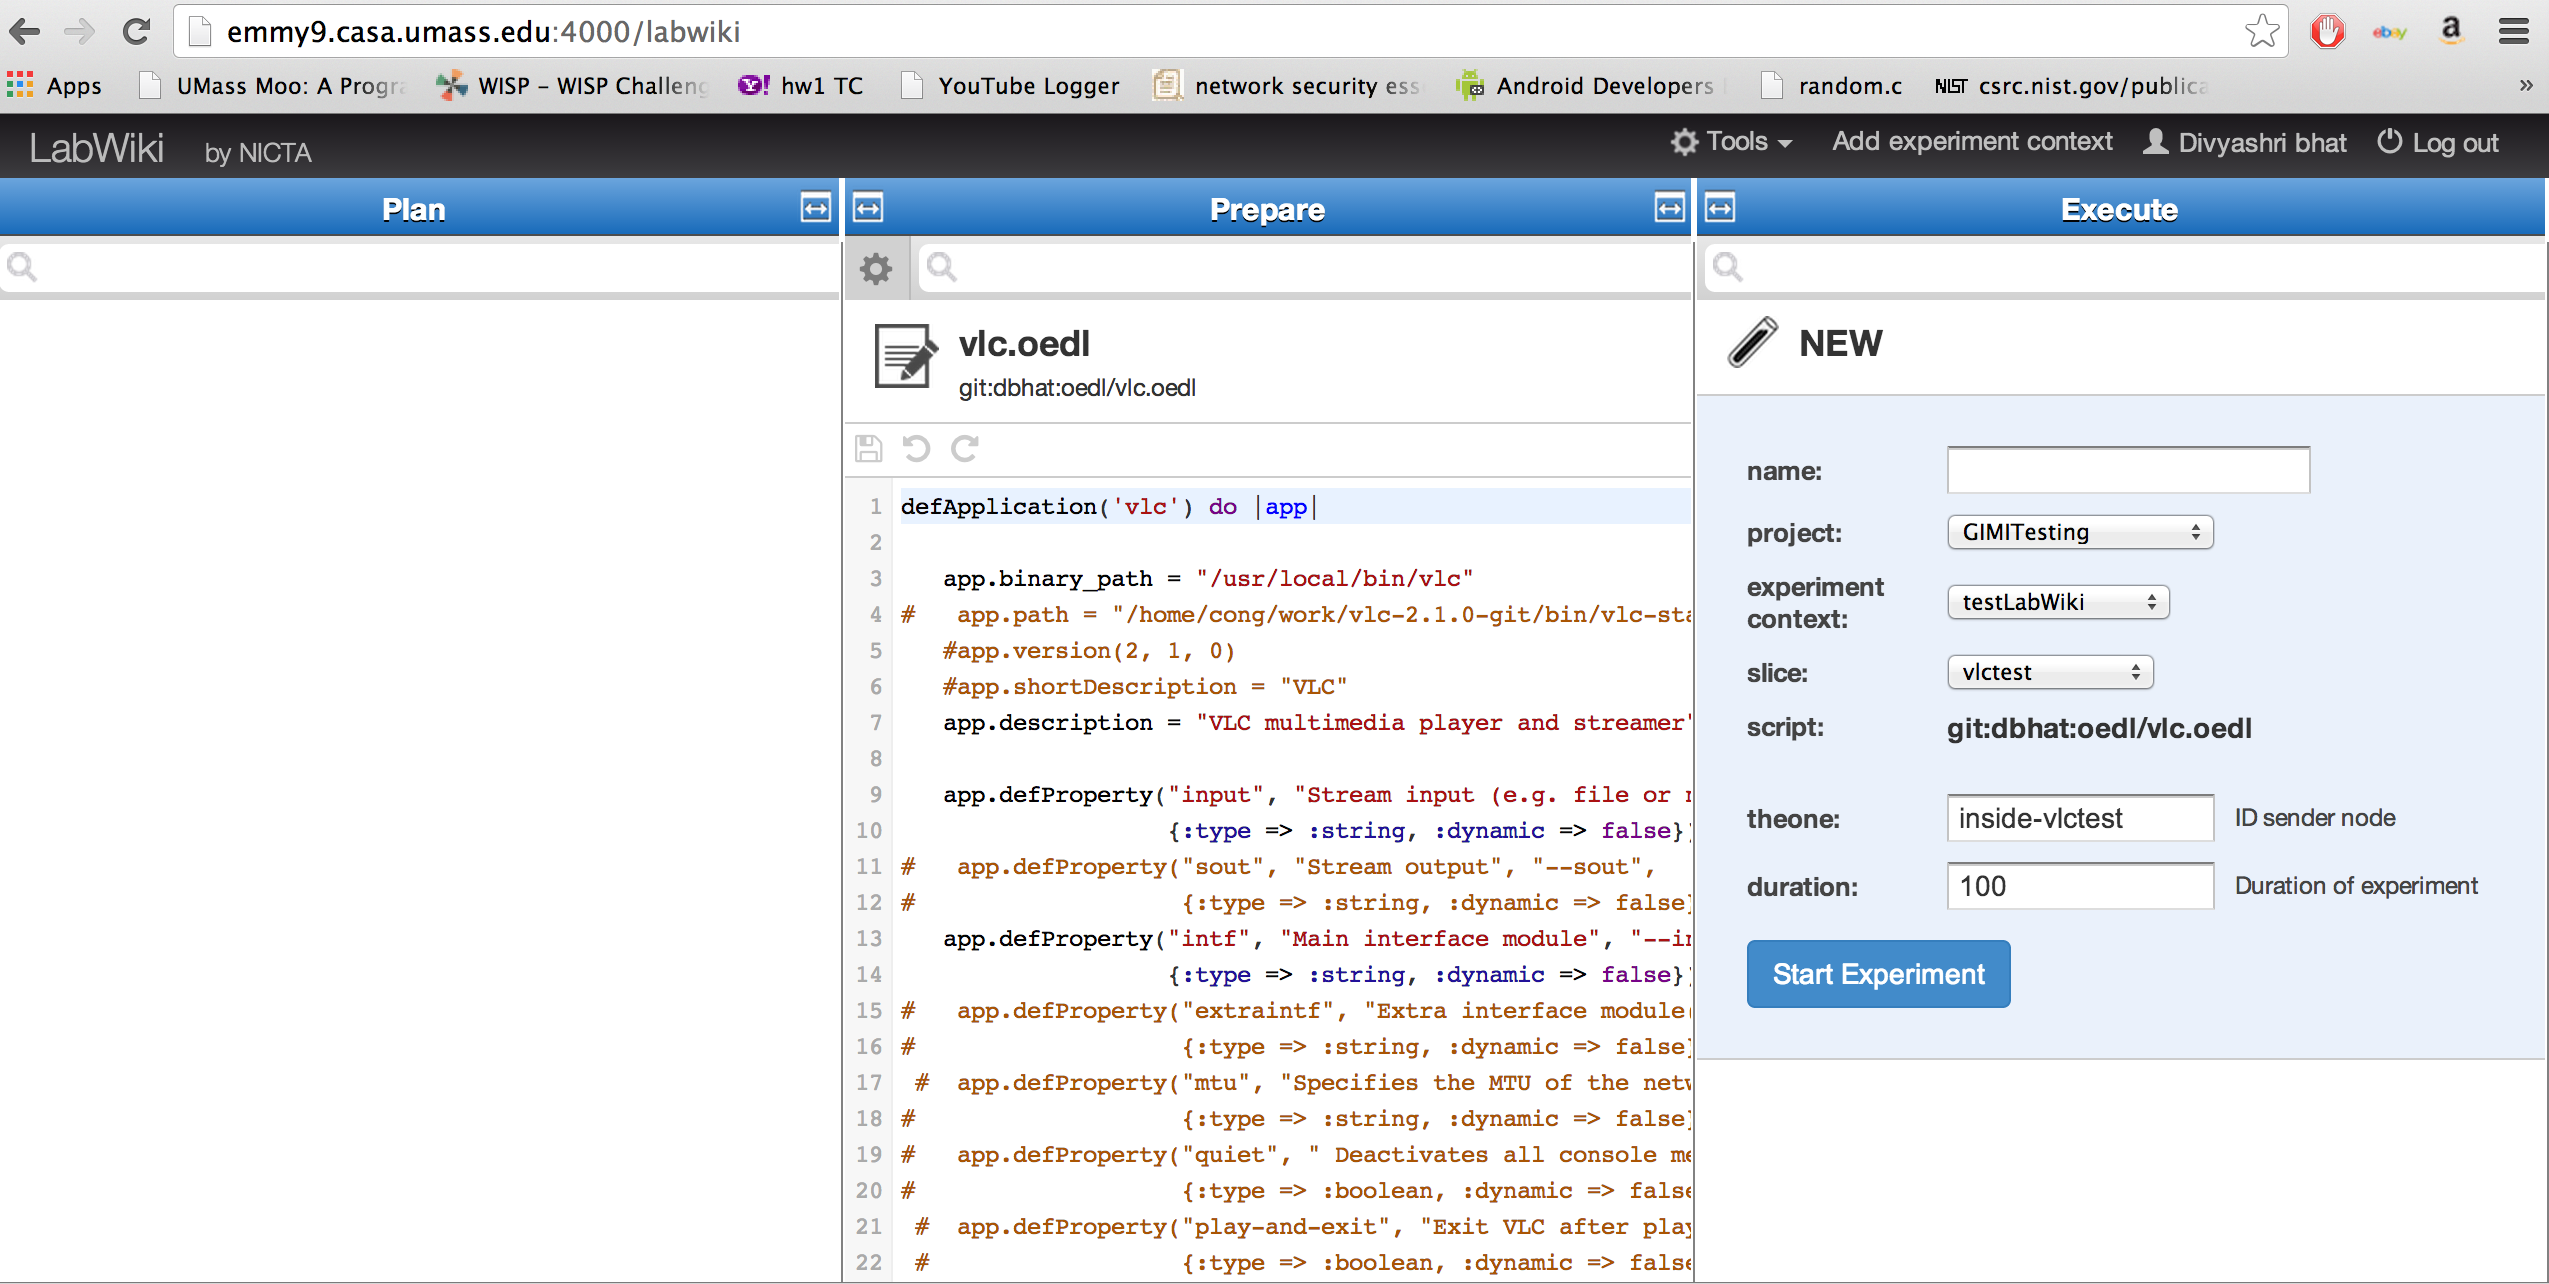
2.4 Instrumentize and Measure DASH Bit-Rate using LabWiki
2.4.1 OML Script
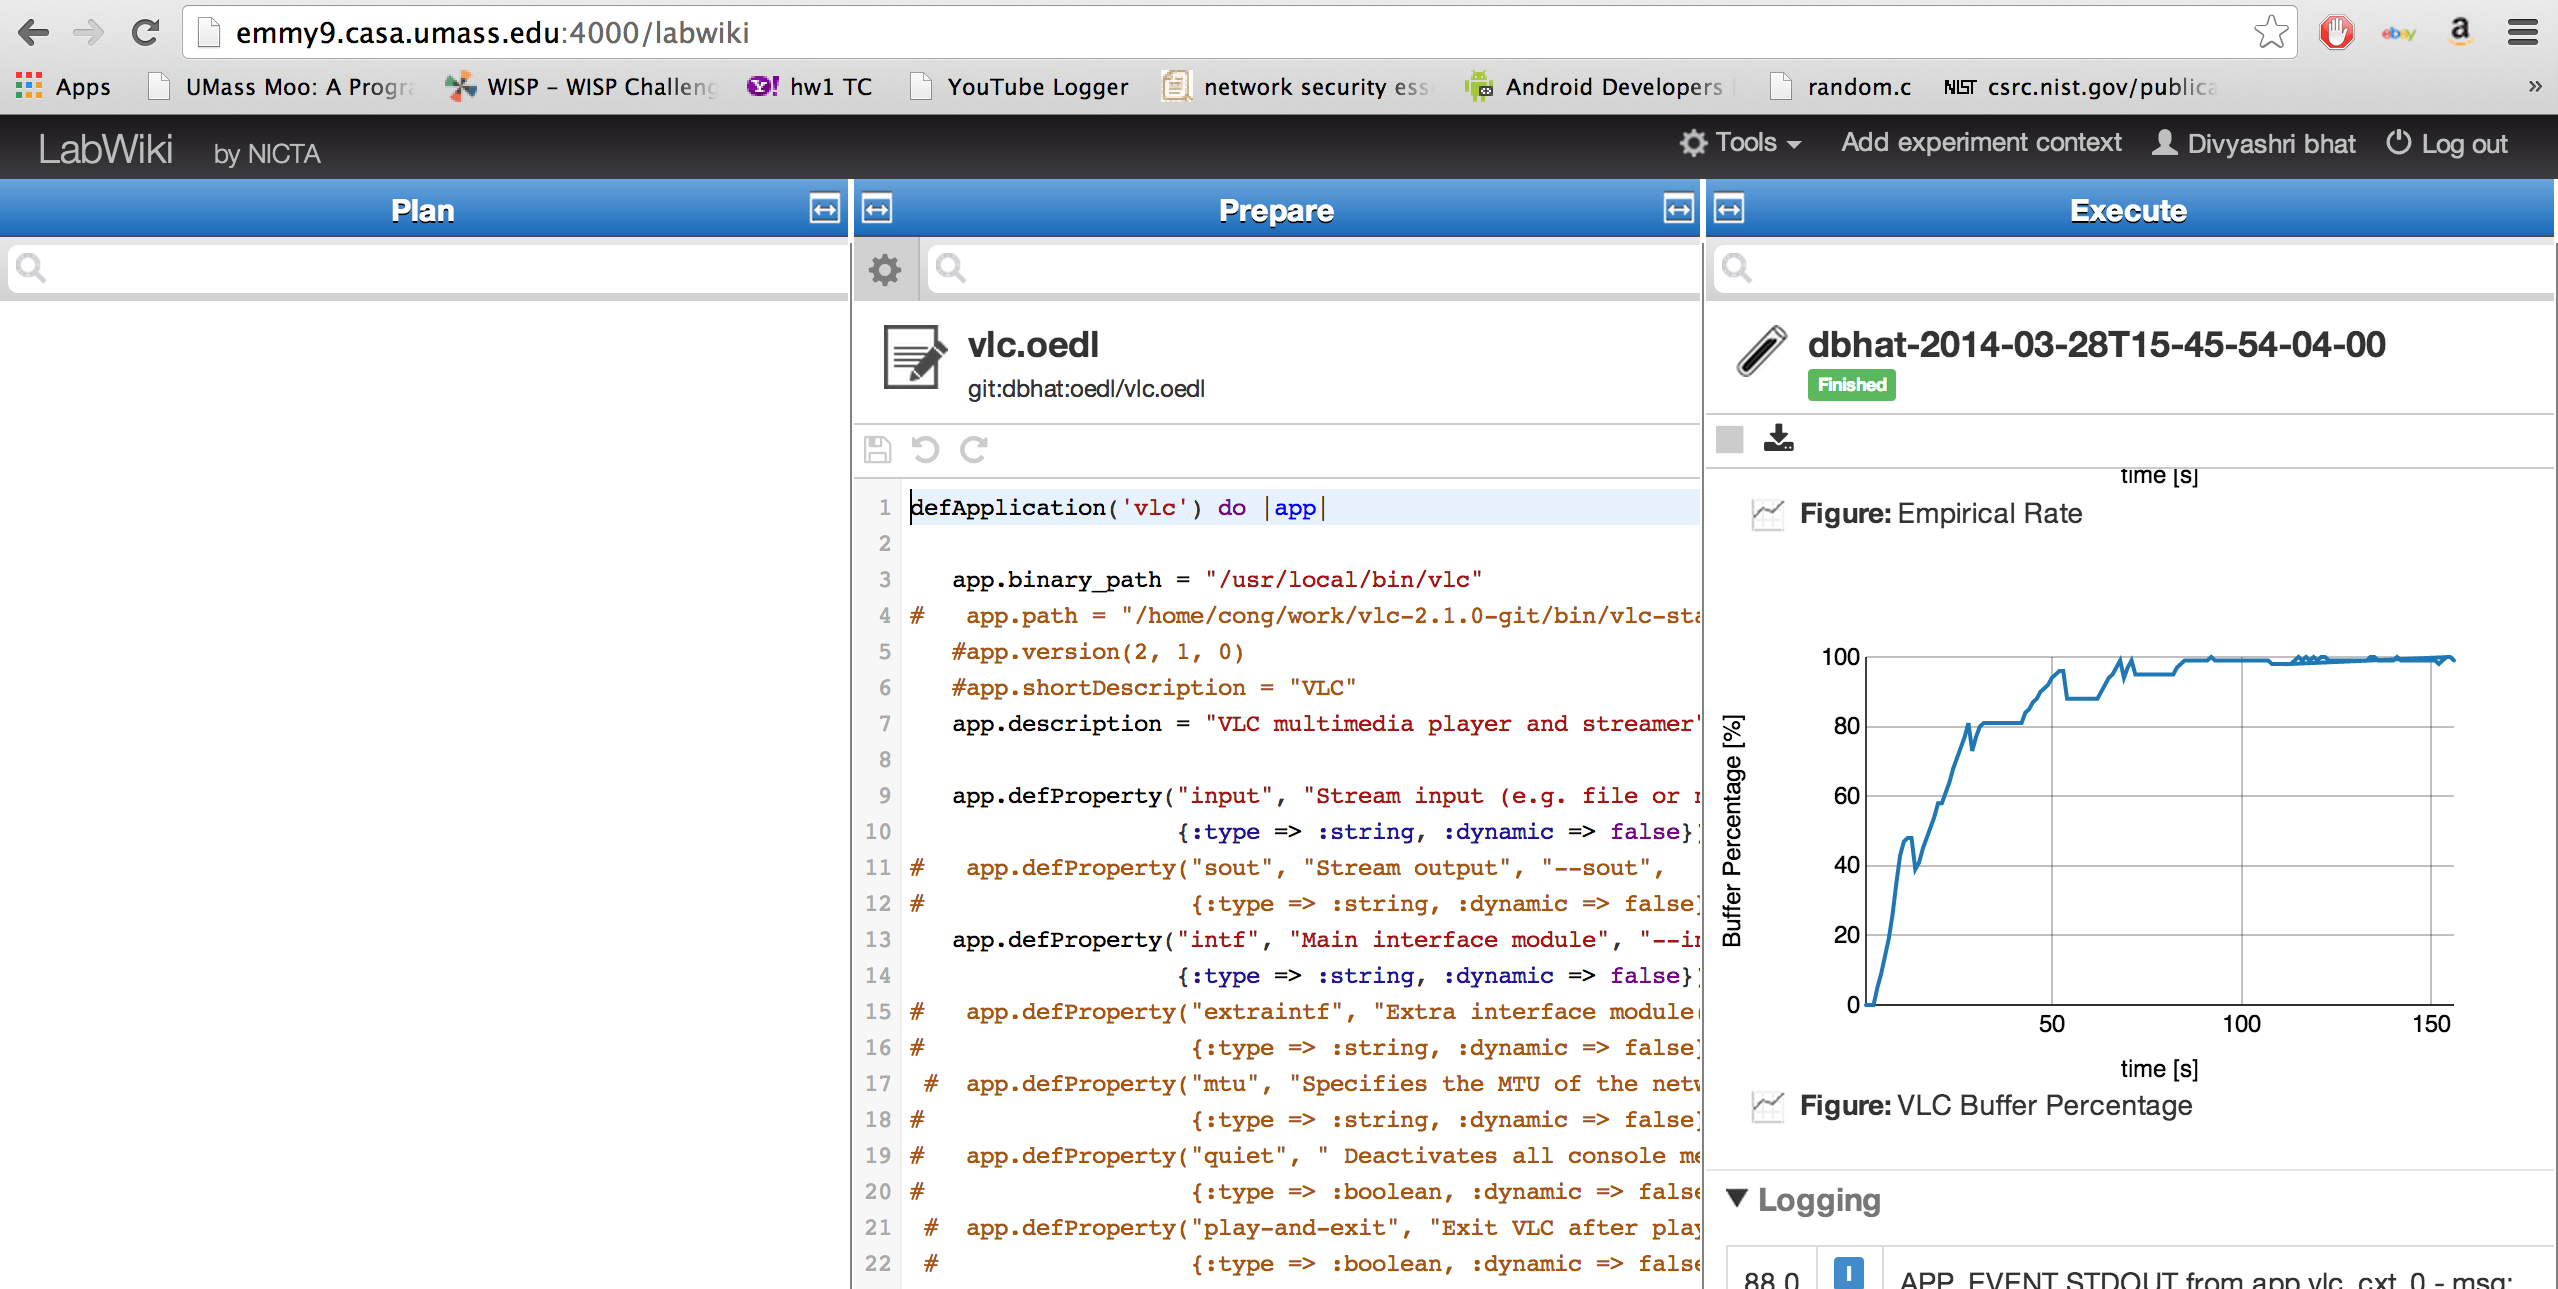
2.4.2 Execute Script
2.4.3 View Results in iRODs
Attachments (6)
- vlcscr1.png (402.4 KB) - added by 10 years ago.
- vlcscr2.png (491.2 KB) - added by 10 years ago.
- vlcscr3.png (474.6 KB) - added by 10 years ago.
- vlcscr4.png (492.0 KB) - added by 10 years ago.
- vlcscr5.png (479.7 KB) - added by 10 years ago.
- vlcscr6.png (501.4 KB) - added by 10 years ago.