| Version 30 (modified by , 10 years ago) (diff) |
|---|
Navigation: Up
Accessing Slices: Start using the GENI Desktop (login, initialize, instrumentize)
To login to the GENI Desktop
Open a browser (Preferably Firefox) Go to https://genidesktop.netlab.uky.edu and follow the arrows to walk though the login process.
Now type in your passphrase you set when creating your ssh key pair at the GENI Portal when your account was created.
Click on the button shown below to continue
Choose Project
If you are a member of multiple projects, there will be an option to choose which project slices you want to initially view. Choose from the drop down menu. Choose "All" to see all of your projects. "None" is a legacy choice for slices not created with a project. You may change your choice at any time using the drop down.
The GENI Desktop Slice List Page
Once you are logged into the GENI Desktop, you will be presented with the "Slice List" page as shown below.
The slice list page provides a list of all your slices. It allows you to create new slices and to work with your existing slices. Each line lists the name of the slice, a description of the RSPEC (if available), the number of Aggregate Managers (AMs) used by the slice, whether the slice has resources (slivers) allocated to the slice, whether the slice lifetime should be automatically renewed by the GENI Desktop, the slice's expiration date/time, and the next action to take on this slice.
In this exercise, we assume you have already created a slice and allocated slivers (resources) to the slice resulting in a slice line like that shown above. At this point your next step is to "Initialize" the slice for use in the GENI Desktop.
Initializing a Slice
What does Initialize mean?
In order to use the basic functionality of the GeniDesktop, the GeniDesktop must install and configure the Global Node (GN) -- which you added at slice creation time. In particular, it must:
- Install and configure software on the GN such as the apache webserver, a mysql server, a content management system, etc.
- Generate ssh keys dynamically on the Global Node, and then distribute the public key to the other nodes in the slice so that they can be controlled/monitored by the GN.
- Install software called Shellinabox on the Global Node which is used as a proxy to provide web-based ssh access to all other nodes in your slice.
- Setup the necessary authentication/authorization in order to access the the above-mentioned services.
Why is Initialize Needed?
As you will see later in this session, once the slice is initialized, you will be able to use a web-based terminal to connect to your nodes just by clicking on a node in the topology diagram. You will also be able to copy files to your nodes and will have the ability to run commands on all the nodes (or a subset of nodes) in your topology at the same time.
So What do I do next?
Under the header "Next Action" there will be a button that will perform the next logical step for the slice. Once the resources are allocated, you can initialize the slice. The Next Action button will say "Initialize". Click it to start the Genidesktop Initialization process for that slice
Initialization of the slice is in progress
Instrument your Slice
What does Instrumentize mean ?
Once you have your experiment running, you may want to collect statistics (system/network). The statistics may be collected using active probing of your slice or you may just want to collect data passively from the nodes. Active Tests can include bandwidth measurement tests, Round trip time and many others. These measurements are taken by actively sending traffic on the nodes and link in your slice. Passive measurements may include, monitoring the traffic flow on links/nodes, system statistics like CPU and Memory monitoring, monitoring of system processes, IP tables and routes where in no data is actually sent through your nodes/link. All data collected is from the activity being performed by you or the Testbed on your nodes. For this to happen, we utilize the GEMINI I&M system which is installed, configured and setup for you during this phase. This involves installing a lot of software on your nodes including the global node. This operation can take quite a considerable amount of time depending on which Disk Image is loaded on your nodes. If using a GEMINI enabled Disk Image listed at this page, this phase should complete within 10 minutes. IF you use your own Disk Image on the nodes in your slice which is also supported by GEMINI, this phase may take about 30 minutes or sooner.
Why is Instrumentize Needed?
Once instrumentized, you can use the full capability of the GeniDesktop. This includes viewing network and system graphs, tabular data collected from your nodes, and reconfiguring the data you want collected and displayed. You also now have the ability to archive your data to your Irods account created at the GeniPortal. Once instrumentized, there will be additional data collection routines and daemons running on your nodes. The additional system and memory load should be minimal though and should not affect the performance of your nodes. You should also be able to use features you had when you initialized your slice.
So What do I do now ?
There are two ways to perform this operation
Alternative 1
Click the button pointed by the arrow to begin Instrumenting your slices using GEMINI
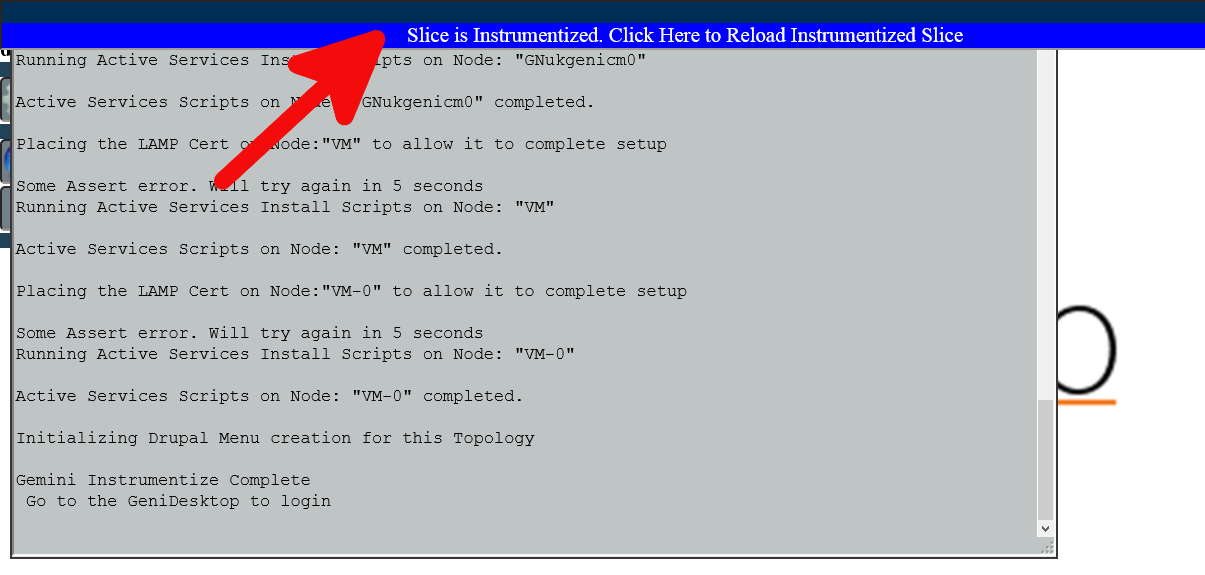
Once the process is completed you may click the button to go on to the GeniDesktop.
You should see a pop up tab/window in your browser before you were taken to the Genidesktop page. All services run on the Global Node under apache's web server that runs using a self-signed certificate. This has to be accepted by you when presented in the browser.
| In Google Chrome |

|
| In Mozilla Firefox |

|
You may see multiple pages like these , one from each Global Node (or GN Node) if your slice has nodes from multiple aggregates (AM) . You have to accept each one of them (Self signed cert pages).
If you missed or cannot see the pages to accept the Self Signed certificate messages, close the tab or window that has the genidesktop webpage and launch the page again. Make sure to watch for it this time.
Alternative 2
View Slice In The GENI Desktop
Click on the slice name to open the slice in the GENI Desktop.
You should see a pop up tab/window in your browser before you were taken to the Genidesktop page. All services run on the Global Node under apache's web server that runs using a self-signed certificate. This has to be accepted by you when presented in the browser.
| In Google Chrome |

|
| In Mozilla Firefox |

|
You may see multiple pages like these , one from each Global Node (or GN Node) if your slice has nodes from multiple aggregates (AM) . You have to accept each one of them (Self signed cert pages). If you missed or cannot see the pages to accept the Self Signed
Click the button pointed by the arrow to begin Instrumenting your slices using GEMINI
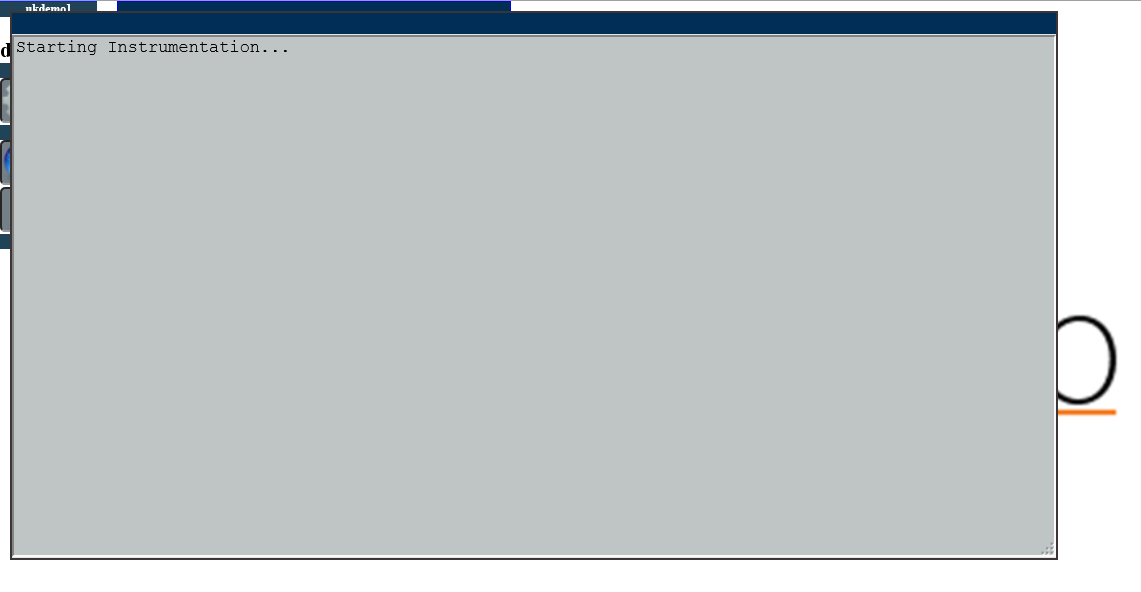
A progress window will open to show the status of the intstrumentation process.
Once the process is completed click the button to reload the page with the instrumentized slice. You may also review the output from the instrumentation process.


