
Columbia University WiMAX Campus Deployment and Installation
1. People
- Henning Shculzrinne (PI)
- SungHoon Seo (postdoctoral researcher)
- Jan Janak (visiting scholar)
- Marcus Knuepfer (visiting scholar)
2. TODOs
Contact Facilities to mount pole mask and ODU on outdoor siteRequest permission from Dean's office, facilities, and real-estate committeePreliminary base station testing with Wi-Fi antenna by using signal power attenuator (it should be set with reduced (lowest) TX power 0 dBm)See Section 7. Indoor testing for more details.Purchase additional necessary items: a pole mask(not necessary due the new location)Ethernet activation (1402B) when all equipments are ready via Patrick (CUIT staff)It will be replaced to the other one because the antenna site was changed.Check rack space (smaller size) for IDU and ASN-GW
3. History
- Obtained FCC licence on Apr 14, 2010
- Site survey on Jun 24 and Sep 30, 2010
- We chose Fairchild building rooftop (12 fl) for mounting WiMAX antenna + ODU and HAM radio station (14 fl) to install IDU+server(s).
- The first WiMAX package arrived on Jun 16, 2010
- shipment from Rutgers University
- Outdoor unit x 1 EA
- GPS receiver antenna x 1 EA
- Fiber cable x 1 ROLL (?? feet)
- Sector antenna x 1 EA
- Mounting brackets for ODU and the antenna x 1 SET
- Power connector for the ODU x 1 EA
- Ligthning surge protector for the WiMAX antenna x 1 EA
- shipment from Rutgers University
- Buying required items (via Elias Tesfaye, officer in CS department)
- First order on Sep 20, 2010
- N Male Connector x 3 EA via http://www.mouser.com/ProductDetail/Amphenol-Connex/172100/?qs=sGAEpiMZZMtqi3rrGzC6kqBNVAfbUIcAs7pmvc7FO2w=
- Lightning Arrestor N-Female N-Female x 1 EA via http://www.streakwave.com/Itemdesc.asp?ic=SP3-90-6-BFF&eq=&Tp=
- BNC-J Connector x 1 EA via http://www.mouser.com/ProductDetail/Amphenol-Connex/112348/?qs=sGAEpiMZZMtqi3rrGzC6kltfvaDq2xsFsjWEfeOv%2fog=
- Weatherproof Box x 1 EA via http://www.streakwave.com/Itemdesc.asp?ic=DCE-H-7x6x2&eq=&Tp=
- Barrier Terminal Block x 2 EA via http://www.mouser.com/ProductDetail/Tyco-Electronics-AMP/1546306-4/?qs=sGAEpiMZZMvXvCN7QvKasSL6eMCRZuY6zjs15Djvrtg=
- Lightning Surge x4 via http://www.mouser.com/ProductDetail/Littelfuse/SL1411A075A/?qs=ek3FaJ1hxEWg6rFszW4eAw==
- Second order on Oct 6, 2010
- Coaxial Cable 20AWG RG-58/U COAX 500' SPOOL BLACK via http://www.mouser.com/ProductDetail/Alpha-Wire/9058C-BK002/?qs=sGAEpiMZZMuwsoYAVCu3COxrc1%2ft2NbJpirN7iGs1GY=
- Hinged DCE via http://www.streakwave.com/Itemdesc.asp?ic=DCE-H-7x6x2&eq=&Tp=
- 12/3 SJTOW Black 105 CEE, 300 feet, via http://www.americord.com/bulk-cable-62-prod-541.html
- First order on Sep 20, 2010
- Visiting WINLAB, Rutgers University on Oct 8, 2010
- Obtained the rest of the equipments:
- WiMAX indoor unit (IDU) x 1 EA
- ASN-GW Server x 1 EA
- IDU/ODU power supplies x 2 EA
- AWB US210 USB clients x 10 EA
- Intel Link 6250 mini PCI module x 2 EA
- Obtained the rest of the equipments:
- Project request to the Facilities on Oct 9, 2010
- Space Unit measurement on Oct 13, 2010 @ Fairchild building
- Complete setting of client testbed platform on Oct 29, 2010
- See NIC installation.
- Meeting with Facilities on Nov 29, 2010
- At CS office: an additional committe (real-estate) admission required.
- Site survery for a new outdoor site (indoor site as well) on 09, 2010
- At Fairchild and Mudd building: Site change is necessary.
- Meeting with electrician for the antenna mount on Dec 16, 2010
- At Mudd 14fl and IRT
- Teleconf with Ivan at Rutgers Univ. on Feb 18, 2011
- Changed several parameters on BS based on the guidance of Ivan but the BS didn't work properly. The parameters we tried to change are as follows:
- odu_noise_floor: 4 -> 40
- dlul_ratio: 0x02 -> 0x00
- authgw_id: 0000000041534E47 -> 0x41534E4757303030
- bs_tx_power: 0 -> 20
- Planned to visit WINLAB to figure out the problems on both BS and clients
- Changed several parameters on BS based on the guidance of Ivan but the BS didn't work properly. The parameters we tried to change are as follows:
- Visiting WINLAB at Rutgers on Feb 24, 2011
- Contacted Ivan Seskar and Nilanjan Paul
- Solved every problems on both BTS and clients
- Upgraded OMF aggregation manager with the latest version and checked out that wimaxrf works
- Indoor testing at IRT on Feb 25, 2011
- Succeeded to scan and connect one of our WiMAX clients (Linux OS) to BS
- Purchase of a server rack cabinet and a PDU (power distribution unit) via Diasy Nguyen (CRF) and Elias Tesfaye (CS Department) on May 19, 2011
- Triplite 12U rack ($444,73)
- APC PDU for remote power ($425.45)
- Meeting with Donald A. Schlosser (Assistant Vice President of Campus Opers-Custodial Services, Columbia Facilities) on Jun 09, 2011
- Site survey at 16th floor, Mudd building
- Started to mount and install WiMAX equipment on site on Jun 14, 2011
- Technicians from Facilities and Nathan Schulzrinne (CRF intern) helped us for the deployment, including: Drilling holes on railings, fixing the mask and the antenna, mounting ODU on wall inside the building, and connecting the coaxial cable between antenna and ODU
- Wired opticla fiber and power cables
- Activation of Ethernet by CUIT (Two ports of Giga-bit Ethernet for Internet connection and for PDU management)
- Finished installation of the WiMAX BS on Jun 23, 2011
- First singnal measurement survey on Jun 26, 2011
- Measurement survey to create the coverage map on Jun 30, 2011
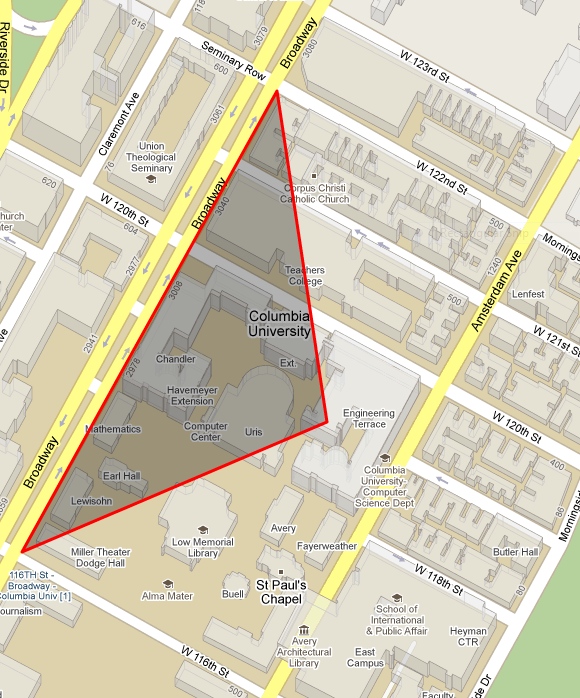
4. Campus WiMAX radio coverage map (expected)
| a. 2D map view (by Google map) | b. Aerial view (by Bing map) |
| ThumbImage(coverage_map.png)? | ThumbImage(coverage_aerial.jpg, thumb=450)? |
5. Conceptual diagram for deployment
6. Site survey
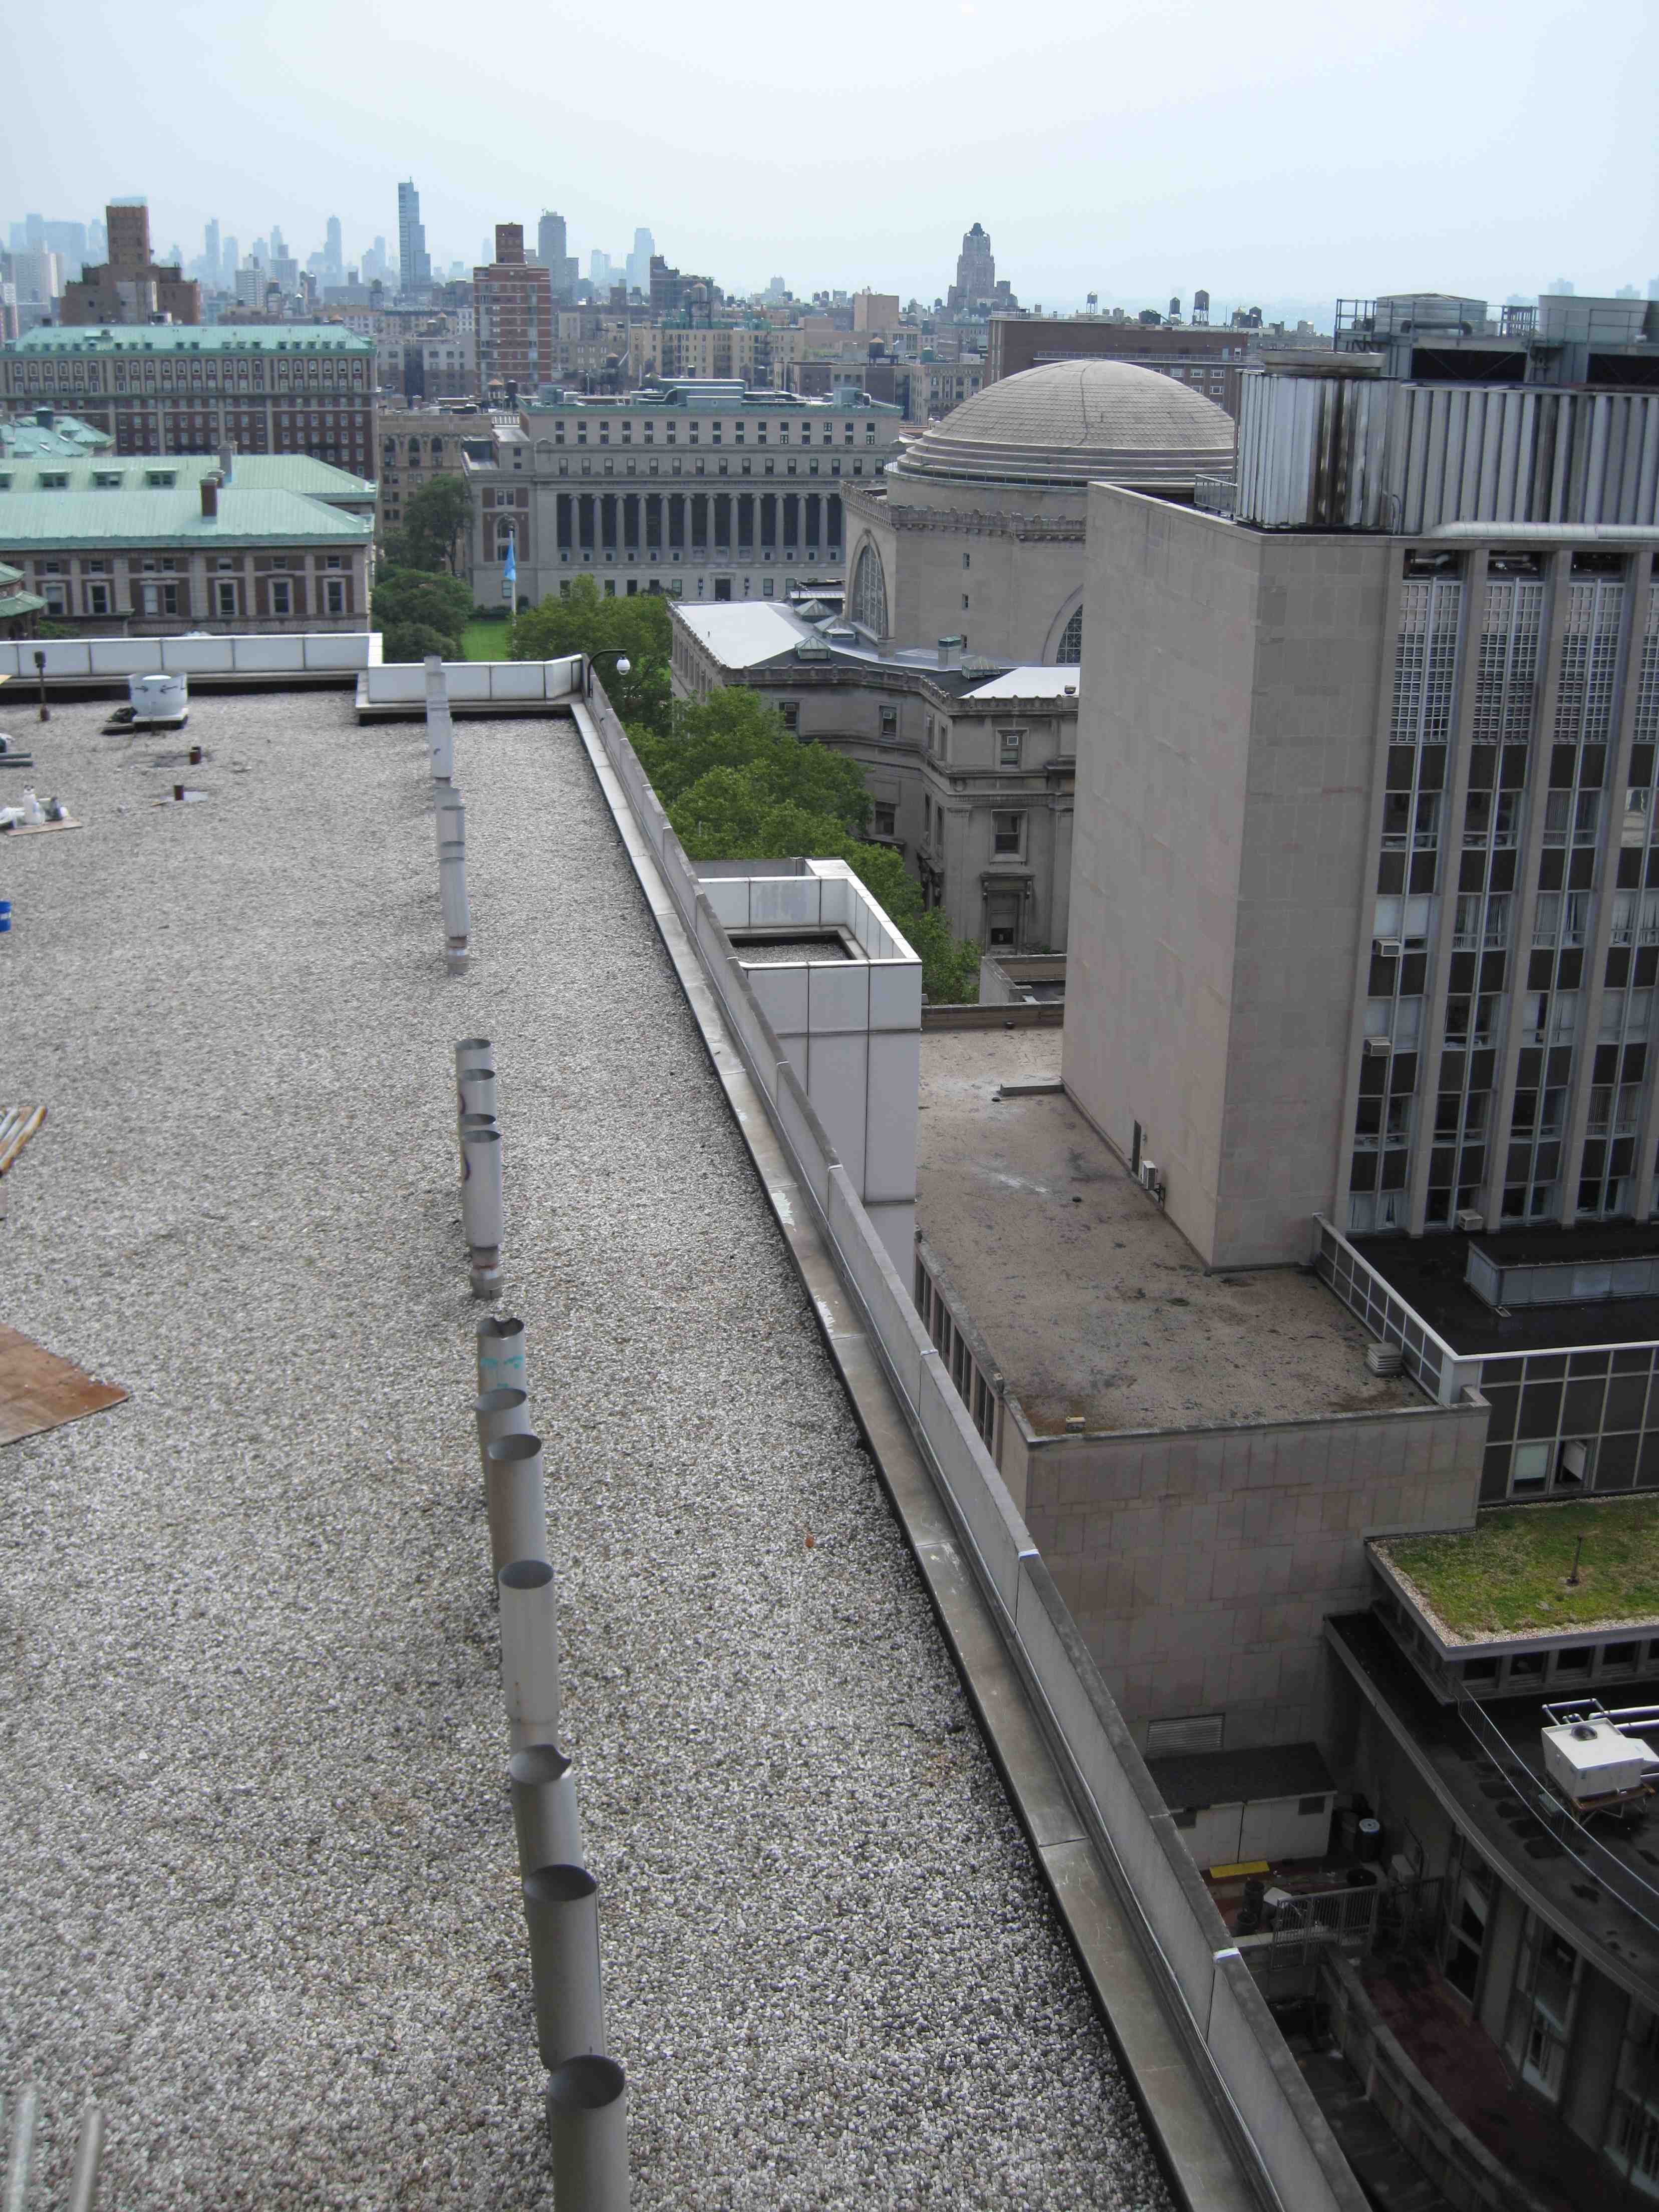
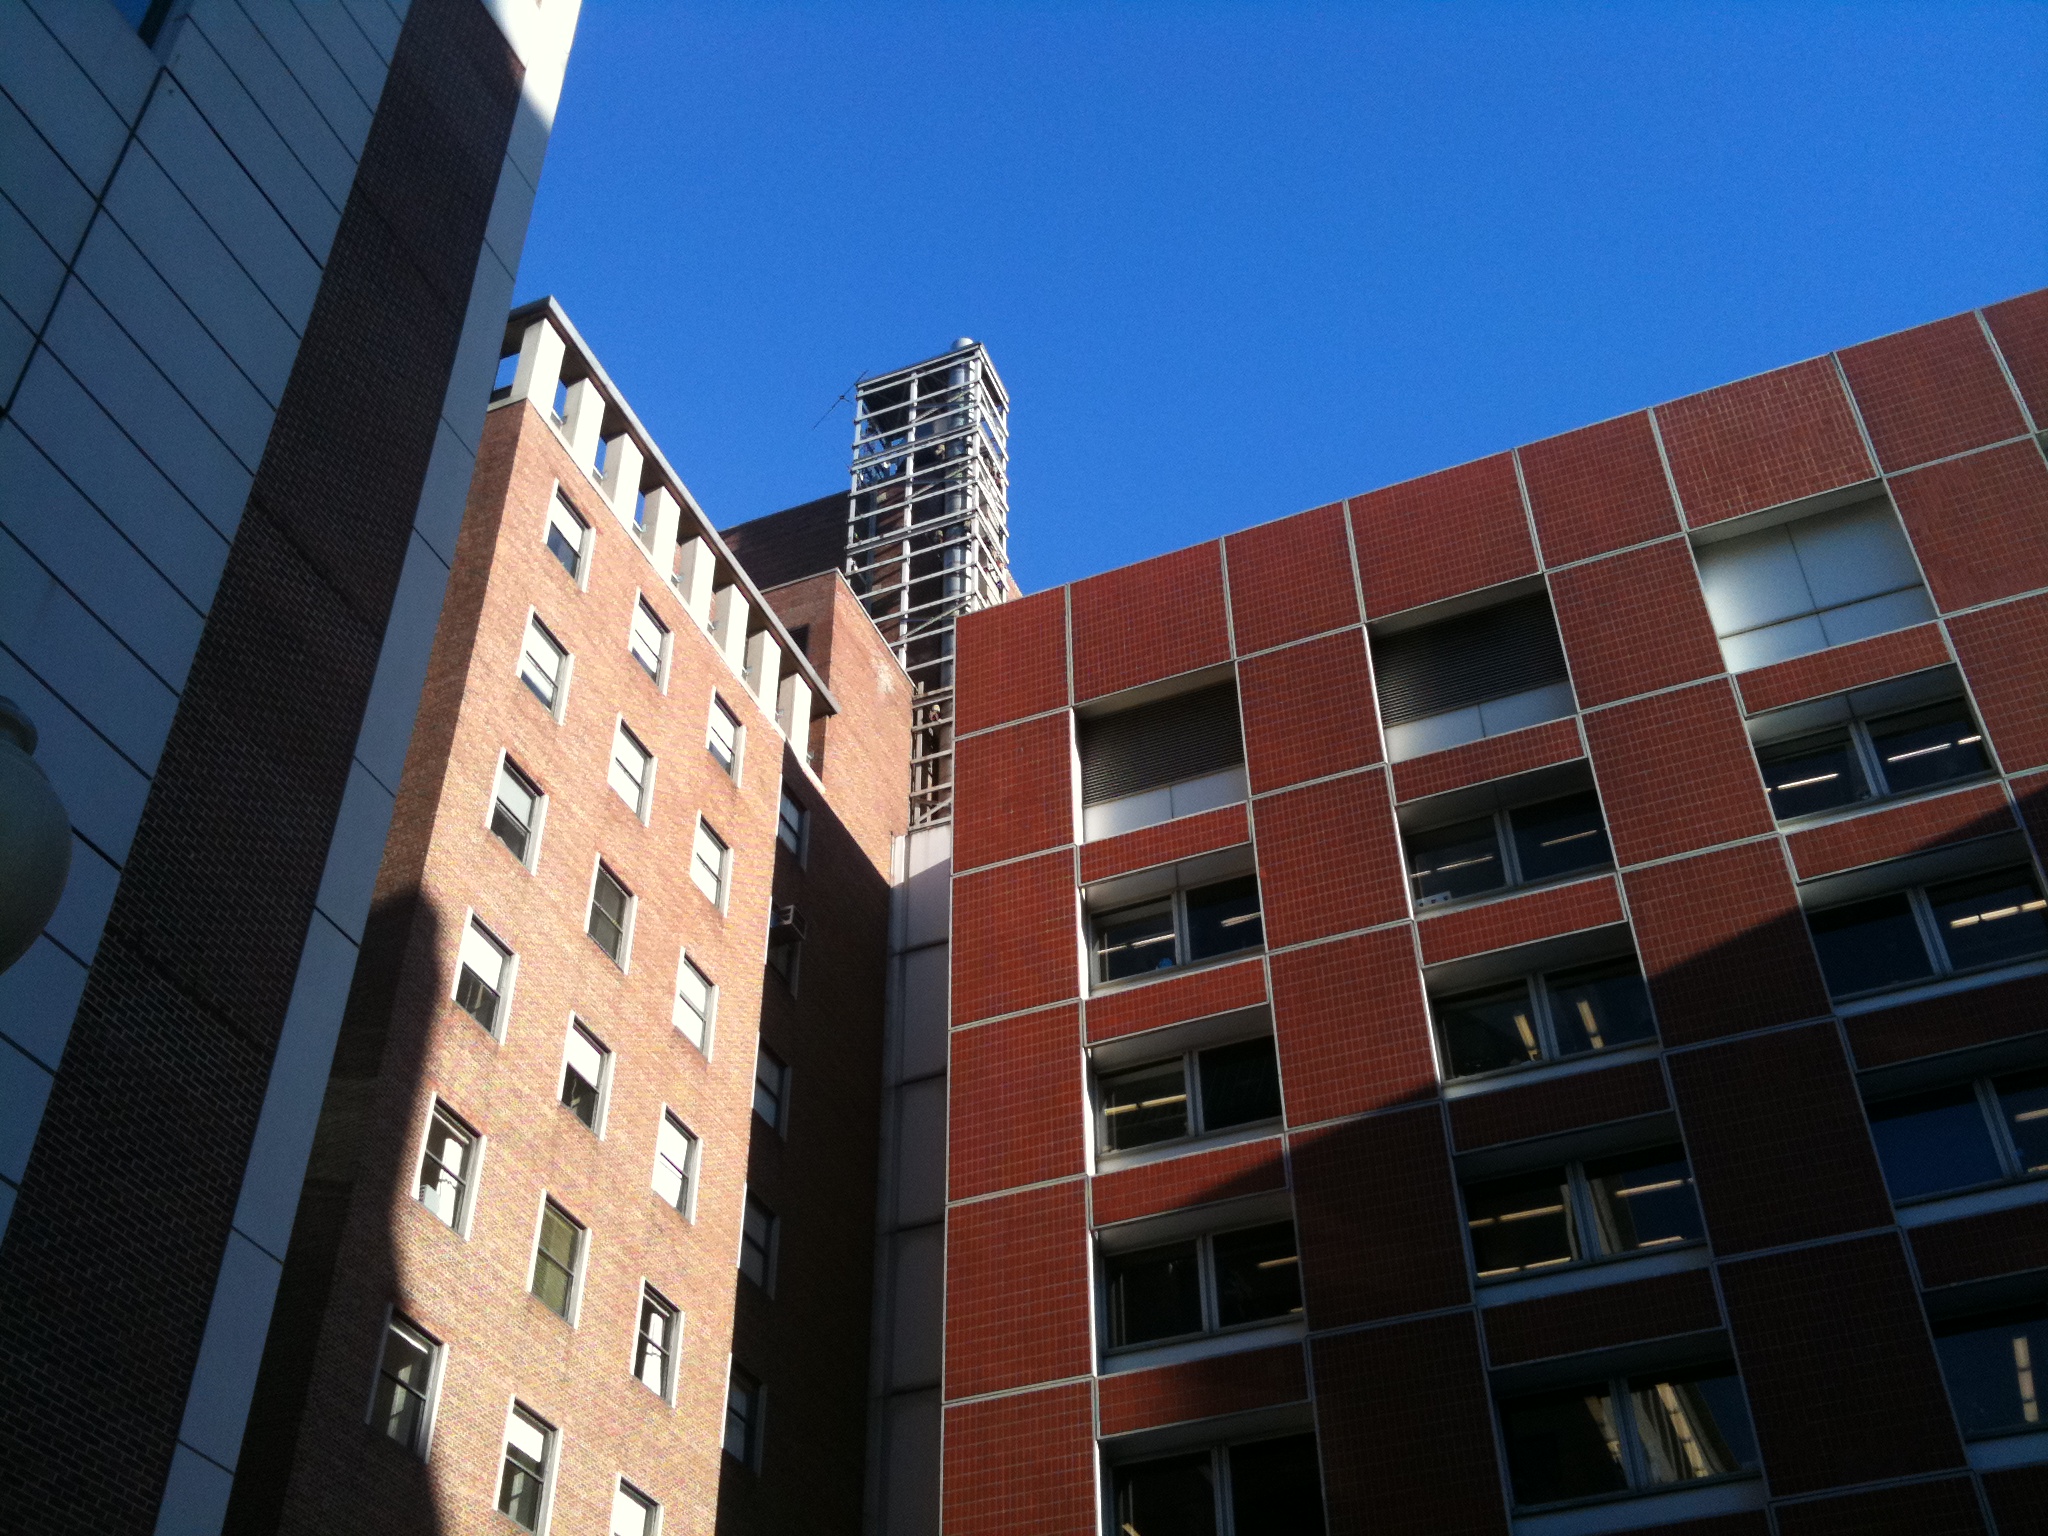
Becuase of the various reaons, on Dec. 16 2010, we decide to change the outdoor and indoor sites to the southwest corner of Mudd building, 16 fl, rooftop.
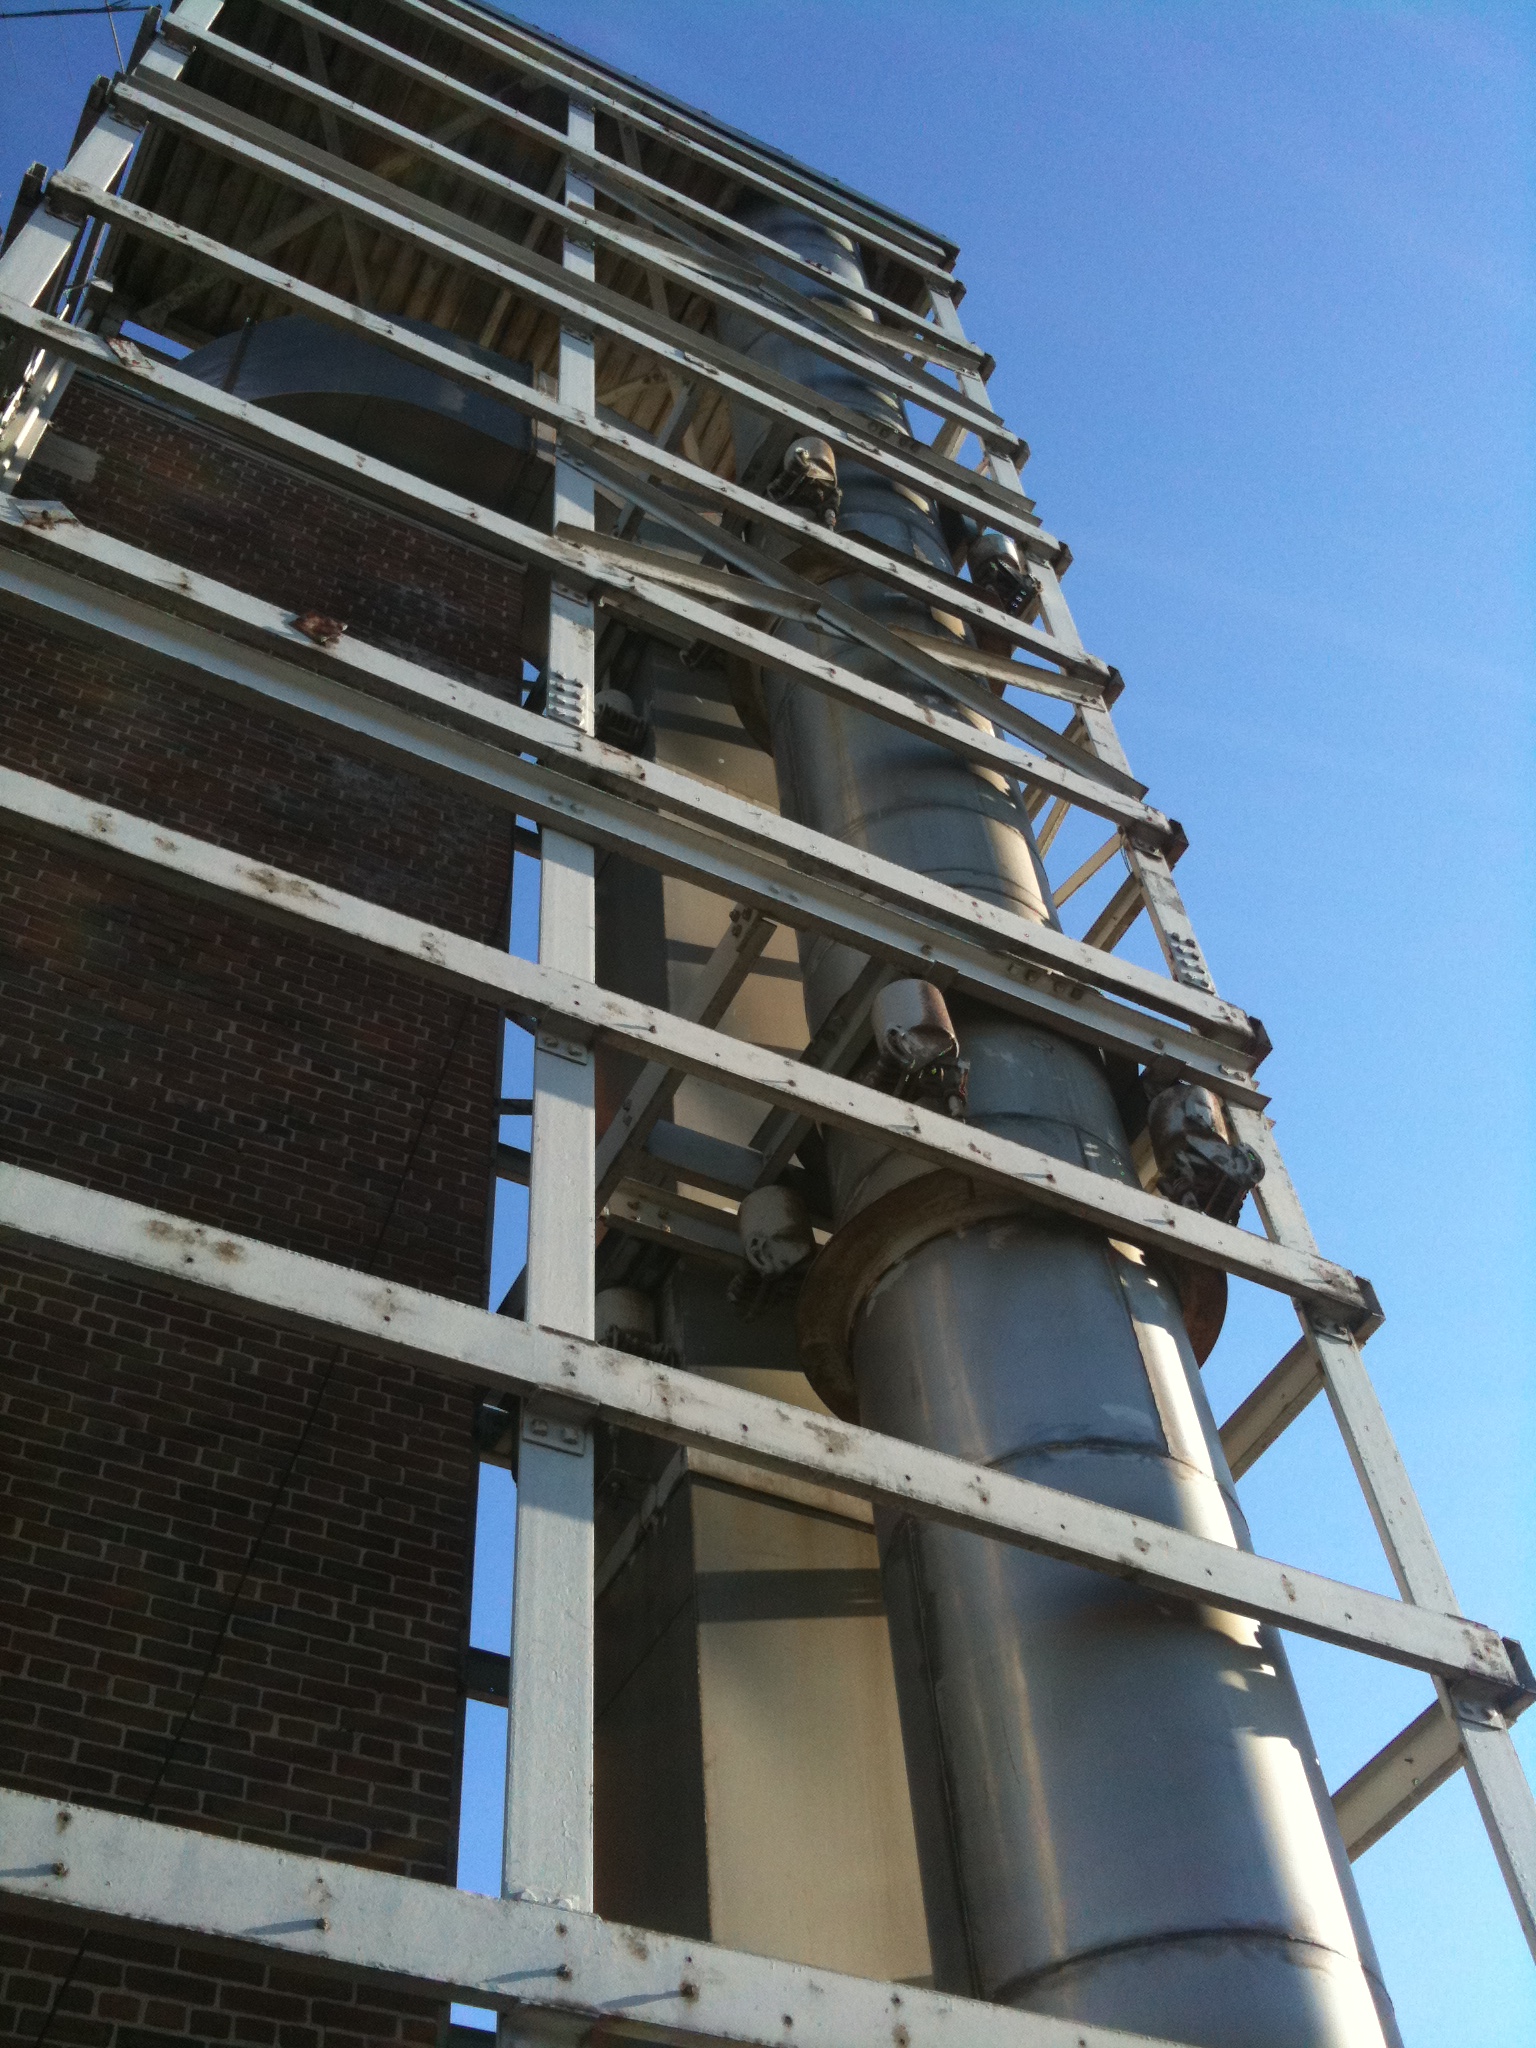
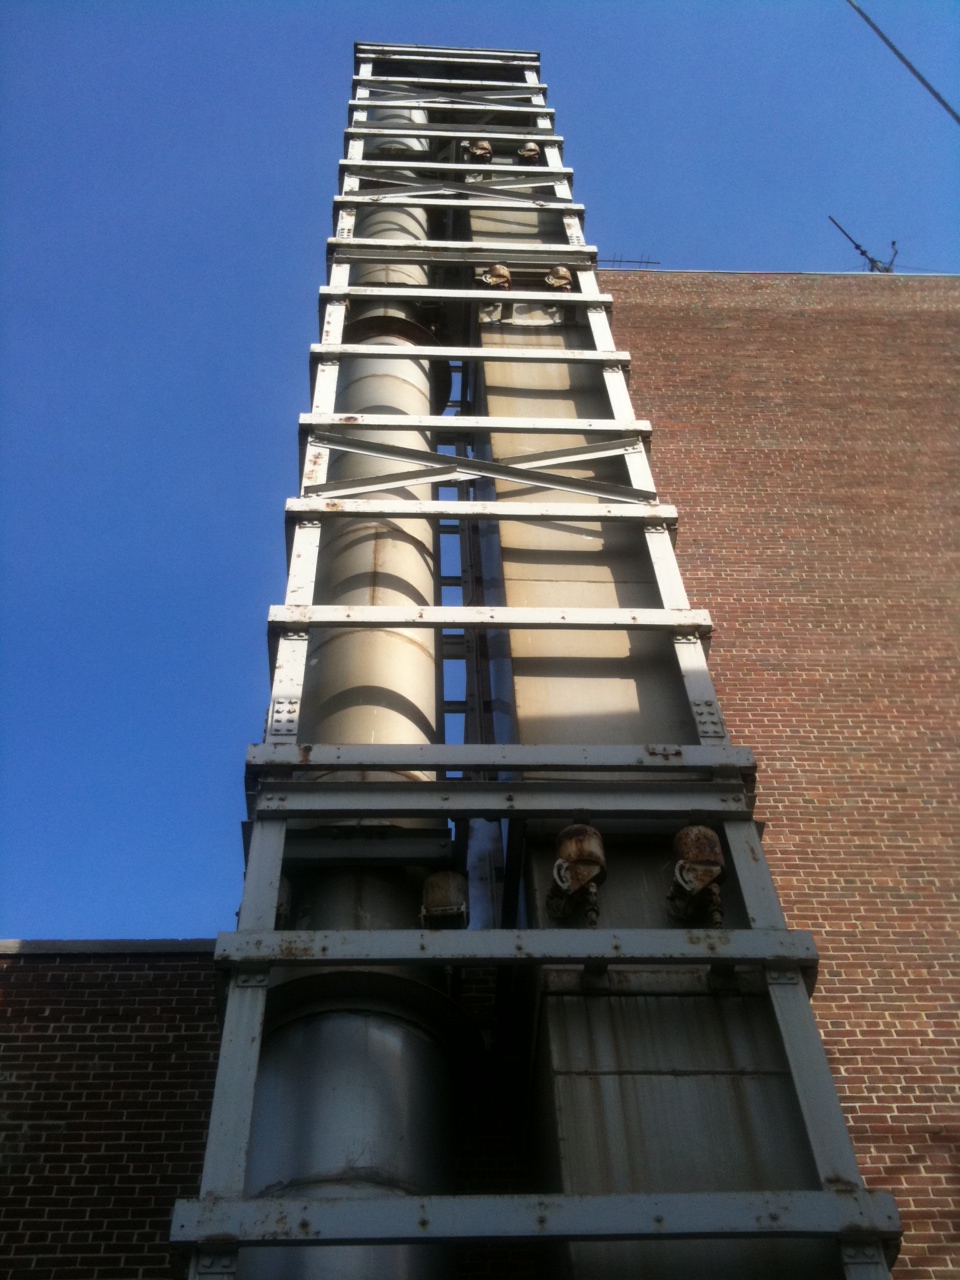
New outdoor site at Mudd 16th floor
| a. Wide view | b. front view | c. SW corner | d. side view | e. detail |
| ThumbImage(site1.JPG, thumb=200)? | ThumbImage(wall3.jpg, thumb=200)? | ThumbImage(wall4.jpg, thumb=200)? | ThumbImage(wall1.jpg, thumb=200)? | ThumbImage(wall2.jpg, thumb=200)? |
| line-of-sight view 1 | LOS view 2 |
| ThumbImage(los1.jpg, thumb=350)? | ThumbImage(los2.jpg, thumb=350)? |
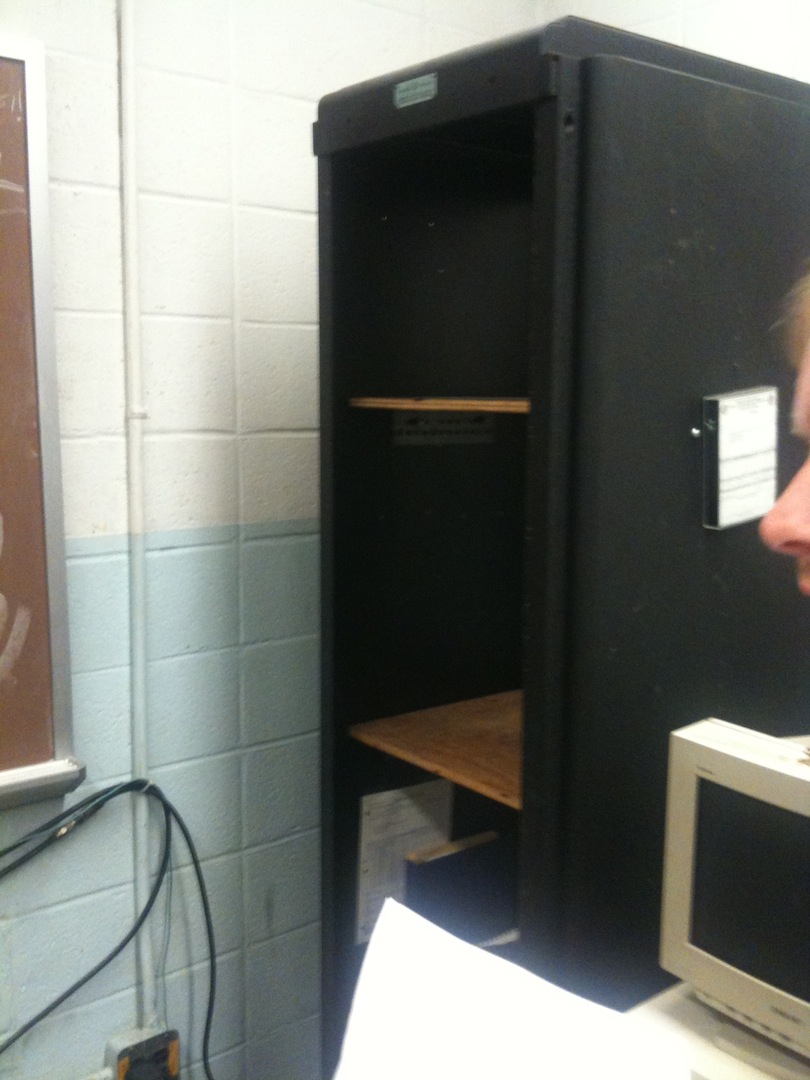
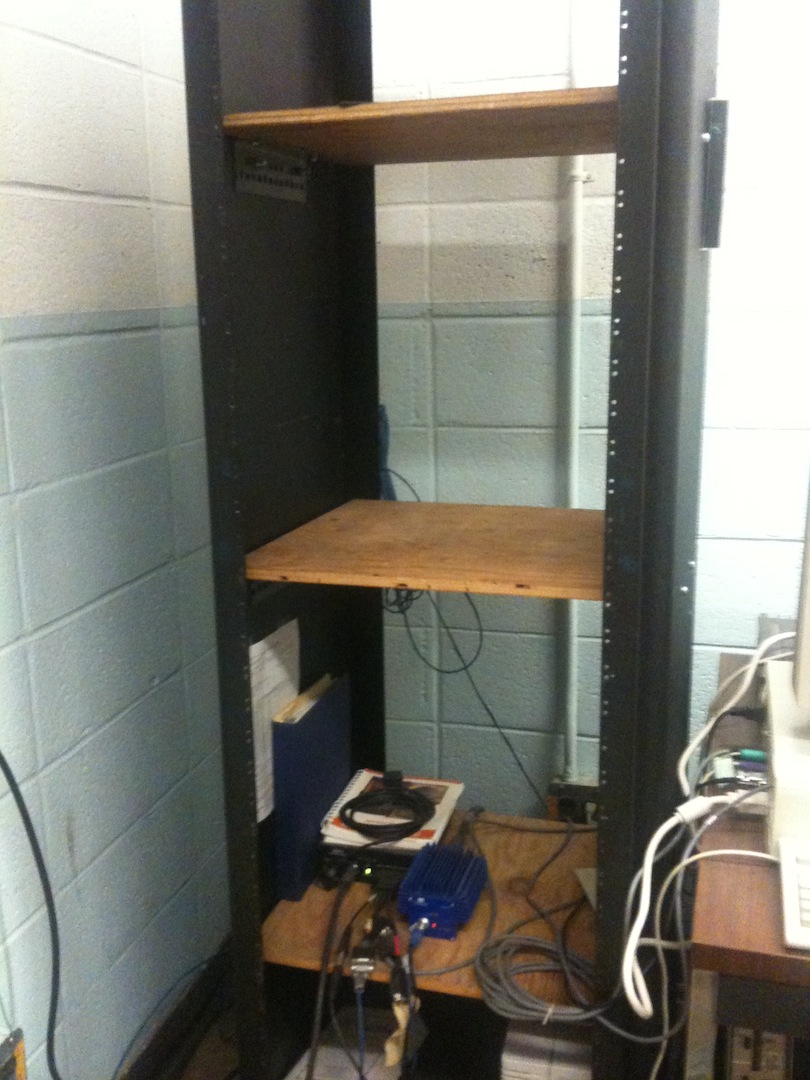
New Indoor site at Mudd 14th floor (neer outdoor site, same level)
| ThumbImage(rack_space.jpg, thumb=200)? |
- Need to check the space availabilitye: 5U + pwr suplies.
7. Indoor testing
This section describes a note for the purpose of preliminary base station test at indoor environment.
Important notes
- It is strongly recommended that connecting to the IDU (CHC's serial port) is allowed through `serial cable' by using any model control application (e.g., minicom) for the monitoring purpose. However, it can be substituted with ssh connection.
- Preliminary base station testing with the sector-antenna: Signal power attenuator should be located between ODU and the antenna (bs_tx_power should be set in 0 dBm)
Testing topology
- ASN-GW
- eth0: 10.41.0.3/16 -> connected to the monitoring console machine
- eth1: 10.3.6.254/24 -> connected to the IDU
- eth2: dhclient -> connected to the CU networks
- IDU
- CHC: 10.3.6.1/24
- NW INTFC: 10.3.6.2/24
- Monitoring console machine
- eth0: 10.41.0.111/16 -> directly connected to the eth0@ASN-GW
Booting up sequence
First time, whenever we tried to boot up the ASN-GW server, IDU, and ODU, NW INTFC and CHC at IDU indicated that several warning and alram lights were turning on.
a. ALM light (red) at NW INTFC: It's occurred by GPS.
b. WARN light (orange) at NW INTFC: It indicates that "Real time clock seems stuck!" which is caused from time sync issues because GPS receiver is not connected at this time of testing.
c. ODU ALM light (red) at CHC: Setting up ODU fails.
d. ODU LINK light (green) at CHC: When it's on, it means the connection between IDU and ODU is successfully established.
We found that there is a turn-on sequence for these machines to work properly, which is as follows:
- Turn on the power of ASN-GW server
- Send ping to 10.41.0.3 (IP address of ASN-GW) from monitoring console to check the server alive.
- ssh 10.41.0.3
- Turn on the power of NW INTFC
- Send ping to 10.3.6.2 (IP address of NW INTFC) from a console at ASN-GW to check the NW INTFC alive.
- telnet 10.3.6.2
- Turn on the power of CHC
- Send ping to 10.3.6.1 (Ip address of CHC) from a console at ASN-GW to check the CHC alive.
- telnet 10.3.6.1
- Restart the asn-gw module at a console of ASN-GW
- sudo /usr/bin/asn-gw stop
- sudo /usr/bin/asn-gw start this command will reboot the CHC (internally bs_restart is called)
- Wait until CHC is ready by sending ping to the 10.3.6.1 (IP address of CHC)
- Check the ODU LINK light on at the CHC panel!!
- For the logging information, manually synchronize the time between machines.
- We turn on ntpd at asn-gw for the testing purpose
- ntpdate 10.3.6.254 (IP address of the ASN-GW)
- export TZ=EST
- NOTE: At CHC, TZ variable is automatically recovered to the JST.
Testing
- Scanning test (02/10/11)
- As soon as we checked the BTS works properly, we did a wide range of test for scanning procedures from linux based WiMAX client, but failed to see the GENI id'ed base station (NSP=51).
- Tried to change the bs_tx_power to the 10, but nothing changed.
8. Client Setting
- Platform: Dell Latitude D830 (IRT0045)
- NIC: Intel Centrino Advanced-N WiMAX 6250 - Mini-PCI express with half size slot
- Note: Most of Lenovo's Thinkpad laptops failed to boot operating system because, during the system checking stage, their BIOS only allows to equip authorized network interfaces. See http://www.thinkwiki.org/wiki/Problem_with_unauthorized_MiniPCI_network_card for more details.
- OS: Ubuntu 10.10 Maverick with patched linux kernel 2.7.36-rc3
NIC installation
See network interface card installation for more detail.
Software installation
- Required software (from http://linuxwimax.org)
- NIC firmware: i2400m-fw-1.5.0
- Driver:compiled and built by patched linux kernel
- WiMAX tool: wimax-tools-1.4.4
- Open source supplicant: wpa_supplicant-0.7.2 with patch to build libeap.so library
- WiMAX network service: wimax-1.5.1, Intel's WiMAX daemon
- History
- Initial compilation and installation (10/28/10)
- It seems like working properly.
- NSP definition does not detect the geni NSP id 51 (01/07/11)
- This issue has been discussed on linuxwimax.org mailing list
- Patch for GENI NSP ID '51' (02/02/11)
- Update WPA supplicant (wpa_supplicant-0.7.3 + wpa_supplicant-0.7.3-generate-libeap-peer.patch
- Replace XML file on wimax-1.5.1 (append geni NSP into ~/InfraStack/OSAgnostic/WiMax/Agents/NDnS/XML_Files/NDnSAgentConfig_forDriver.xml)
- Note: Don't miss running ldconfig after the compilation completes.
- Replace GENI definition and database files (WiMAX_Def.bin and WiMAX_DEF.bin obtained from orbit-lab) on ~/InfraStack/OSAgnostic/Product/AppSrvInfra)
- Installation completed and checked working properly
- Note: The file of /var/lib/wimax/WiMAX_DB.bin is changed whenever performing 'wimaxcu scan'
- Initial compilation and installation (10/28/10)
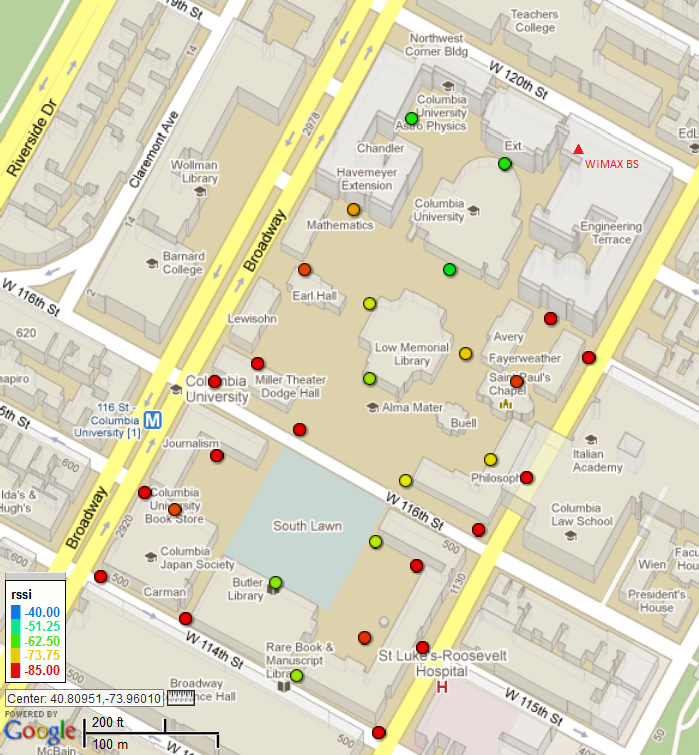
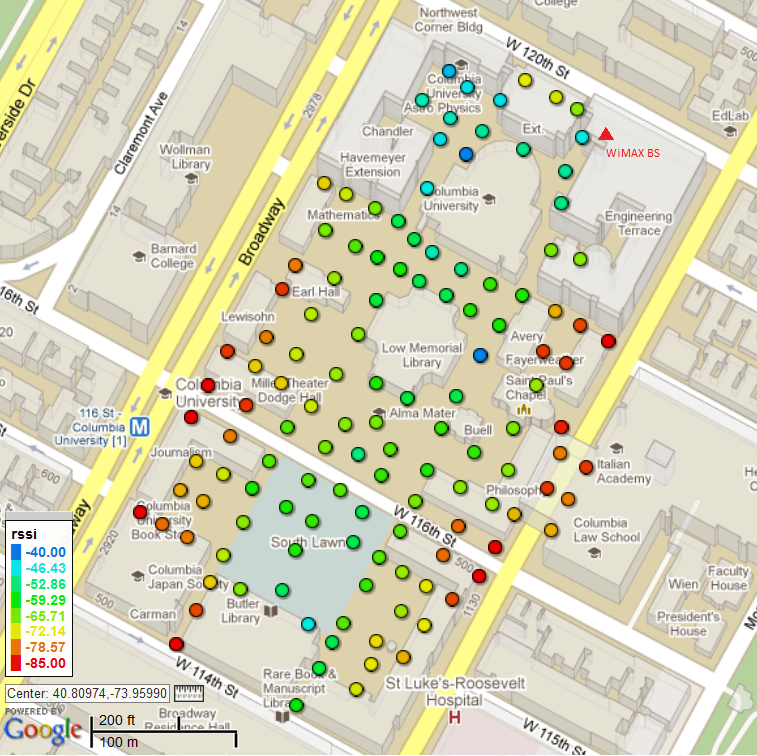
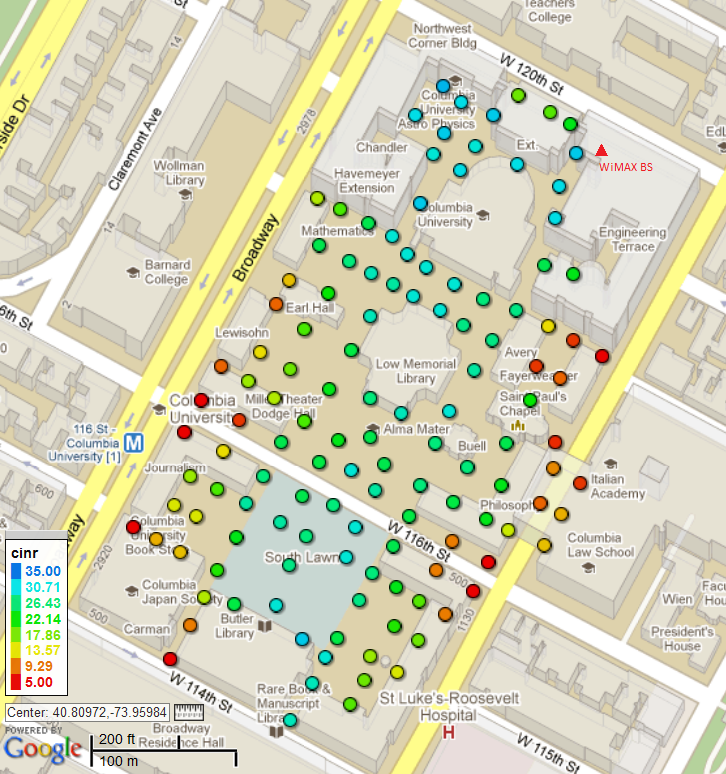
9. Signal Strength Measurements
We measured the signal quality such as Received Signal Strength Indication (RSSI) and Carrier to Interference plus Noise Ratio (CINR) across campus using the 'wimax_gps_oml2' tool. The tool writes the current location obtained from a GPS received connected via USB and various WiMAX signal parameters and writes them into an sqlite based database. The data from the database was then used to plot the results using http://gpsvisualizer.com.
The base station TX power was set to 40 dBm. We also had to fix the 'wimax_gps_oml2' tool in the process to make sure that the measured WiMAX signal strength is paired with correct GPS location.
| a. Coverage map of measured RSSI | b. Coverage map of measured CINR |
| ThumbImage(063011_mexp2_40dBm_map_rssi.png, thumb=450)? | ThumbImage(063011_mexp2_40dBm_map_cinr.png, thumb=450)? |
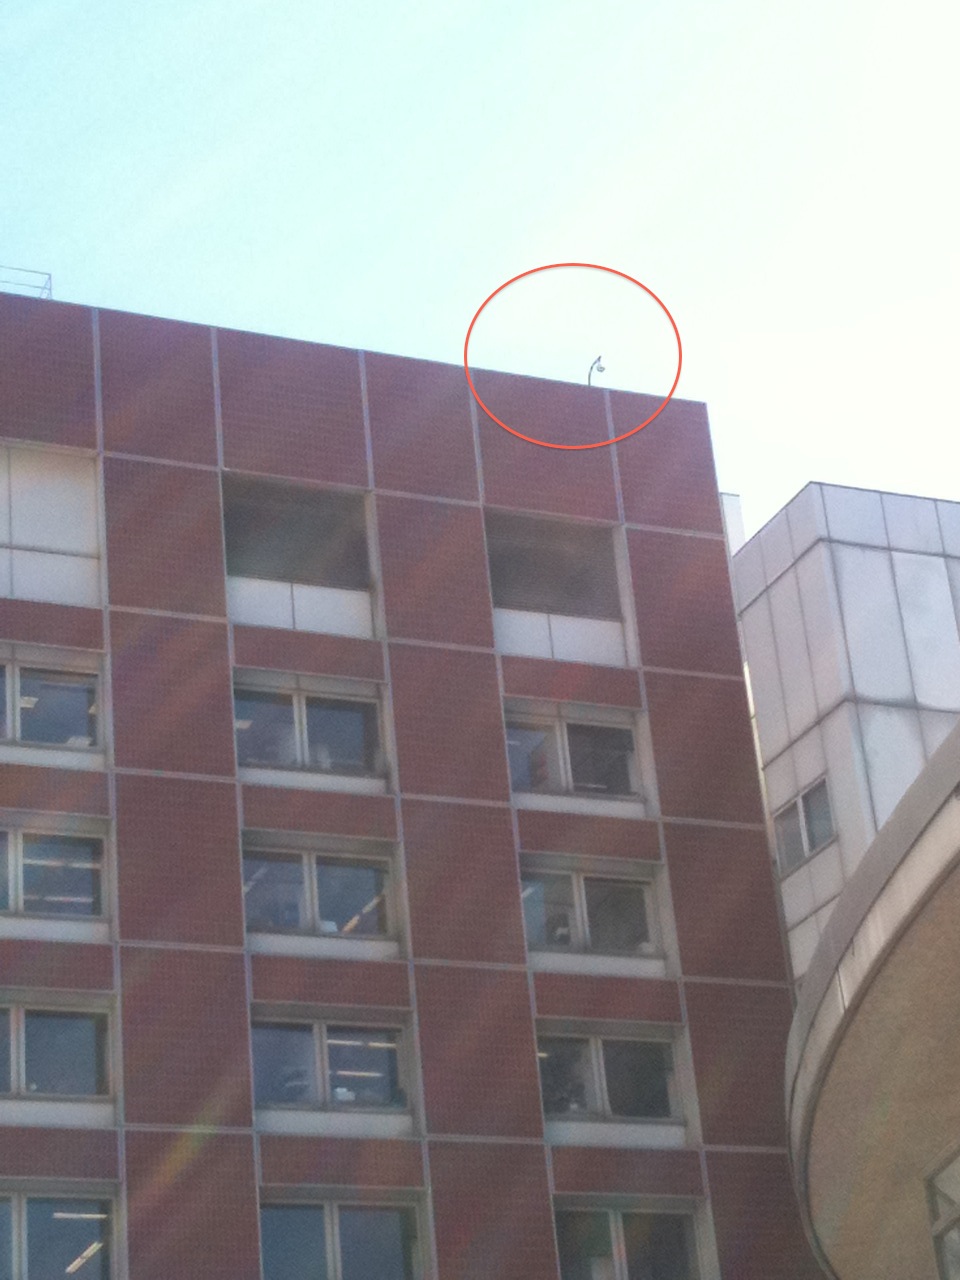
The WiMAX base station is in the top right corner of the map. The location of the antenna is shown marked with a small red arrow. The antenna is aimed towards the building labelled as "Columbia University" in the center of the northern part of the campus.
Since the antenna was installed in a location we could reach easily, rather than the perfect location, we were trying to cover only the northern third of the campus, above Low Memorial Library. It turned out that even from that antenna location most of the campus is covered, which is much better than what we had hoped for. We used a laptop with an Intel 5150 WiMAX adapter. The laptop could connect to the base station from all yellow, green, and blue areas. With default values for most parameters on the base station, the download speed measured in selected green spots was about 8 Mbit/s. Columbia campus, being located in Manhattan, is comprised mostly of high-rise buildings. Nevertheless, we can connect to the base station from most publicly accessible areas.
Last updated on Timestamp?
Attachments (30)
-
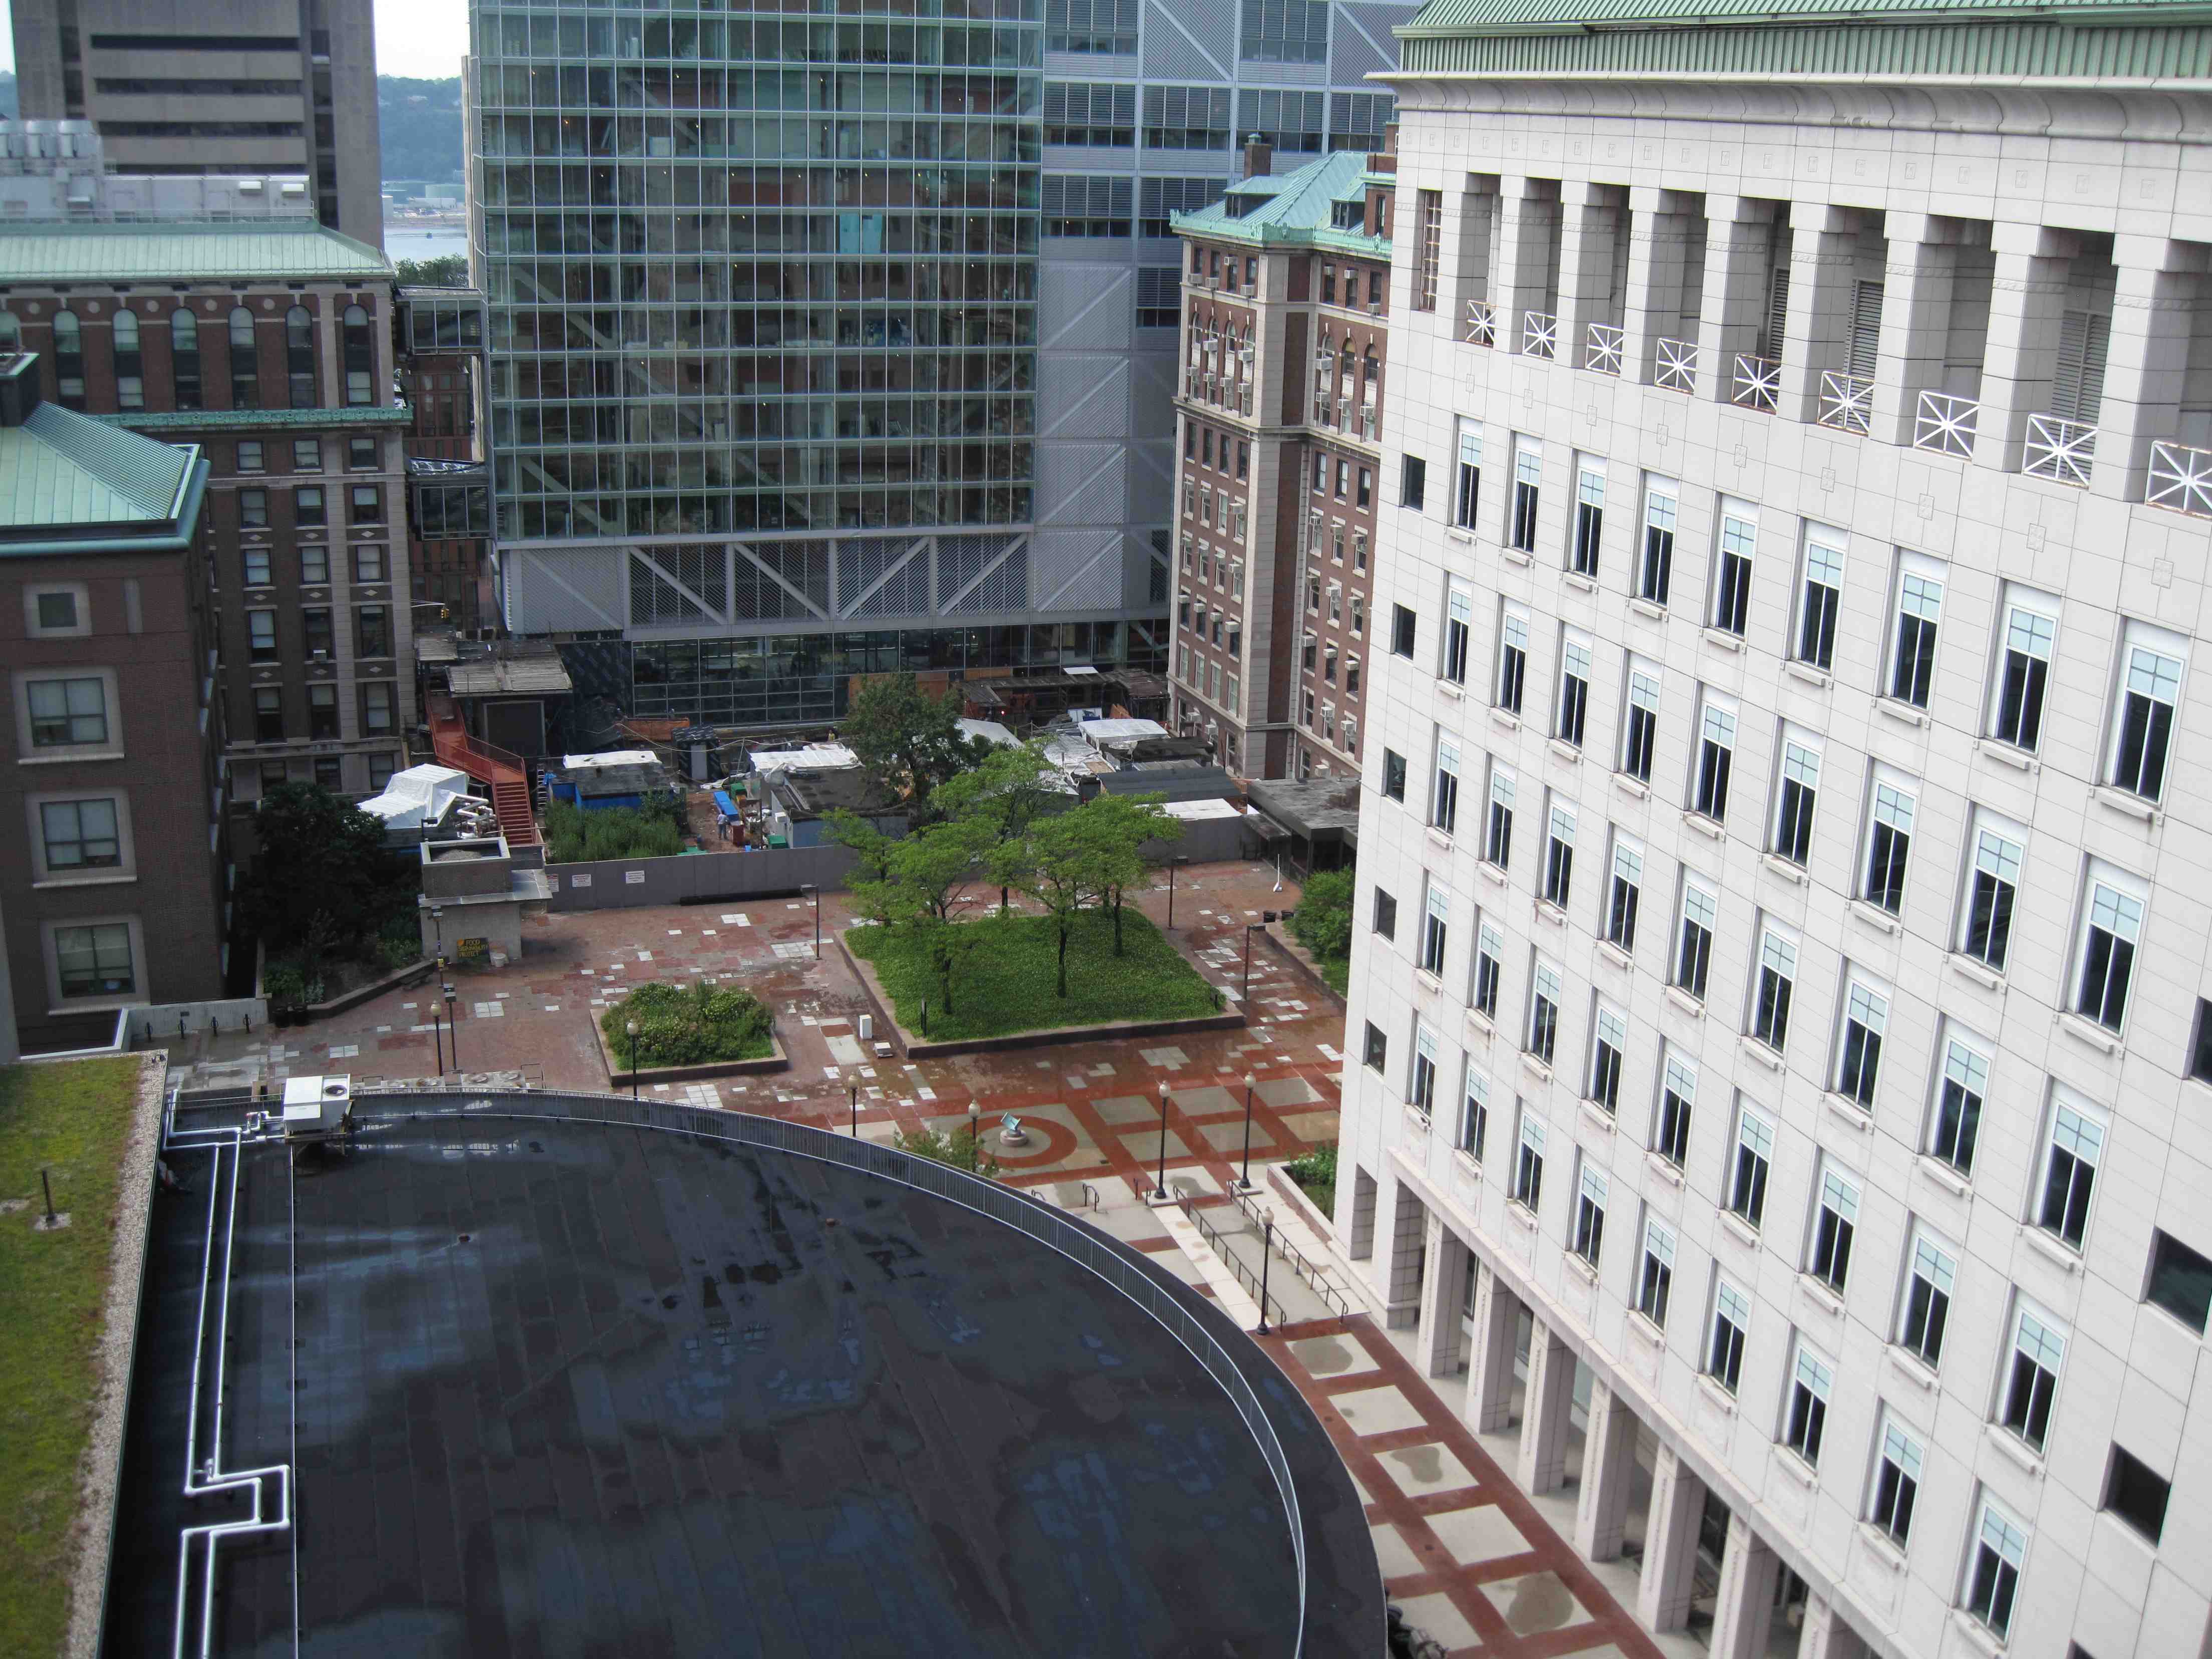
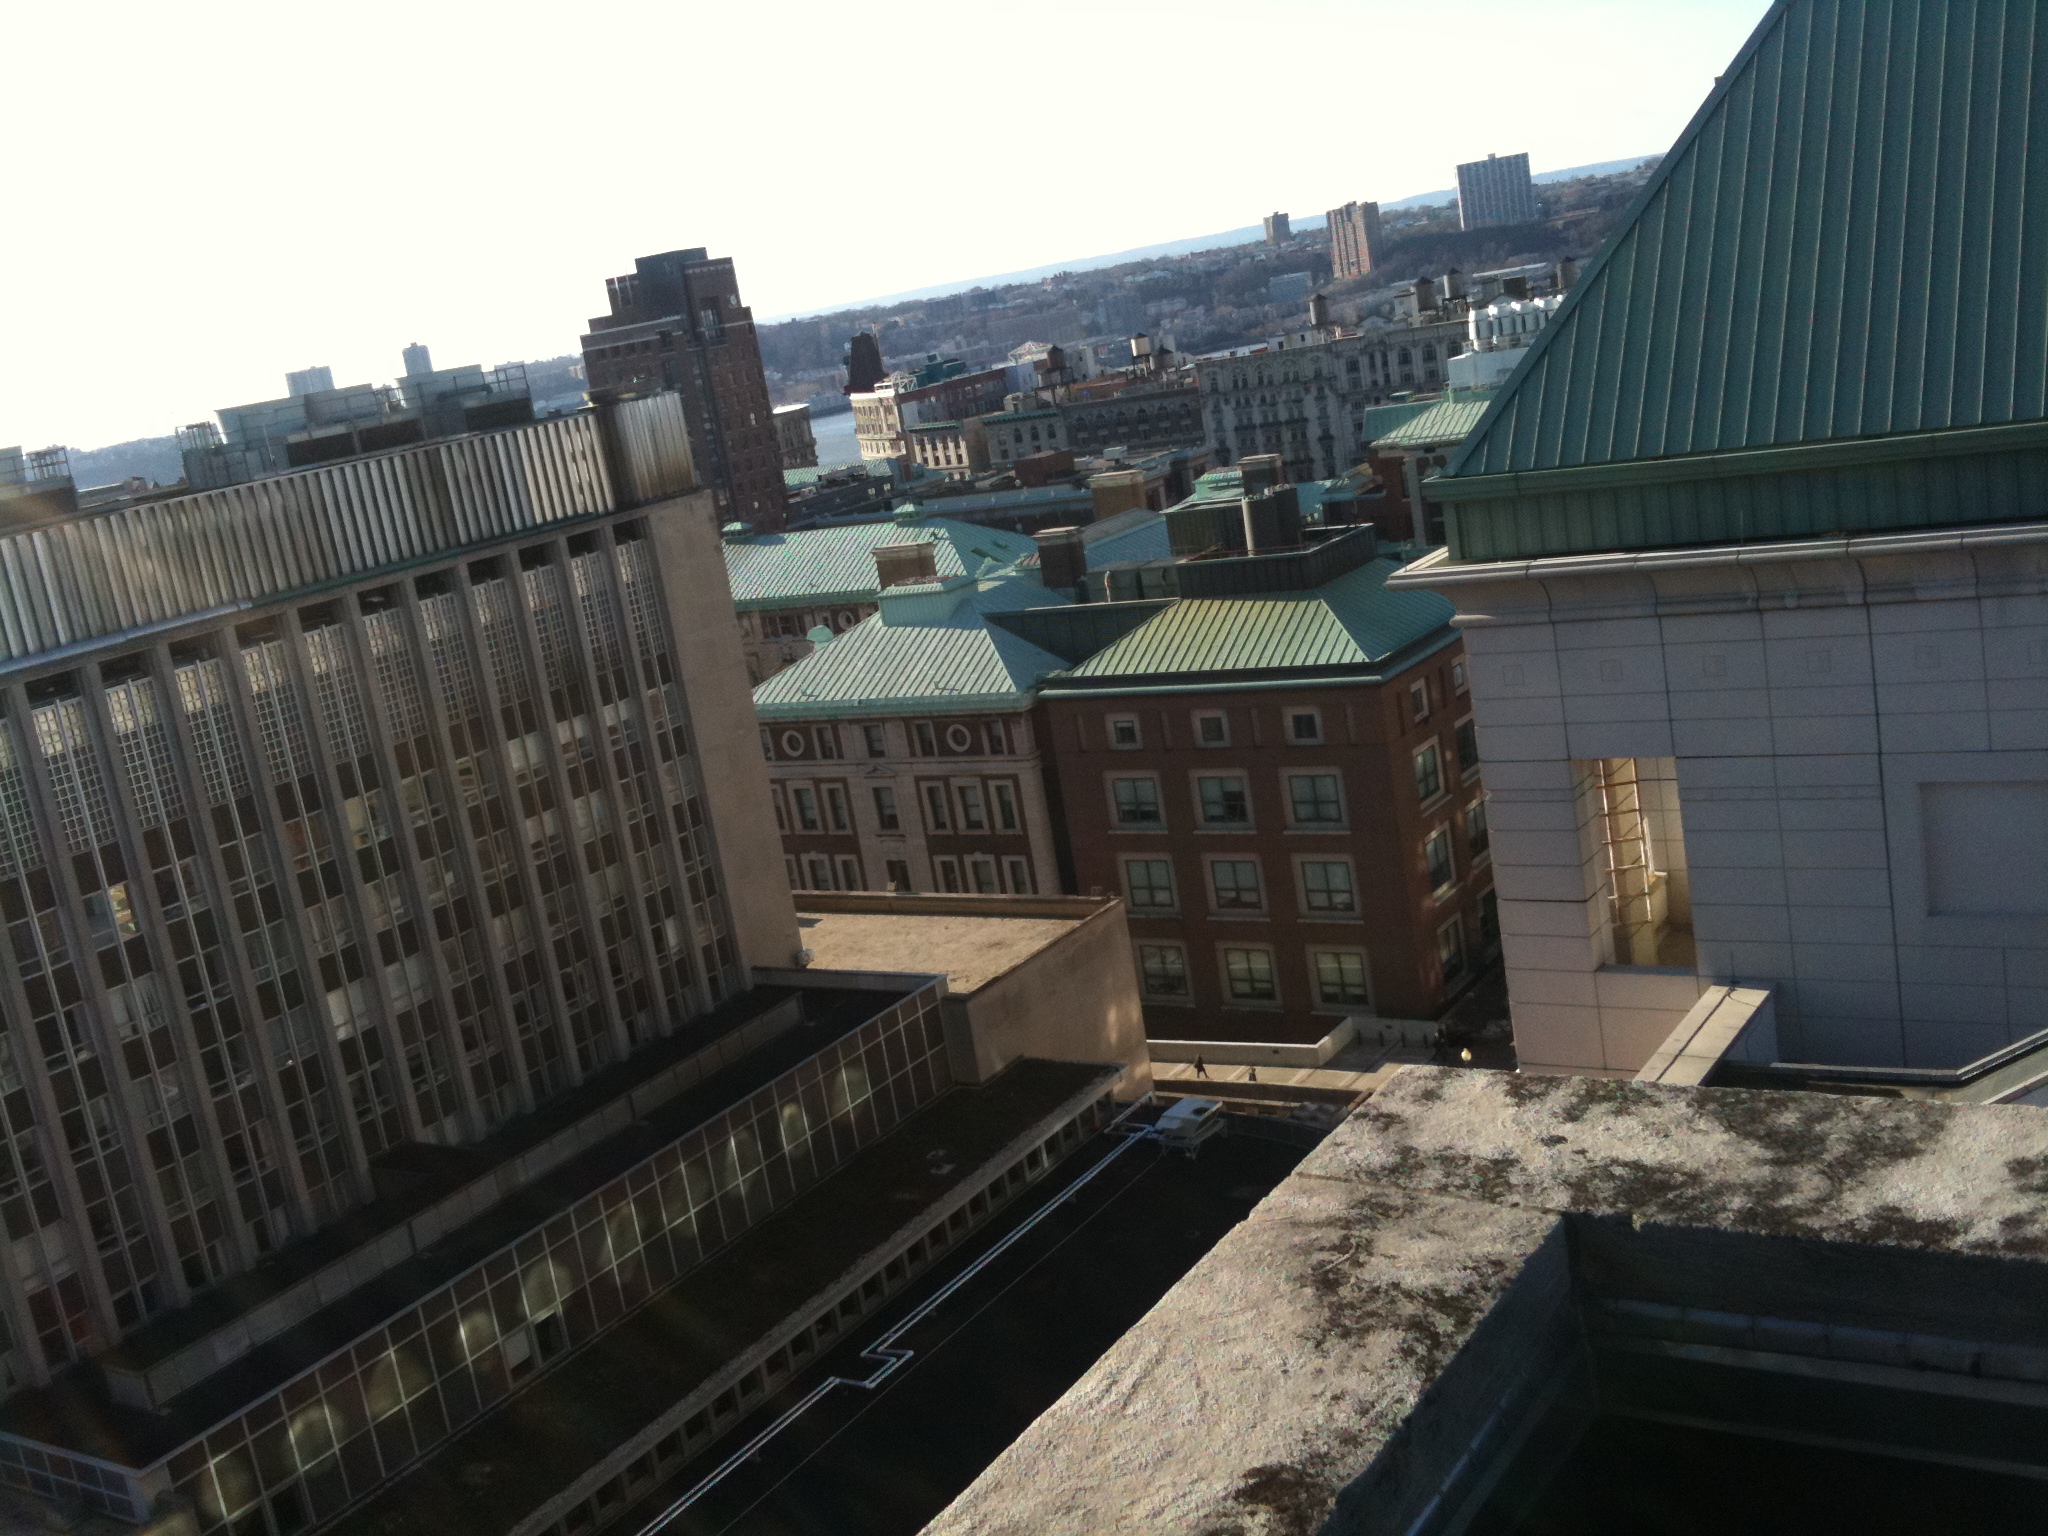
IMG_0001.jpg (712.5 KB) - added by 14 years ago.
Sight toward CEPSR from rooftop (12f) at Fairchild Building
-
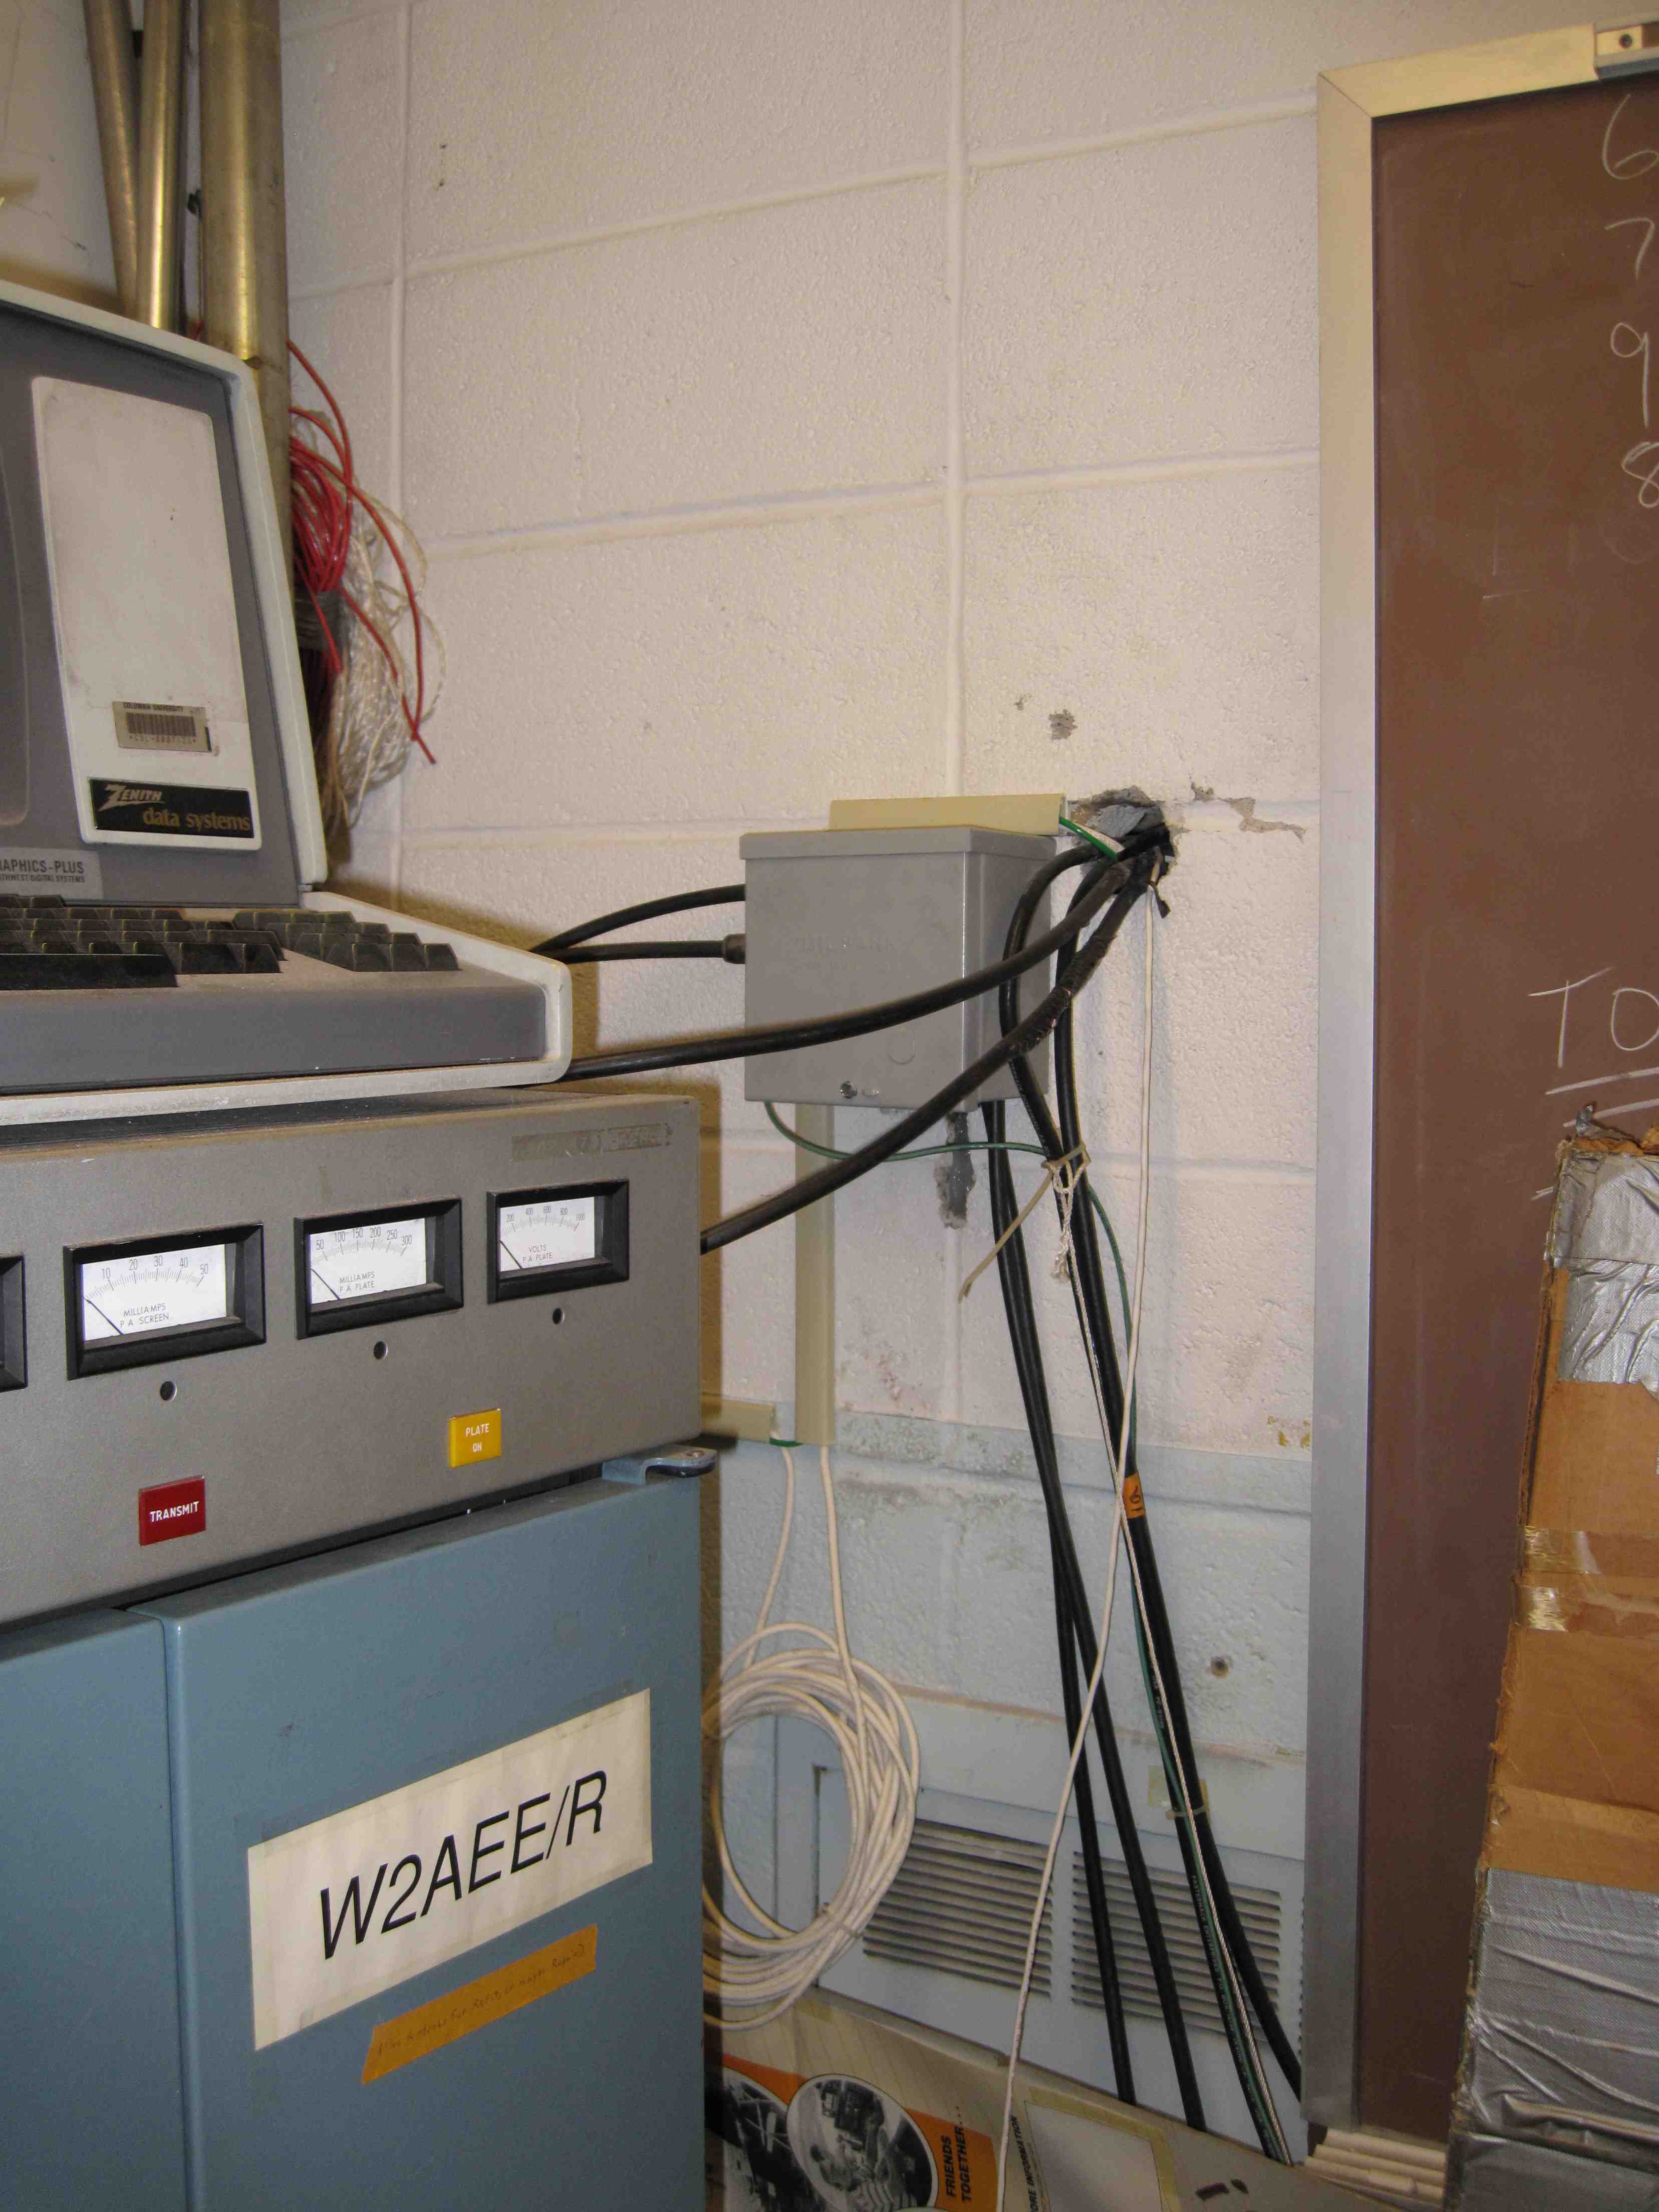
IMG_0002.jpg (437.1 KB) - added by 14 years ago.
A wall on HAM Radio Station
-
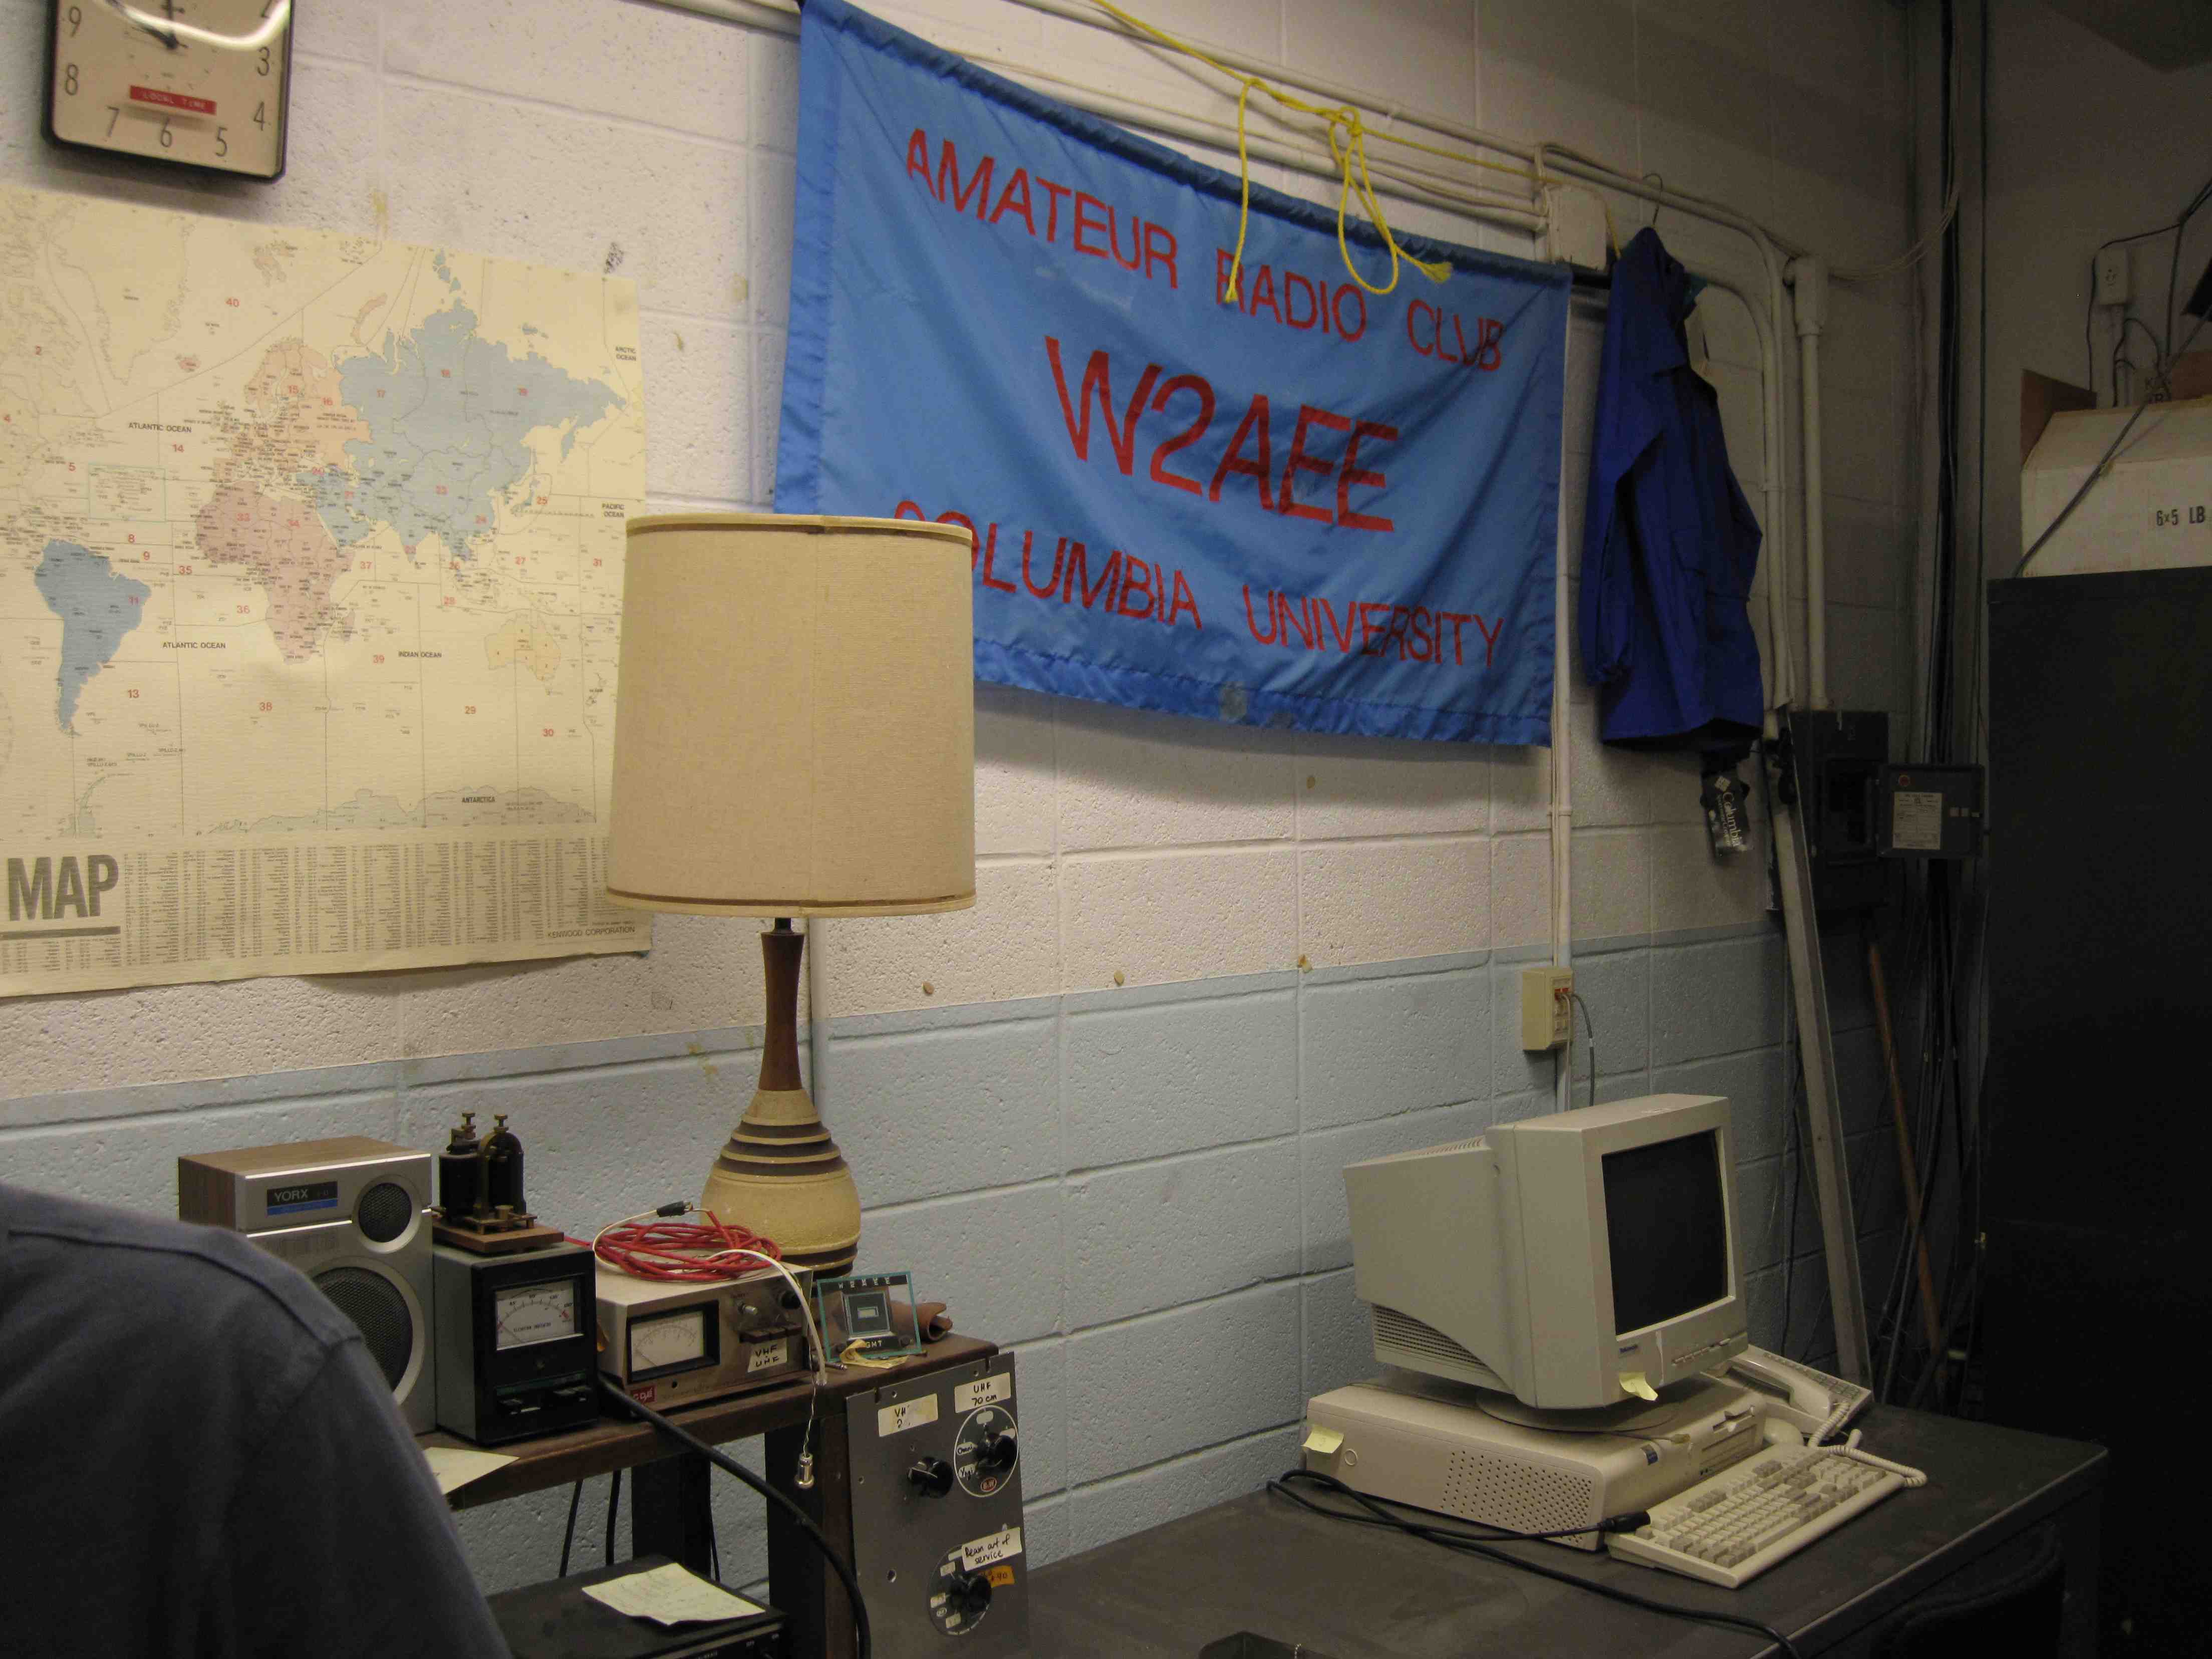
IMG_0003.jpg (461.9 KB) - added by 14 years ago.
HAM radio station
-
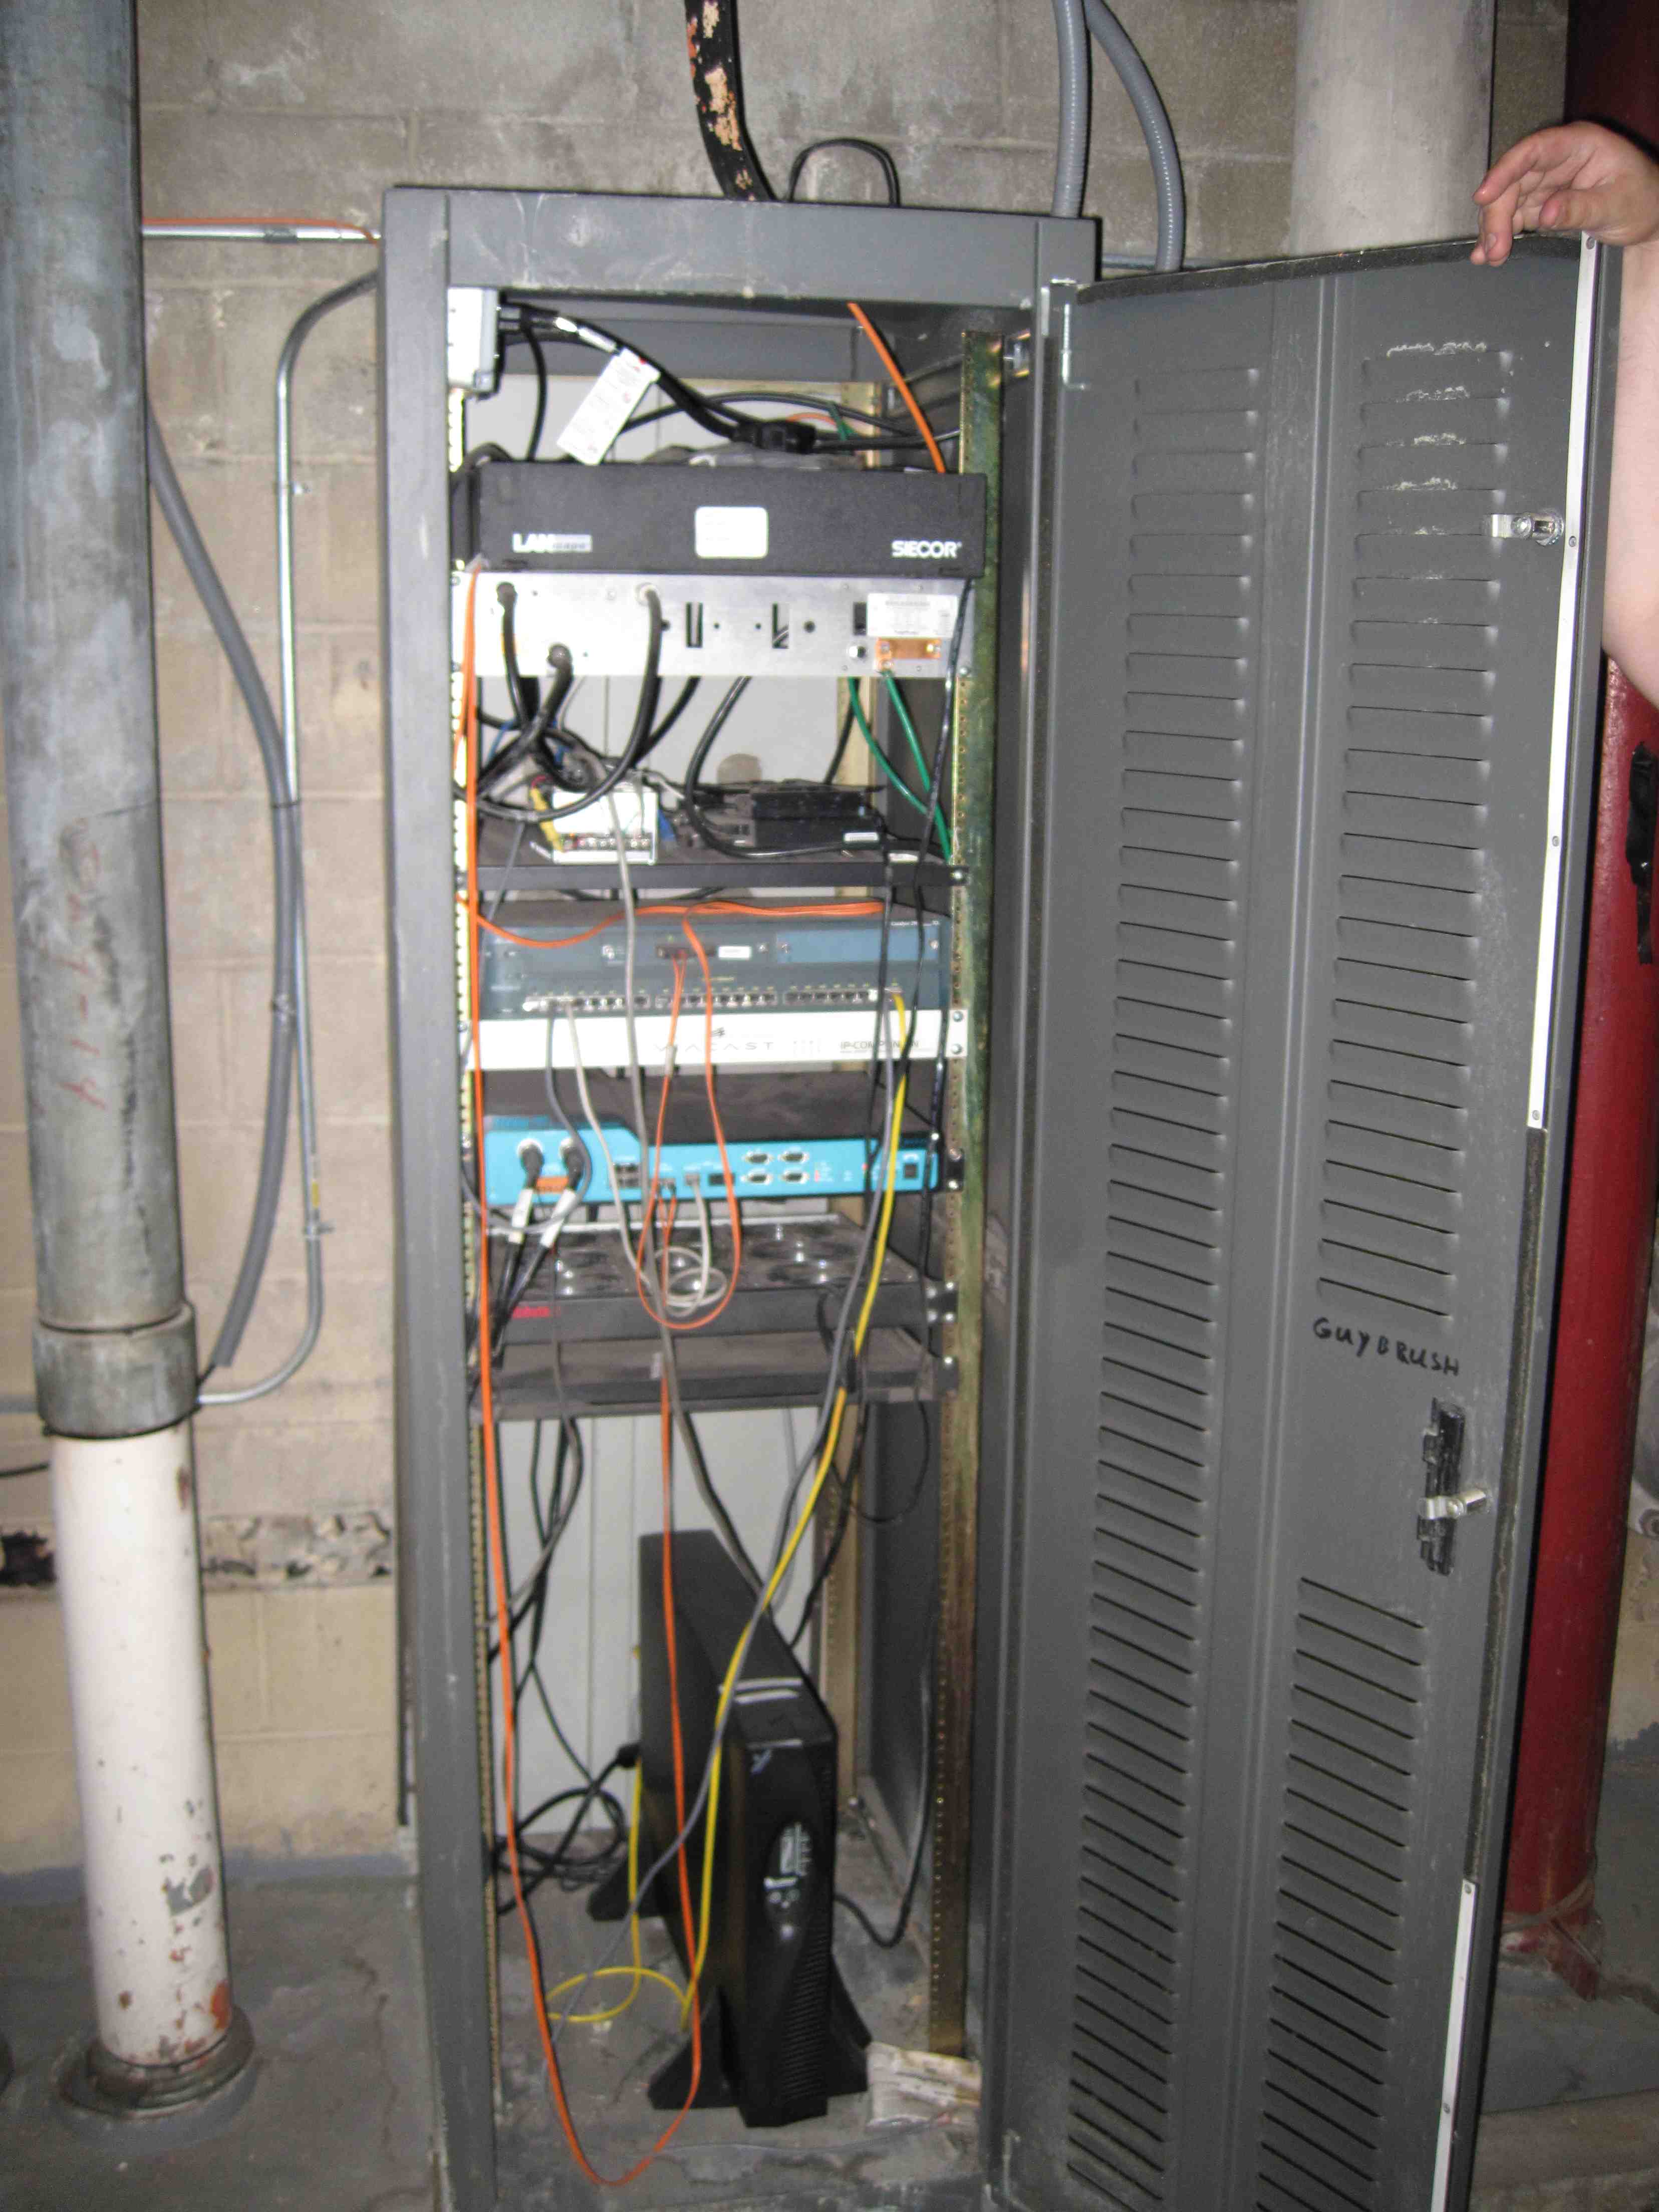
IMG_0004.jpg (456.0 KB) - added by 14 years ago.
Rack
-
IMG_0005.jpg (833.6 KB) - added by 14 years ago.
Rooftop, Fairchild Building
-
IMG_0000.jpg (209.5 KB) - added by 14 years ago.
Antenna site on Fairchild Building
-
IMG_0006.JPG (158.5 KB) - added by 14 years ago.
One Ethernet port remained
-
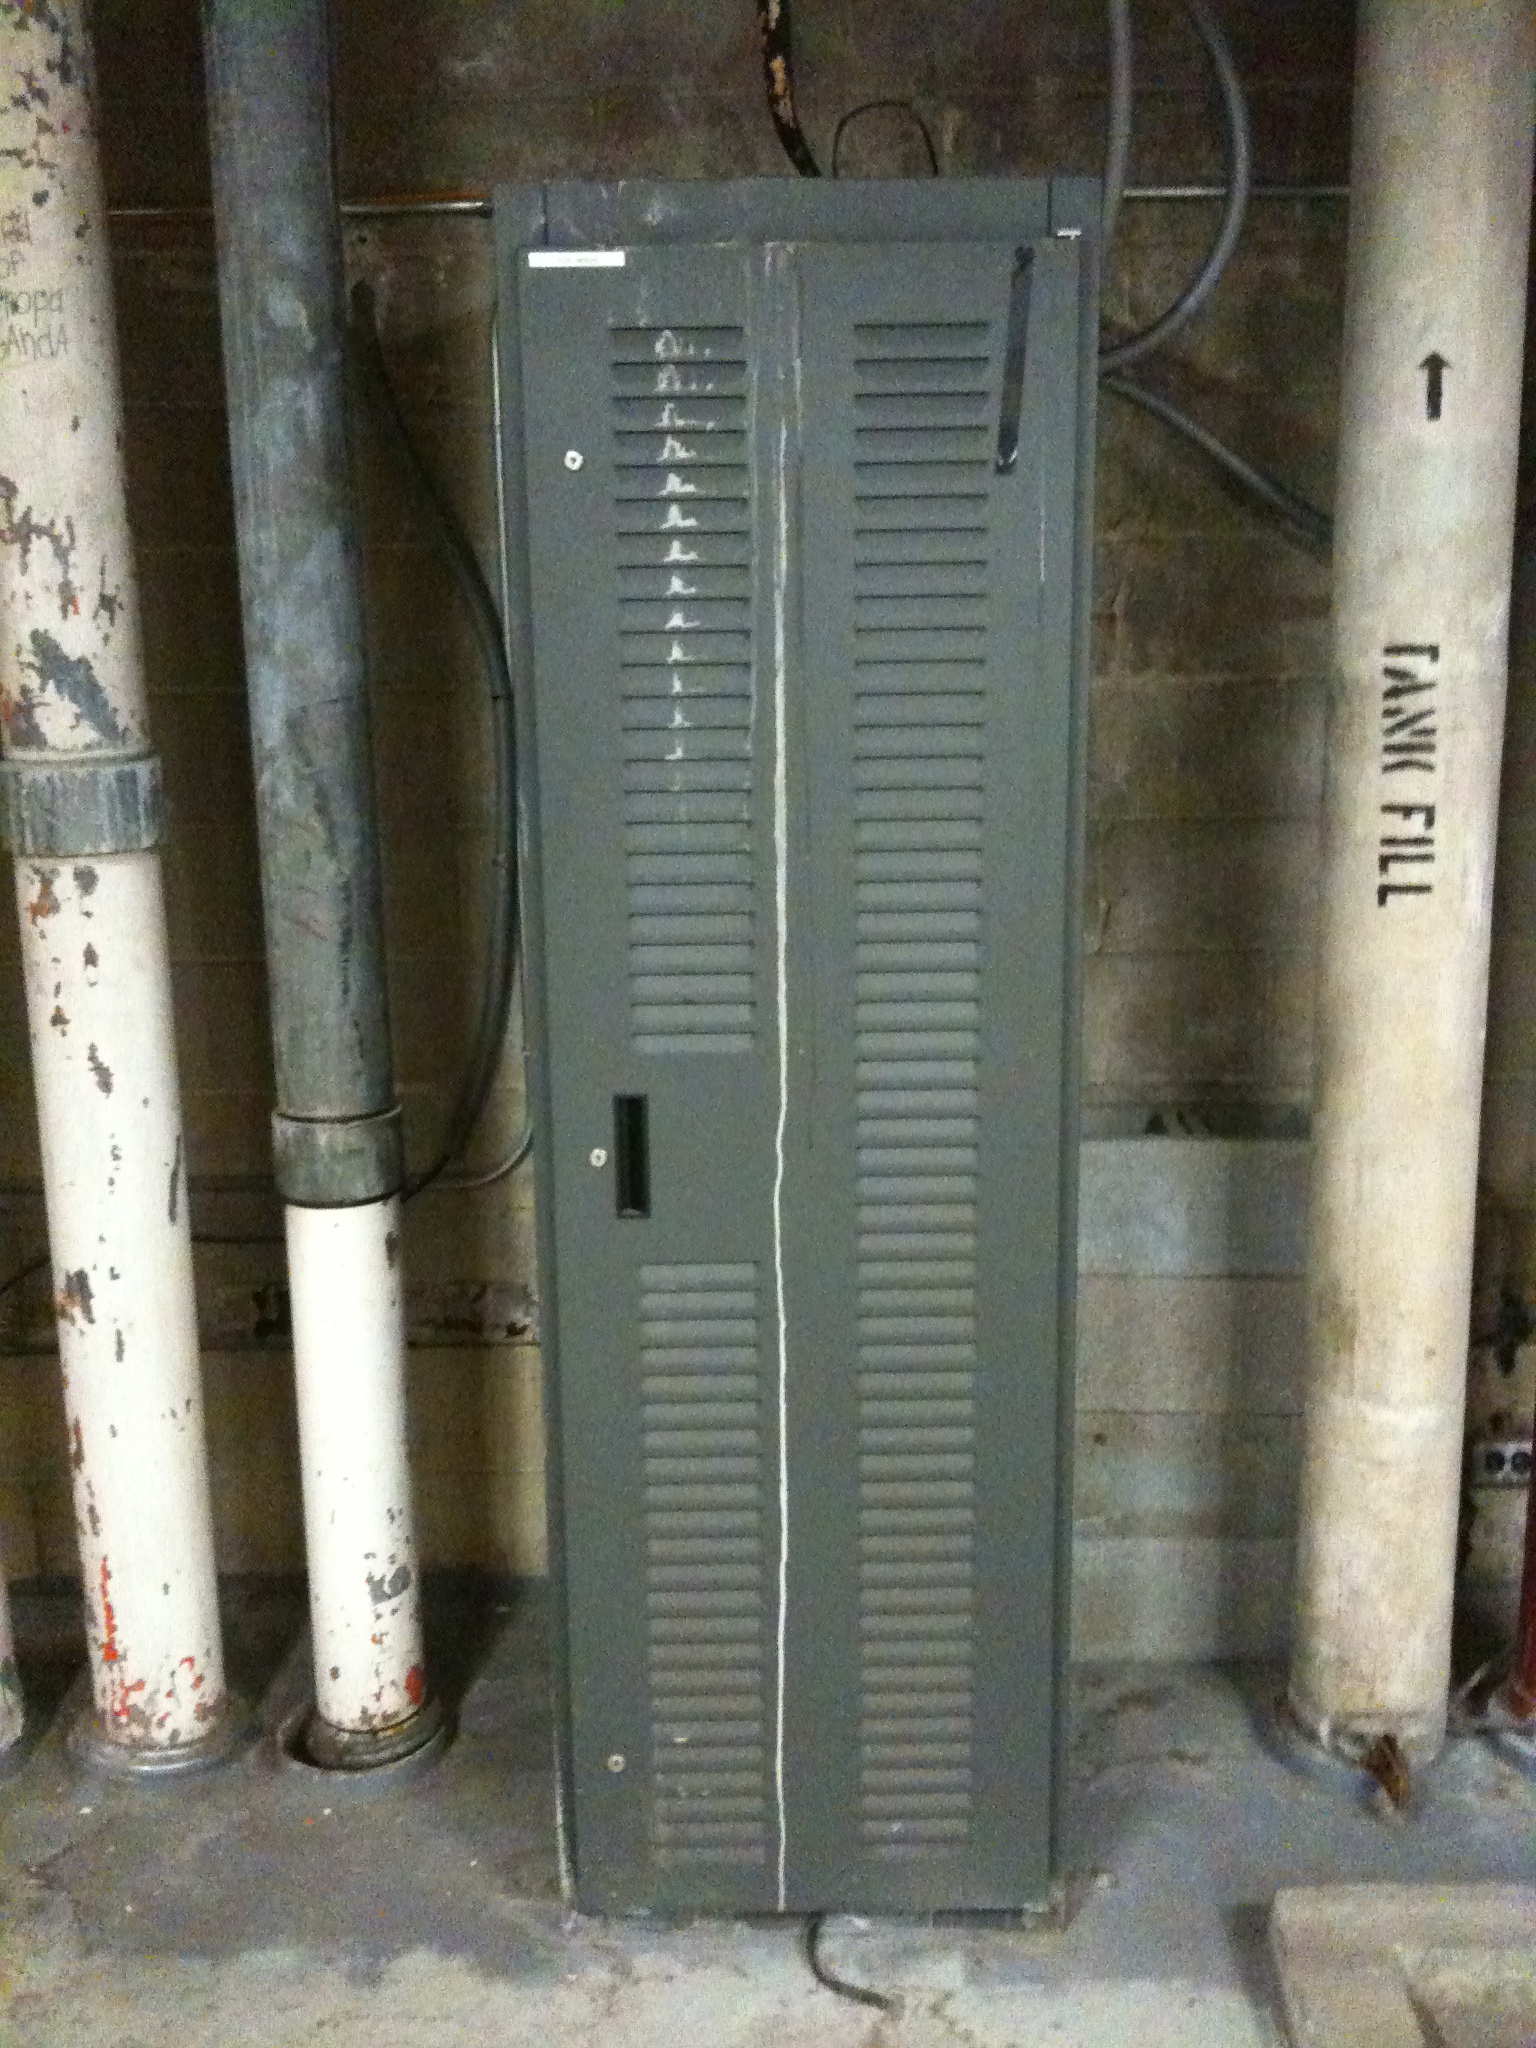
IMG_0007.JPG (172.5 KB) - added by 14 years ago.
Rack for IDU
-
IMG_0008.JPG (185.2 KB) - added by 14 years ago.
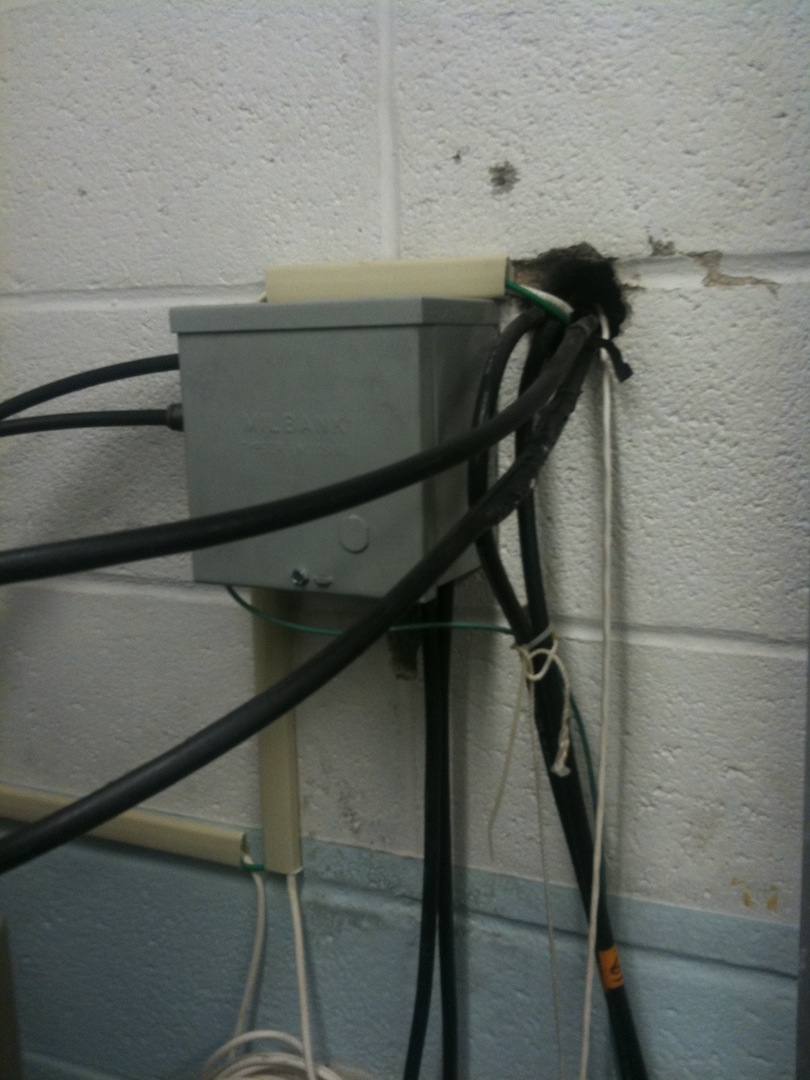
A wall line hole to the outside rooftop
-
IMG_0009.JPG (222.2 KB) - added by 14 years ago.
Available rack slot for IDU
-
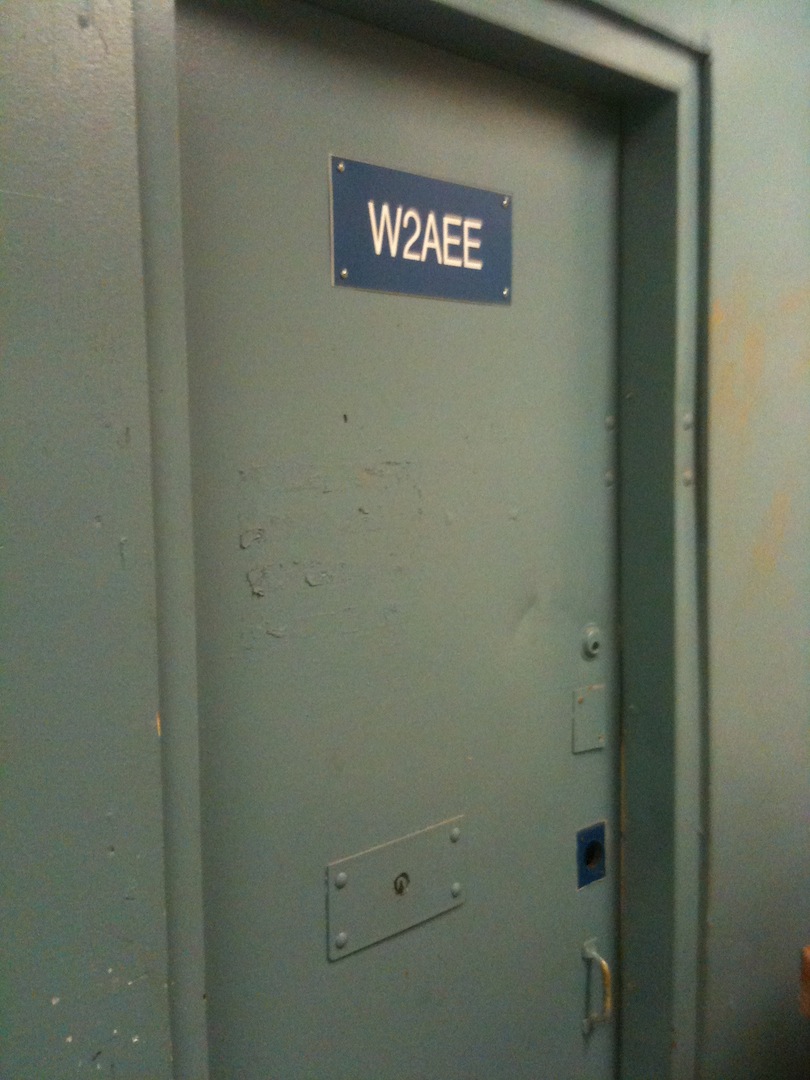
IMG_0010.JPG (206.9 KB) - added by 14 years ago.
Entrance door to HAM radio station
-
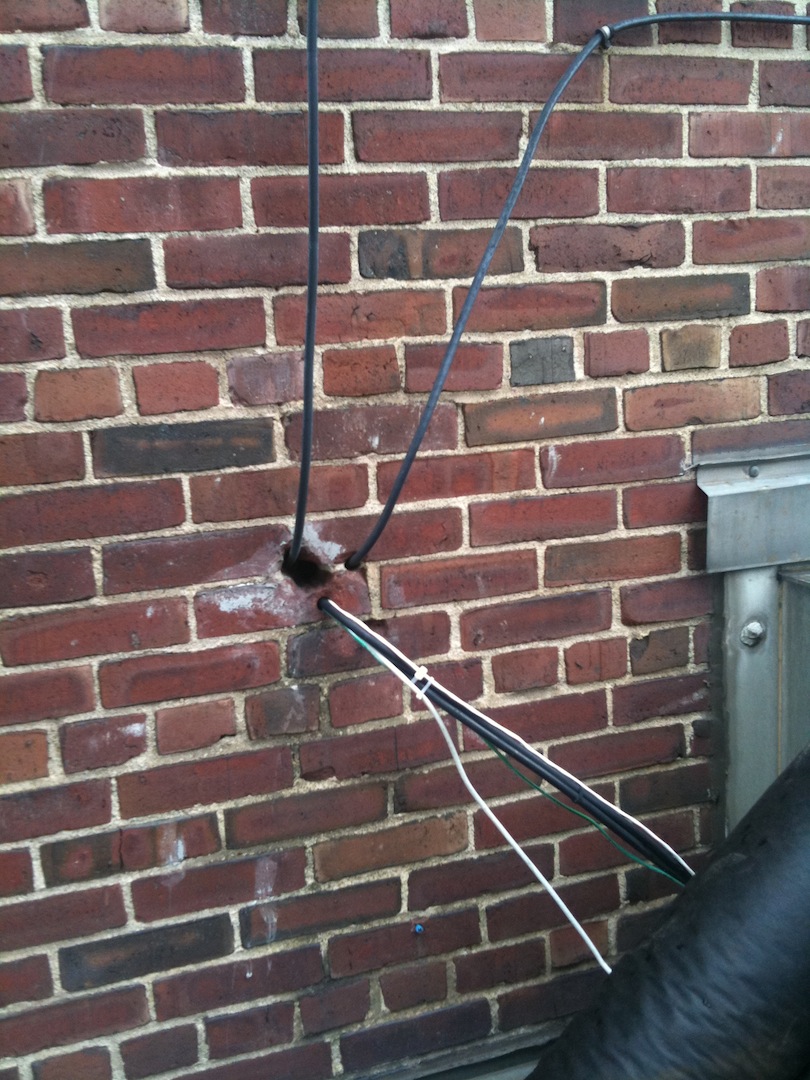
IMG_0011.JPG (521.0 KB) - added by 14 years ago.
Outside wall line hole to the HAM radio station
-
IMG_0012.JPG (290.0 KB) - added by 14 years ago.
Outside wall line hole
-
deployment_columbia_univ.pdf (208.8 KB) - added by 14 years ago.
Diagram for Columbia Univ. Campus WiMAX deployment
-
coverage_map.png (205.2 KB) - added by 14 years ago.
Campus WiMAX radio coverage
-
coverage_aerial.jpg (232.4 KB) - added by 14 years ago.
Campus WiMAX radio coverage-aerial view
-
diagram.pdf (64.0 KB) - added by 14 years ago.
Diagram (ODU+antenna)
-
los1.jpg (1.0 MB) - added by 13 years ago.
line-of-sight
-
los2.jpg (856.9 KB) - added by 13 years ago.
line-of-sight 2
-
rack_space.jpg (1.3 MB) - added by 13 years ago.
(new) rack space
-
site1.JPG (1.2 MB) - added by 13 years ago.
(new) outdoor site 1
-
site2.jpg (1.2 MB) - added by 13 years ago.
(new) outdoor site 2
-
wall1.jpg (1.1 MB) - added by 13 years ago.
(new) outdoor site 3
-
wall2.jpg (1.0 MB) - added by 13 years ago.
(new) outdoor site 4
-
wall3.jpg (404.1 KB) - added by 13 years ago.
(new) outdoor site 5
-
wall4.jpg (439.5 KB) - added by 13 years ago.
(new) outdoor site 6
-
0626_mexp1_30dBm.png (627.5 KB) - added by 13 years ago.
Measured RSSI on first measurement survey
-
0626_mexp1_30dBm_cinr.png (620.1 KB) - added by 13 years ago.
Measured CINR on first measurement survey
-
063011_mexp2_40dBm_map_rssi.png (717.5 KB) - added by 13 years ago.
RSSI coverage map
-
063011_mexp2_40dBm_map_cinr.png (699.5 KB) - added by 13 years ago.
CINR coverage map